
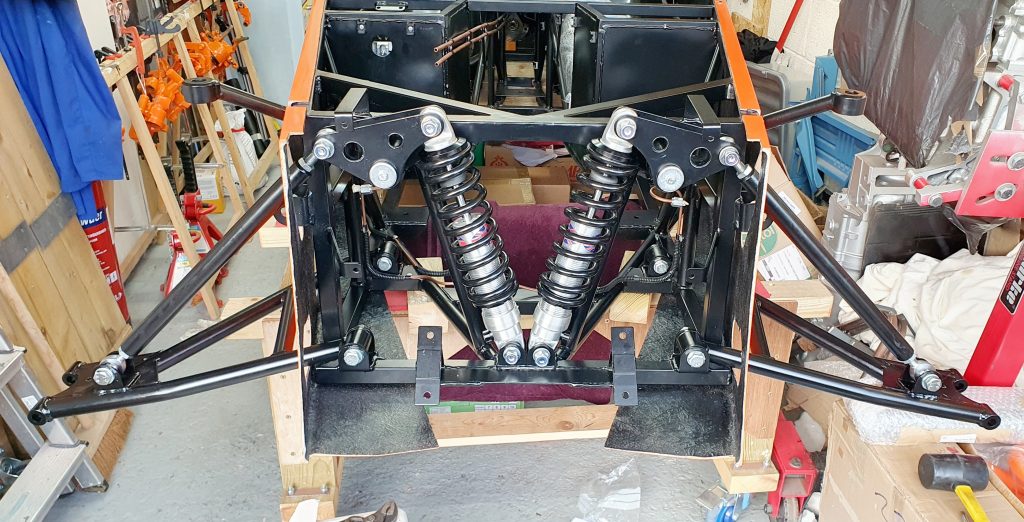
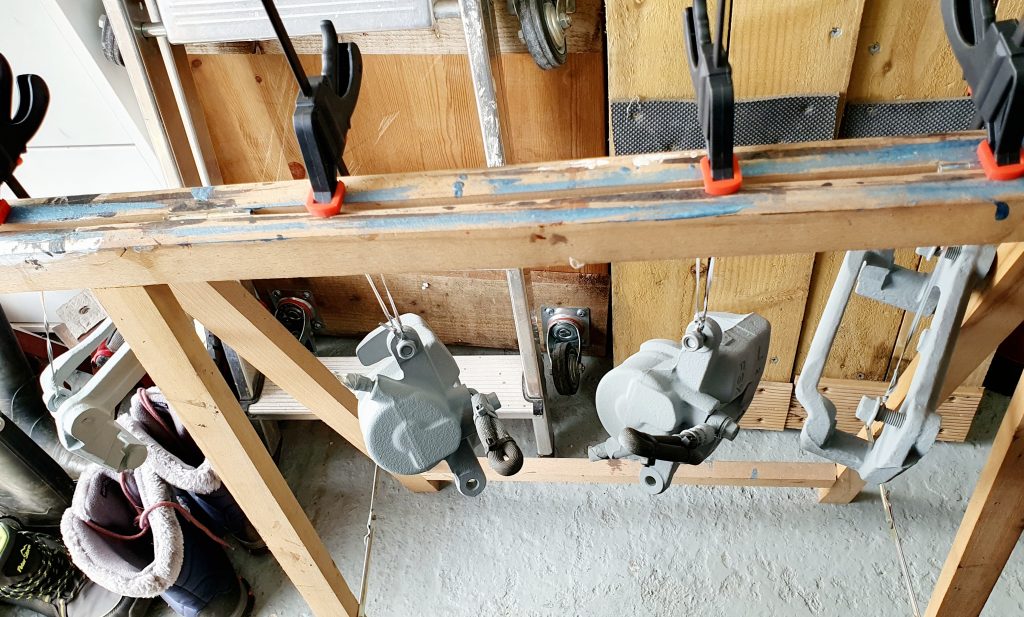
After fitting the rear suspension and the side panel and rear tub it was now time to fit the MK Indy brakes and front suspension.
Front Suspension
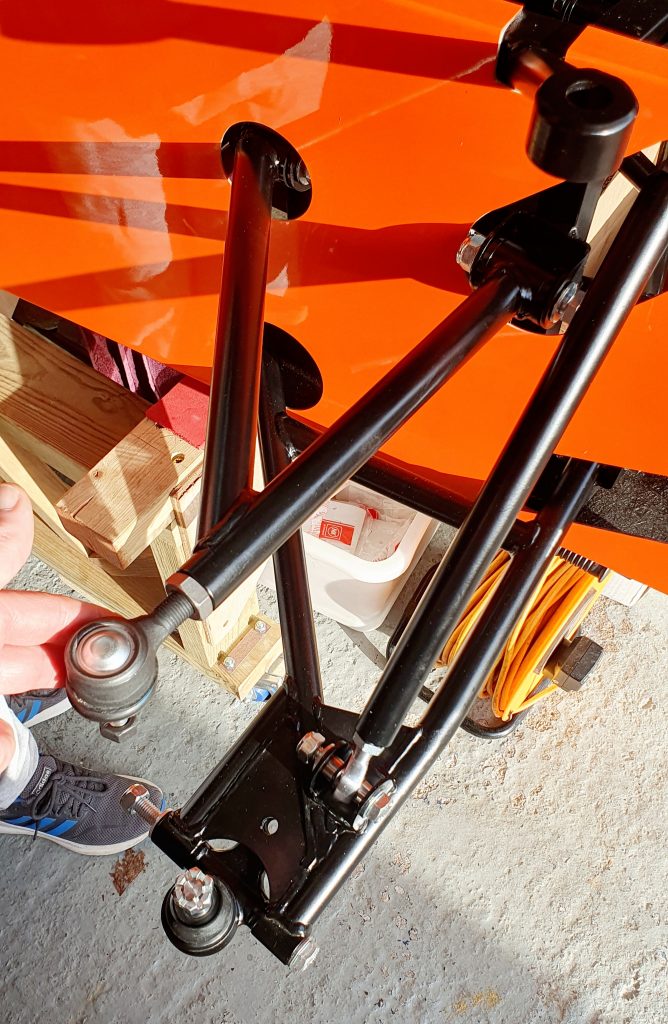
The front suspension is pretty straight forward and is covered quite well in the manual. This is complimented with a YouTube video by MK Sportscars showing you how to install the suspension Rockers.
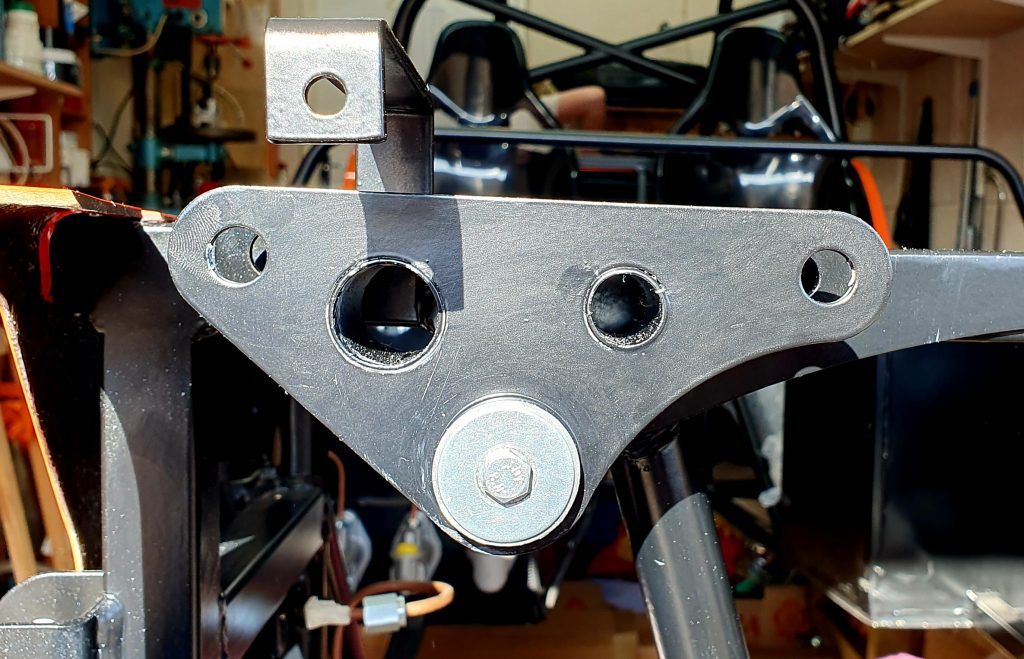
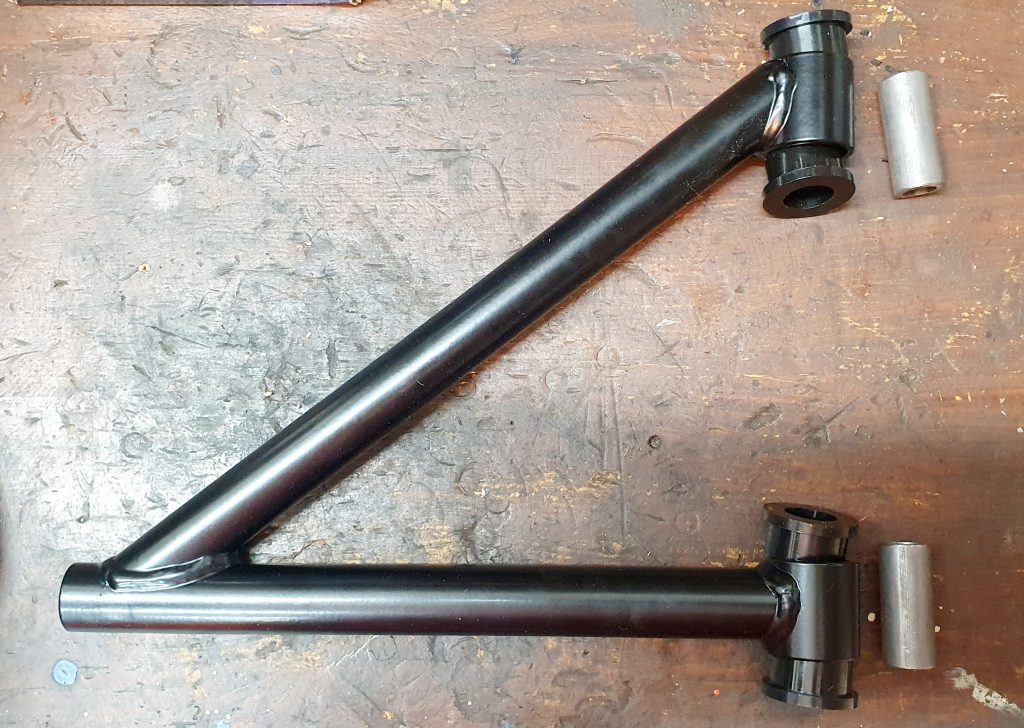
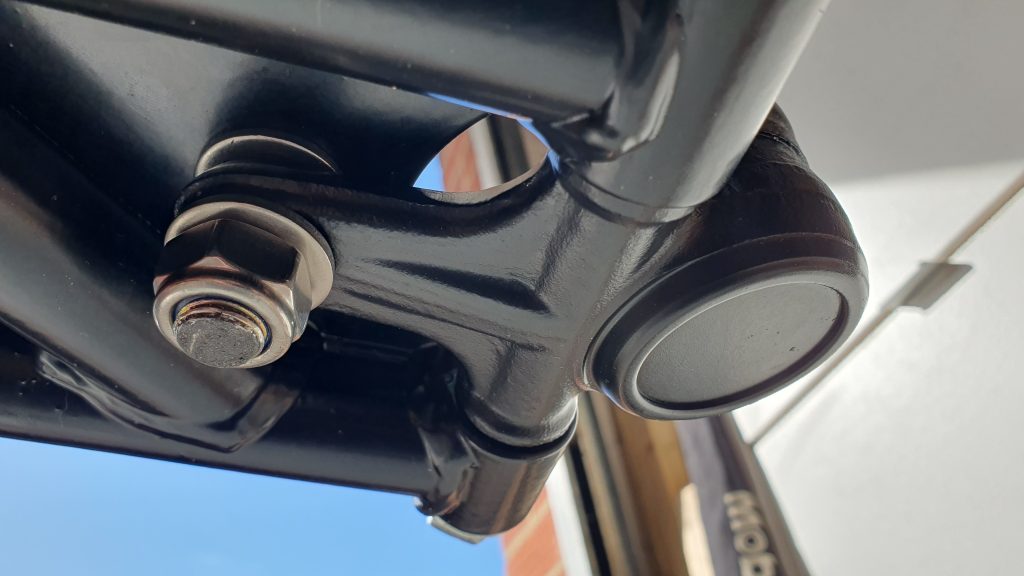
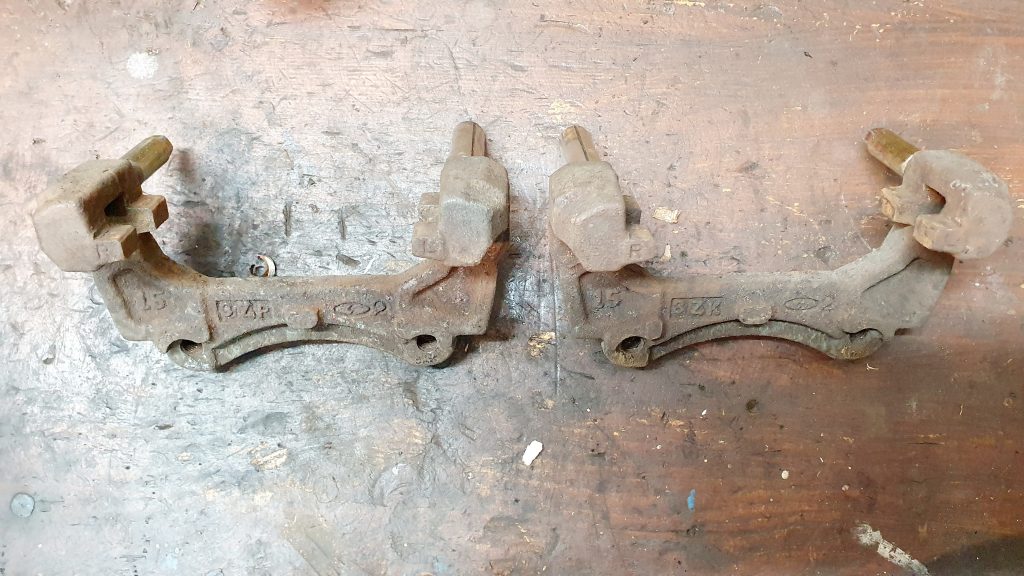
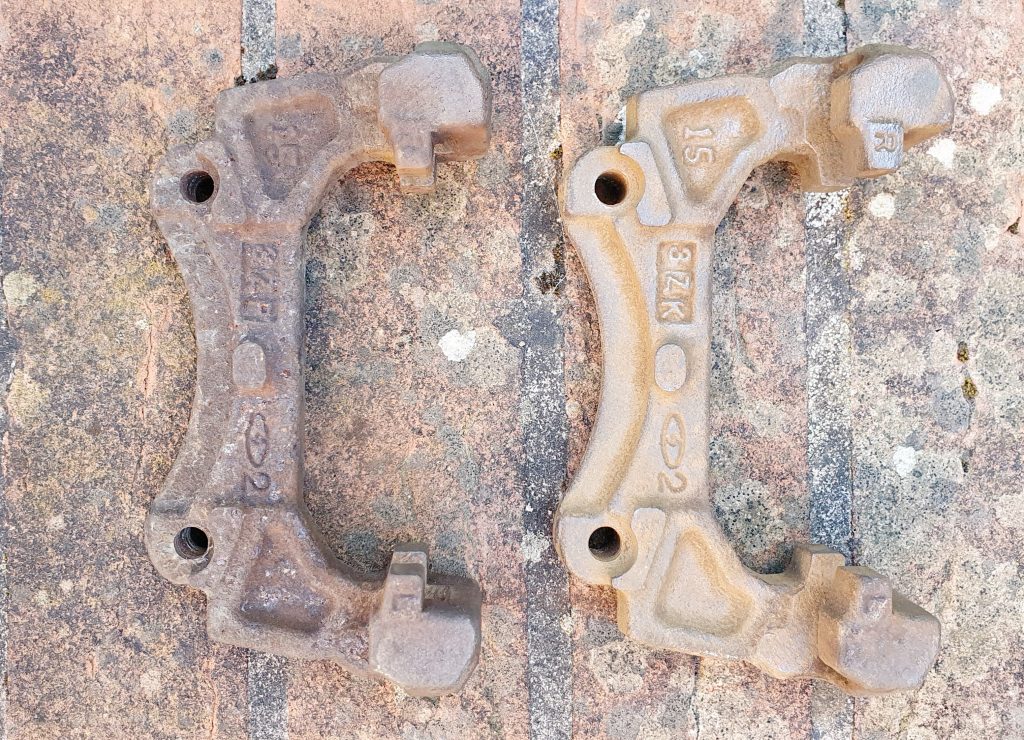
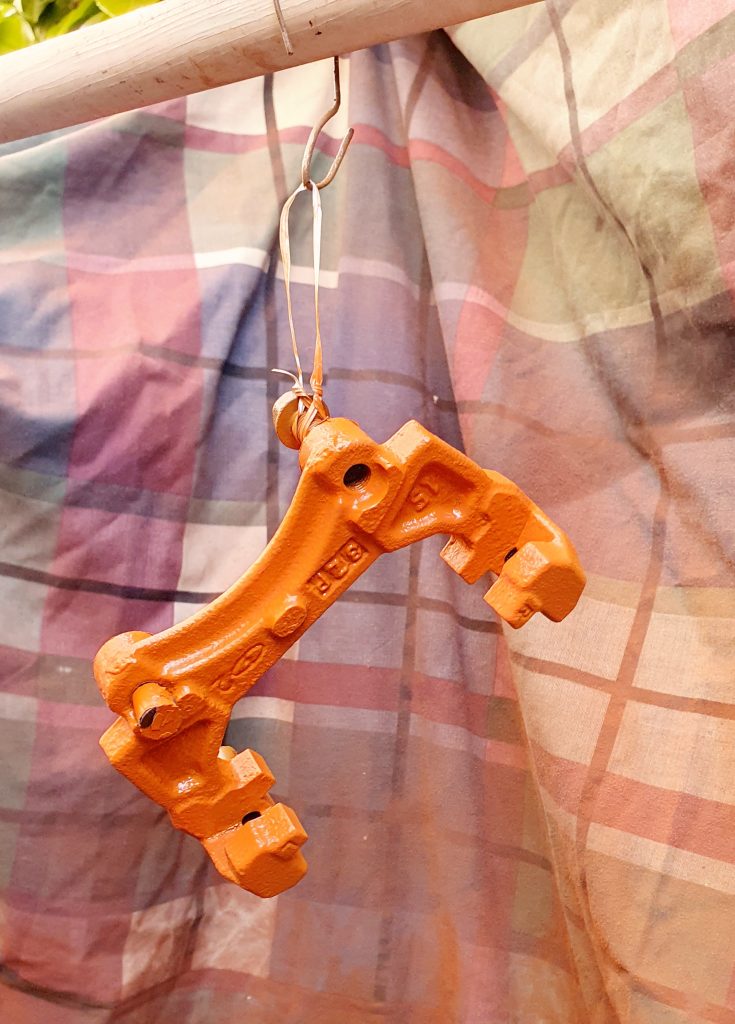
Suspension Rockers
There were no major issues at all with mounting the suspension Rockers. The only minor issue was when it came to the mounting of the locking screw and large flat washer for the rosckers. The washer rubbed on the rocker to the extent it stopped the rocker from moving, when it was torqued up, when the rocker was seated completely to the back of the mounting pivot. I filed down the front outside edge of the rocker until sufficient clearance was provided to some the issue. The rocker could then be torqued up fully with the rocker still having full movement.
Suspension Shocks
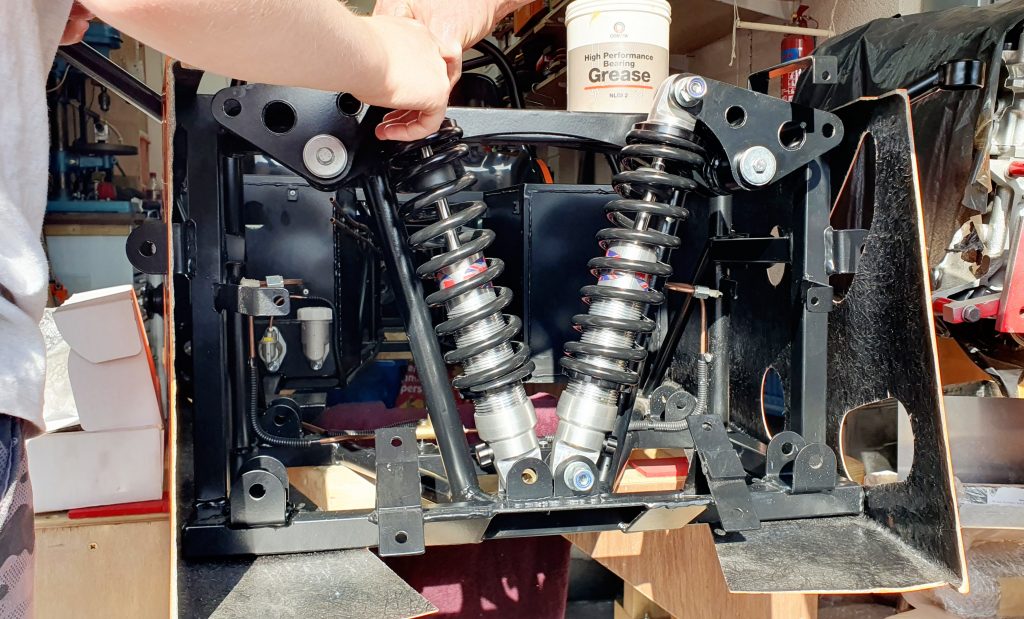
Before fitting the front suspension shocks make sure you have the correct ones marked as 350lbs. Make sure they have also been assembled correctly with the cup for the spring the correct way round. Some of the builders have had issues with incorrect assembly by the supplier, so check thoroughly before fitting.
Make sure they are up the correct way round with the damper adjuster at the bottom facing outwards (otherwise they clash).
Just like the rear suspension do all the bolts up finger tight for the moment. Do not torque the bolts up as you do this once the car is on the ground and has weight on it.

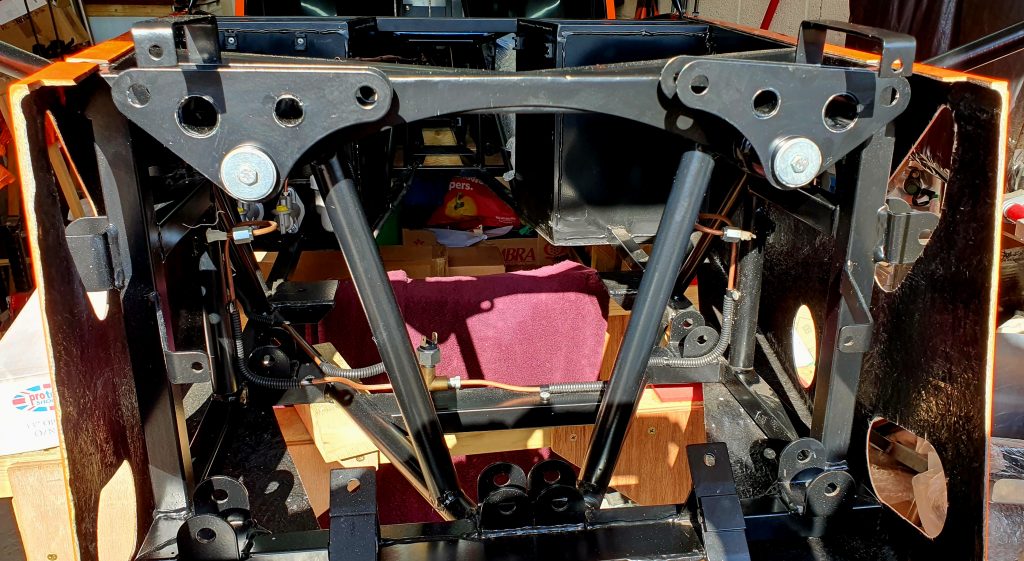
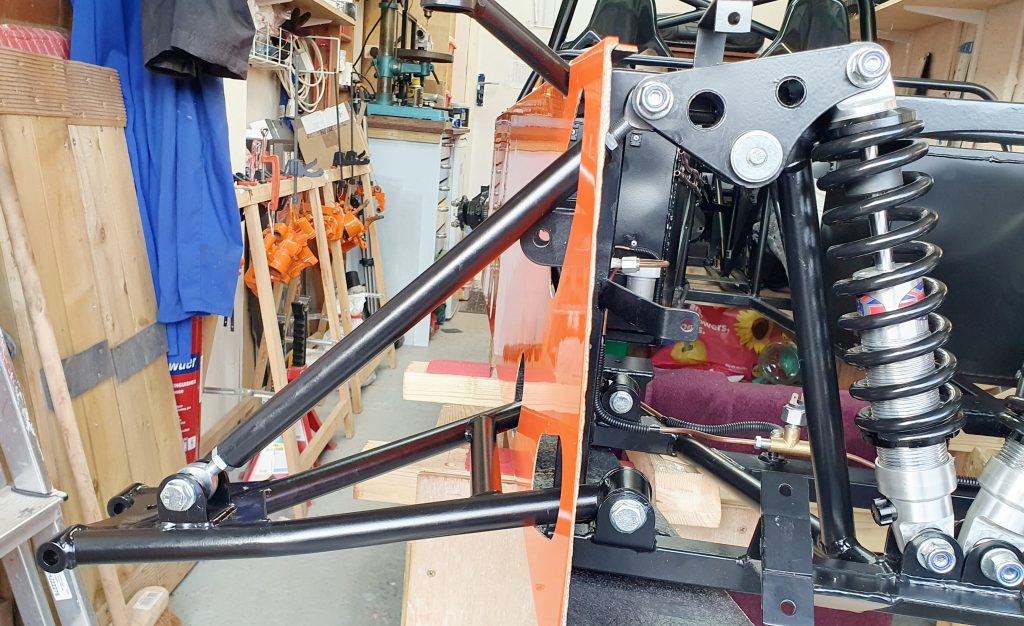
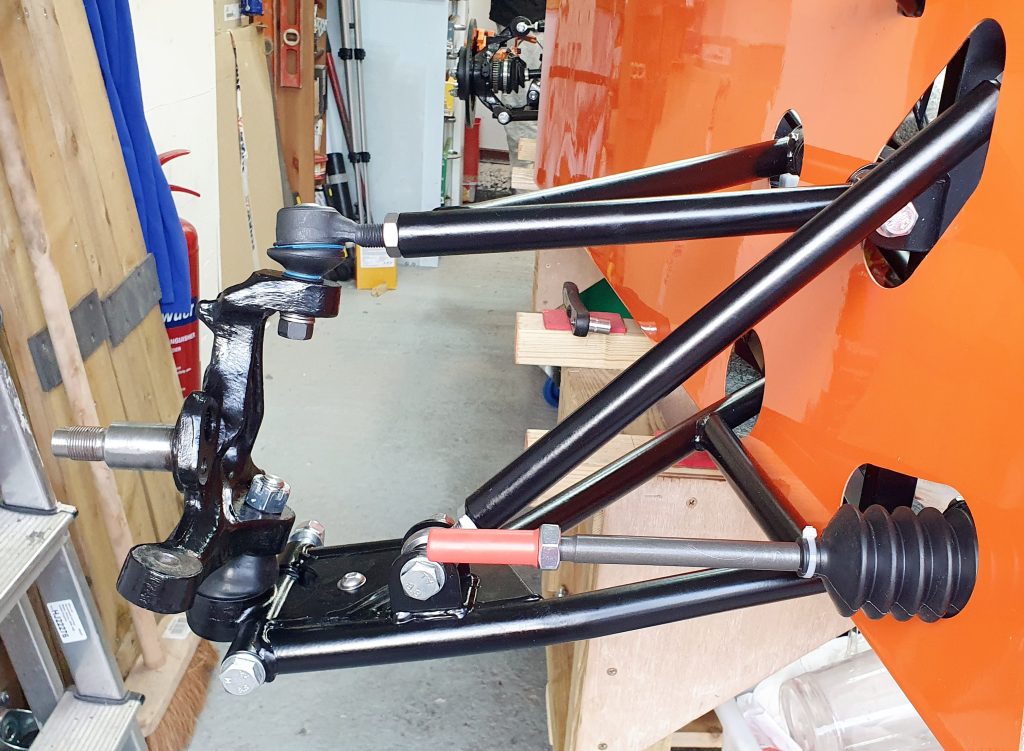
Wishbones and Push Rods
Fitting the bottom wishbones and Push rods is as per the manual. Note that the Version 2022.1 (May 2022) version of the manual is incorrect for the push rod length which should be circa 440mm (centre to centre of rose joint hole) instead of 400mm (as stated in the manual) . Fitting the top wishbones was also as per the manual with no issues at all.
Assembly of the wishbones with bushes is the same as the rear suspension and straight forward.
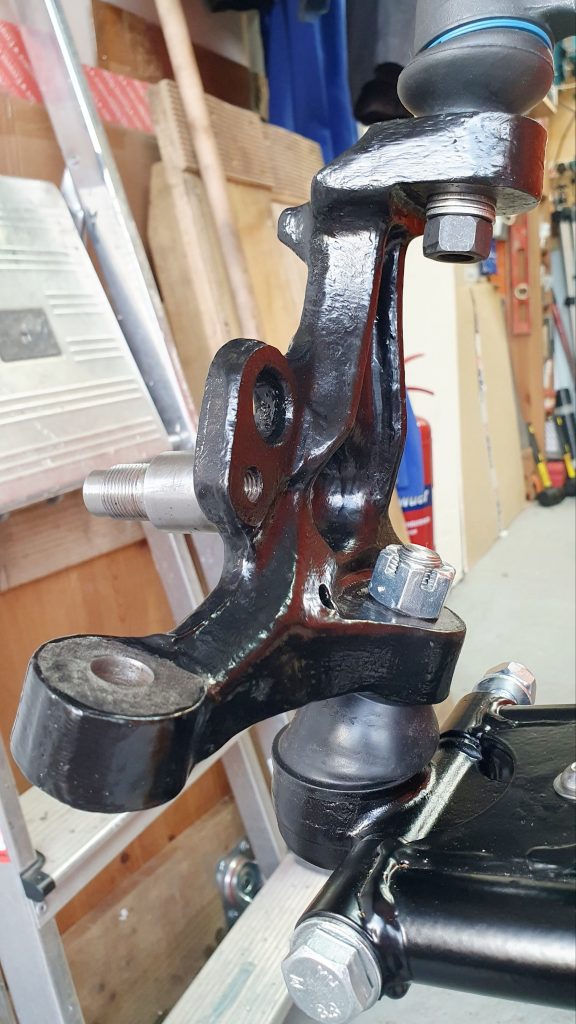
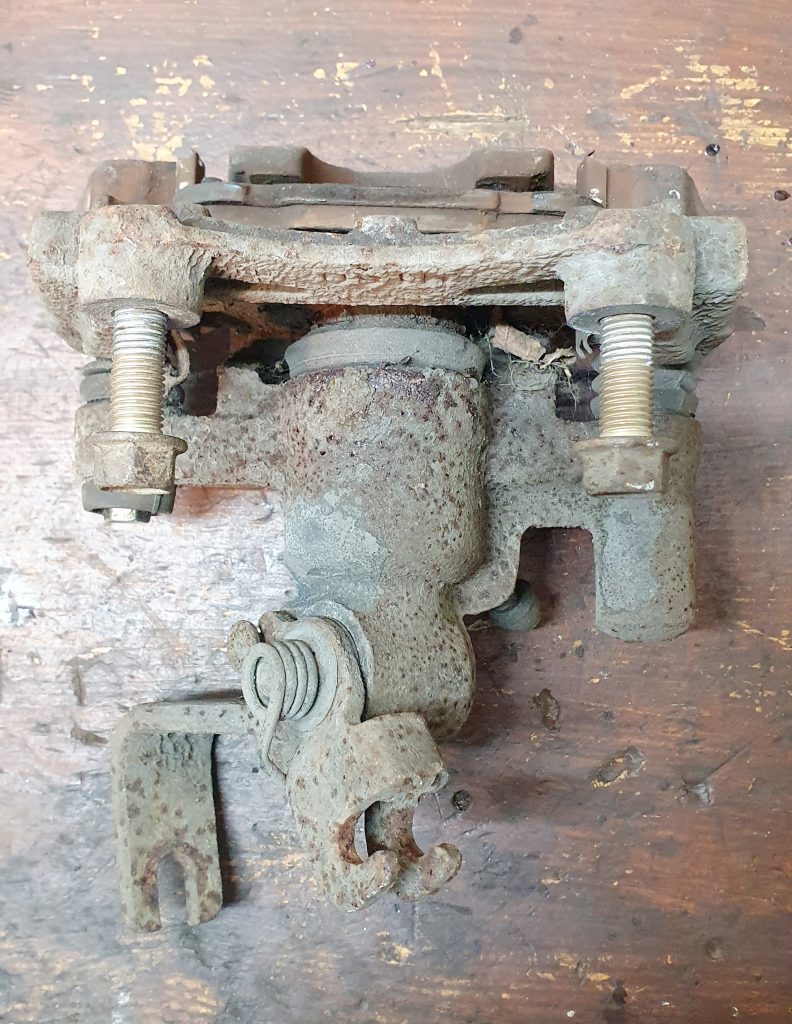
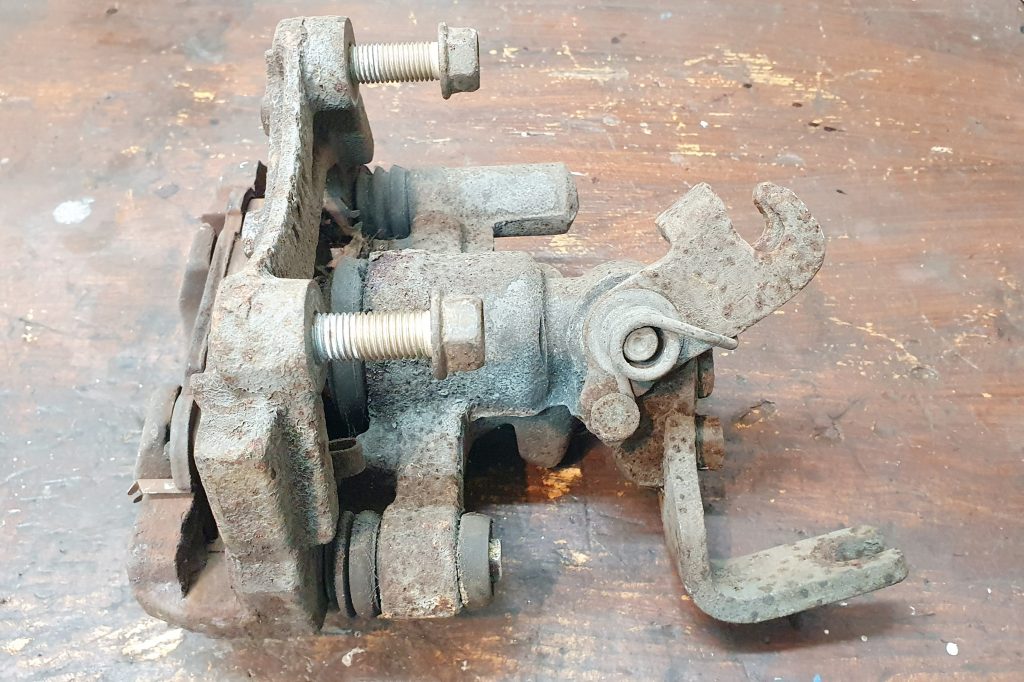
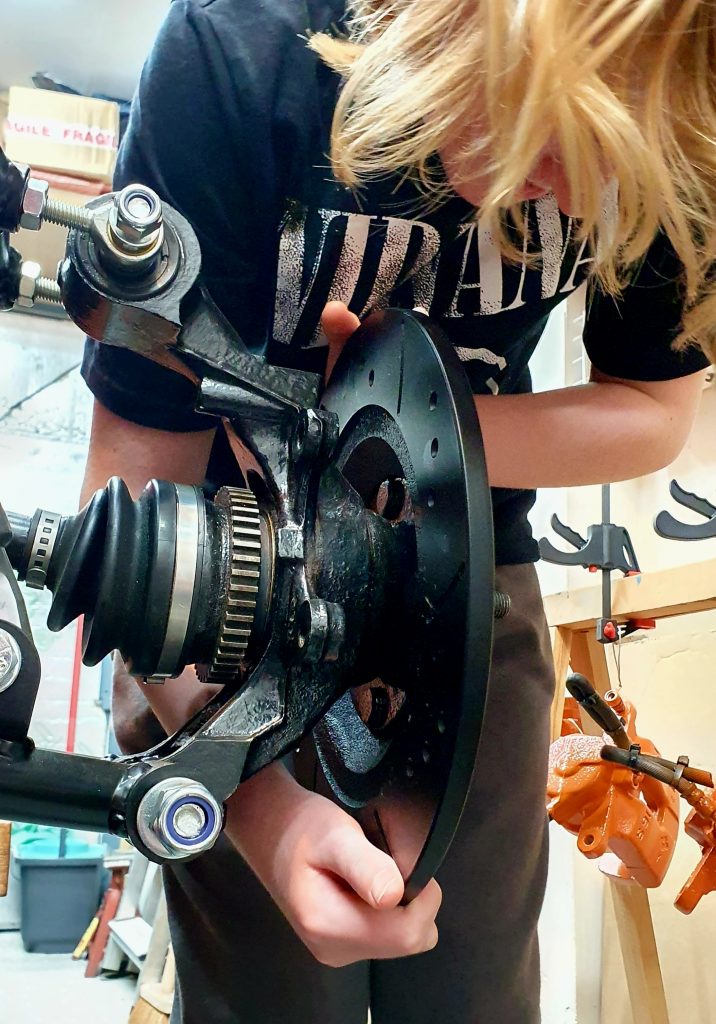
Wheel Uprights
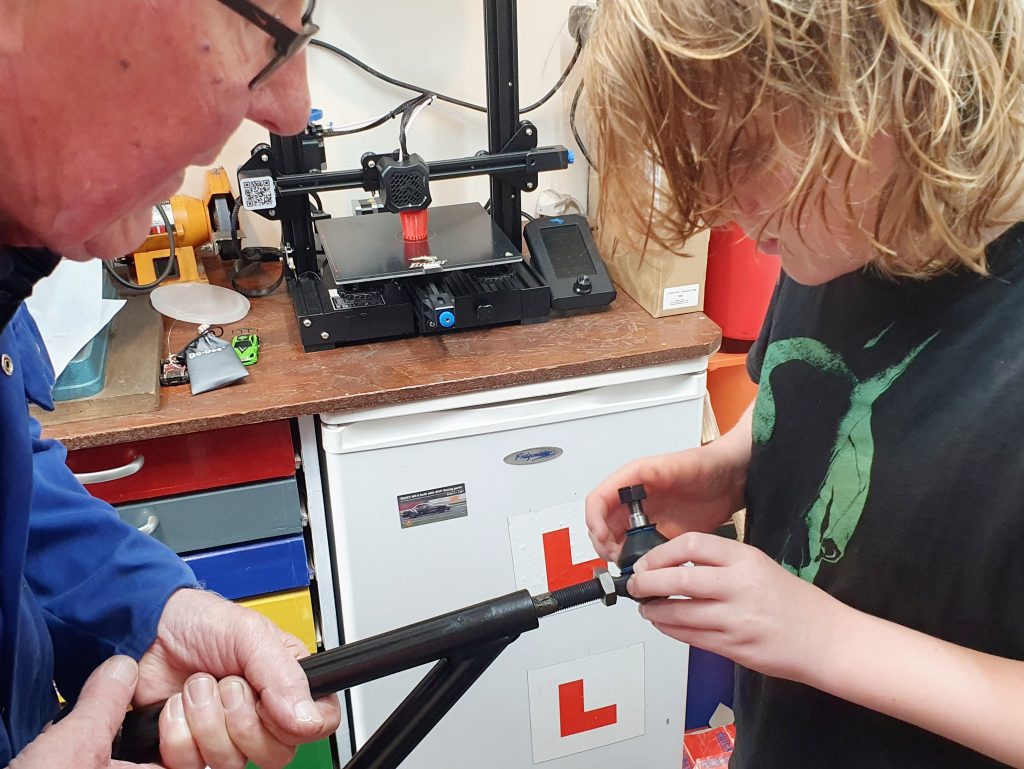
I refurbished the original mazda uprights for this part. I also replaced the bottom ball joint with new ones from GSF which I then painted with the Simonez Satin black paint for protection. These fit to the bottom wishbone with the long M12 130mm bolt provided in the bolt pack. They also require an M12 x 1.5 (fine) x 30mm bolt which has enough room to fit a washer and nyloc on to be extra secure. MK had provided M12 x 1.75 (std) x50mm which were not correct. So check before you get the spanner out!

I fitted the upright with the bolts finger tight for the moment. The bottom nut is a castle nut with split pin. The top one is an elongated nut which are single use and deform when you tighten them. So, for the moment I’ve added 3x washers so I can do it up tight ish without wrecking the nut. Once happy with everything I’ll tighten this up to the correct torque.
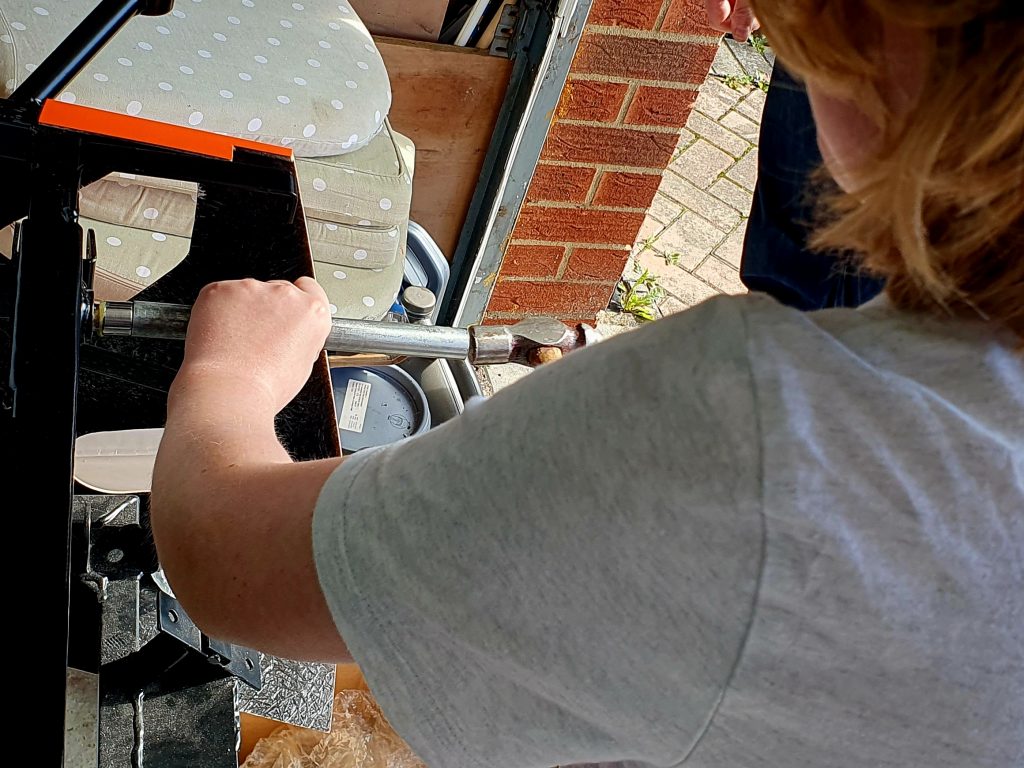
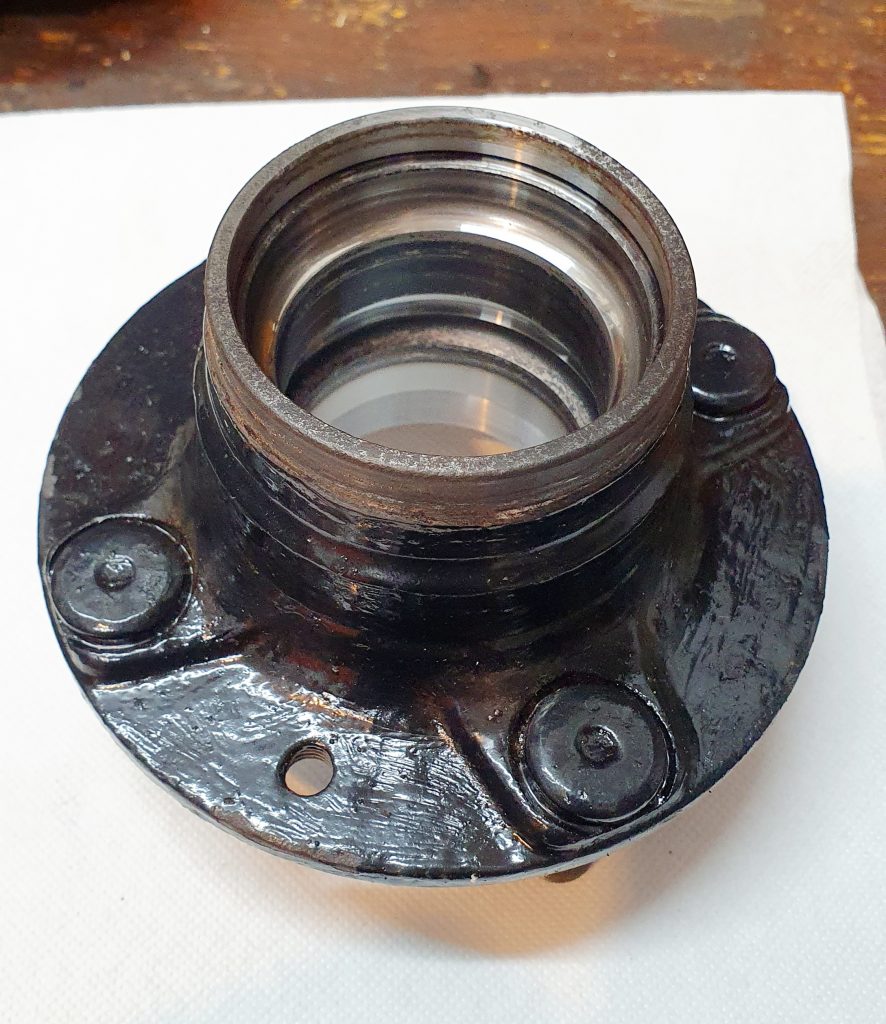
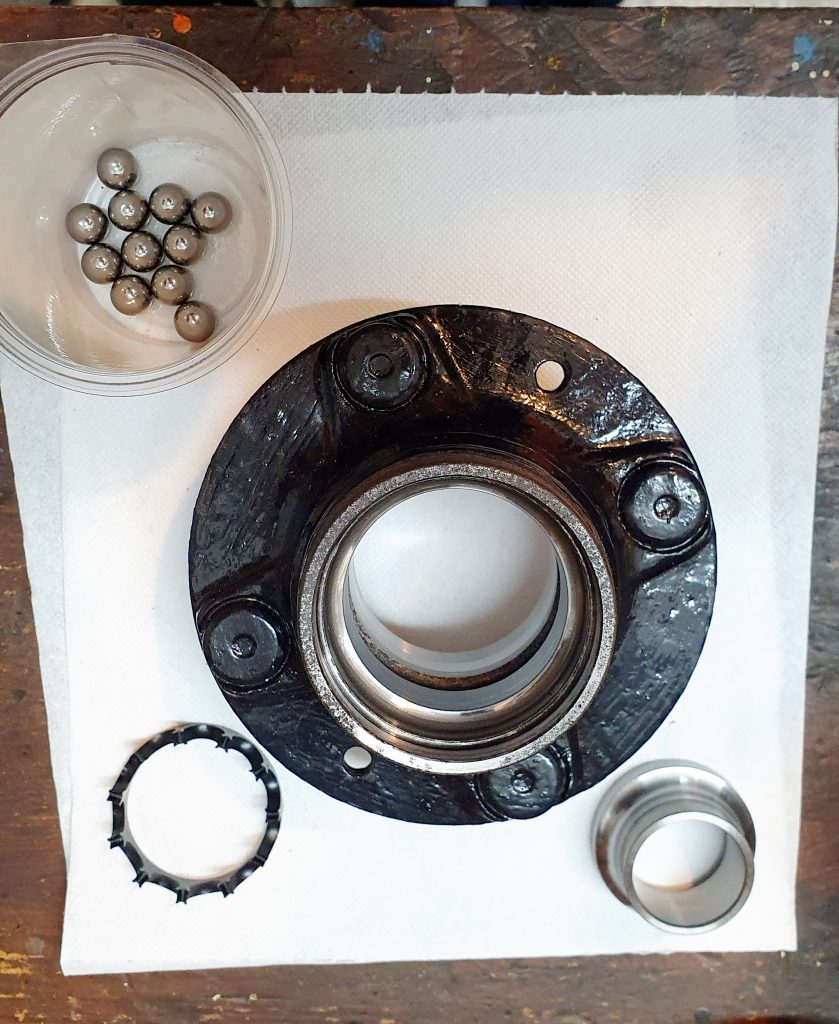
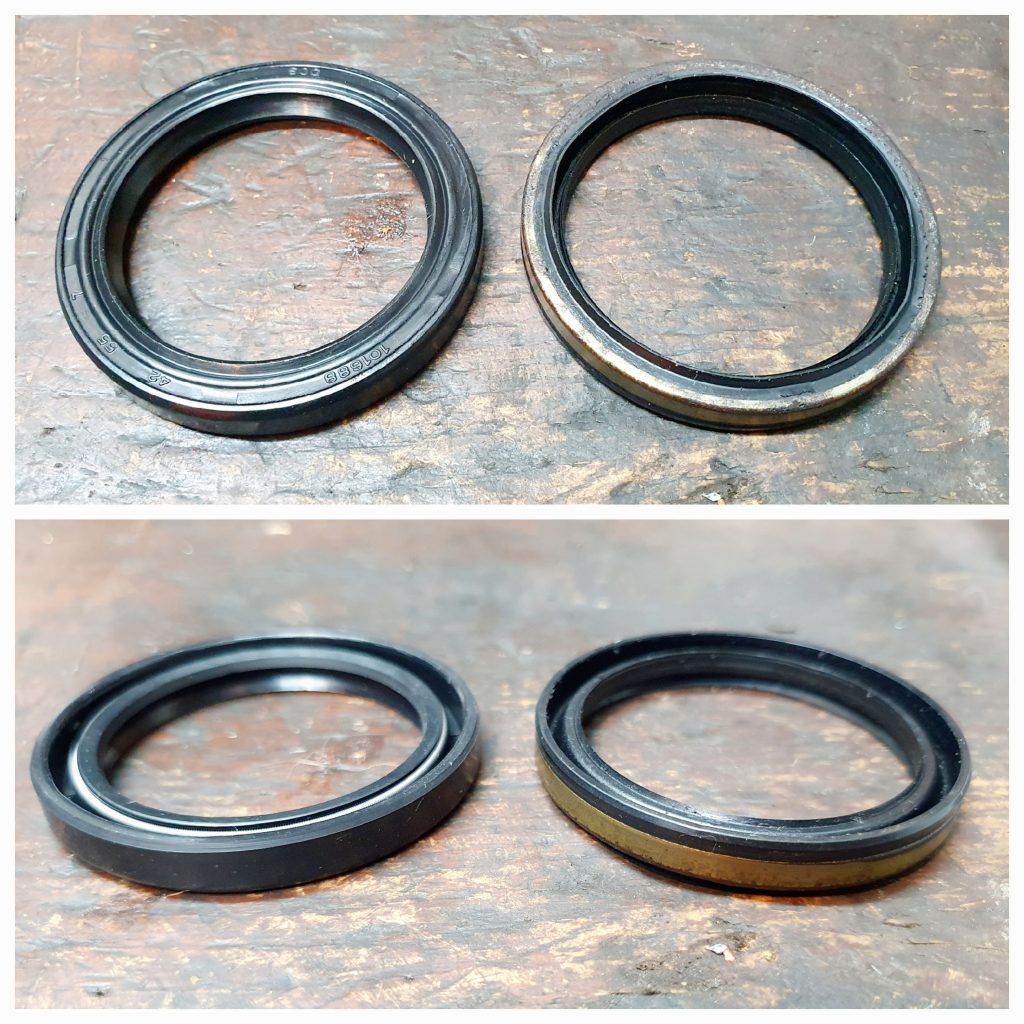
I then refurbished the front wheel bearings by stripping them down, cleaning up the bearing races and regreasing the bearings and replacing the seals. I found a really good YouTube video showing you how to do this. Eventually I also found suitable new bearing seals at 123bearing.co.uk. These seem to work well, as they are not readily available as a spare mazda part you have to buy the whole bearing from Mazda. The size you need is 43mm (inner) X 55mm (outer) X 7mm (depth).
Brakes
Next was to fit the brake calipers from the original Mazda onto the uprights along with new disks and pads.
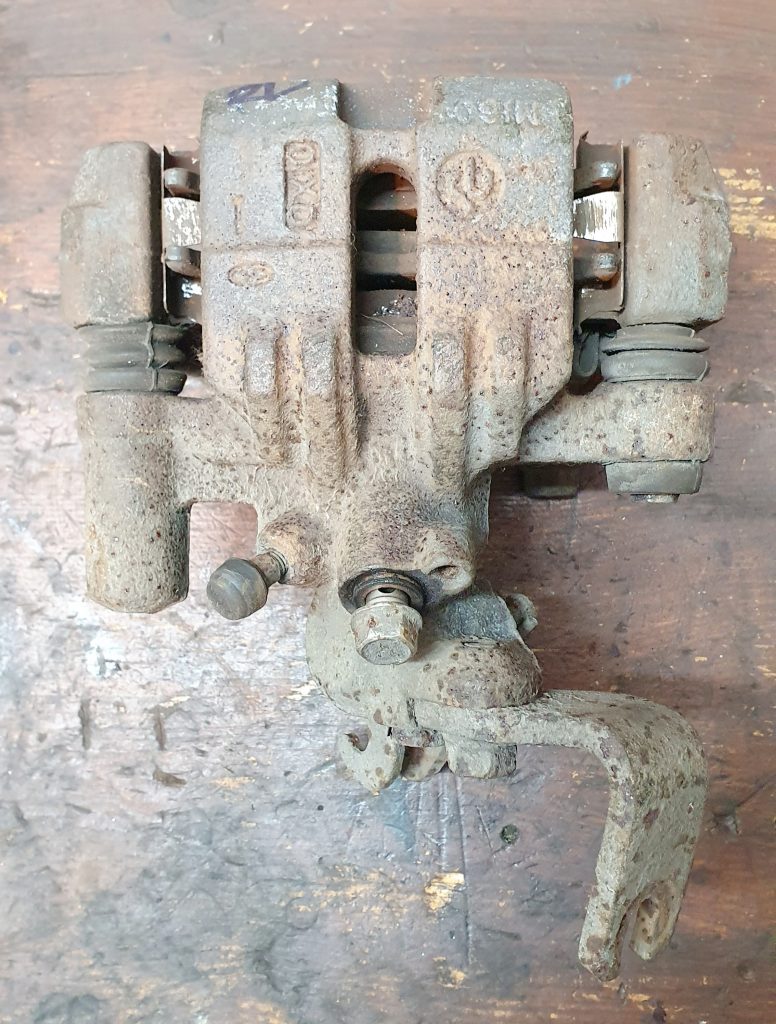
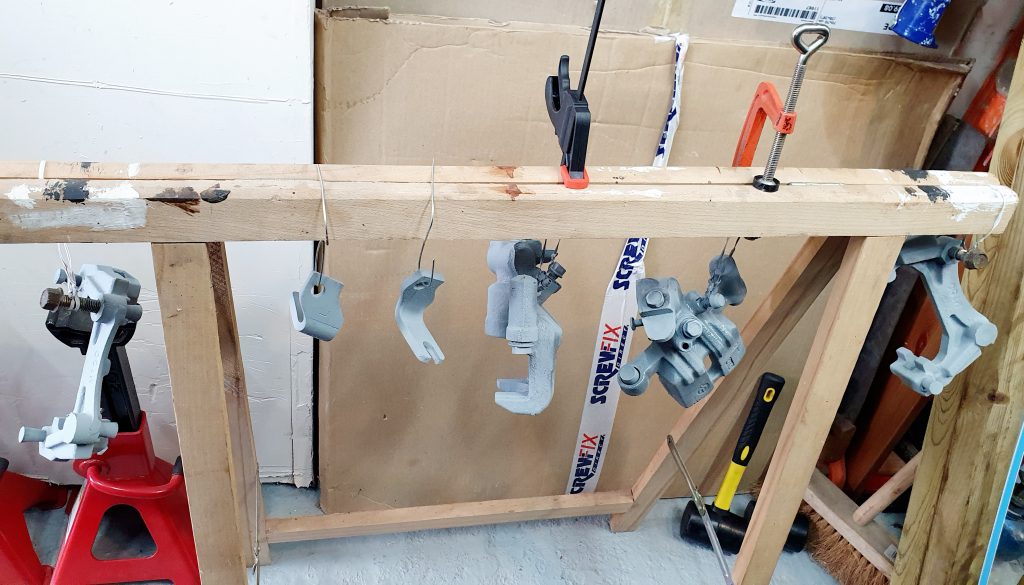
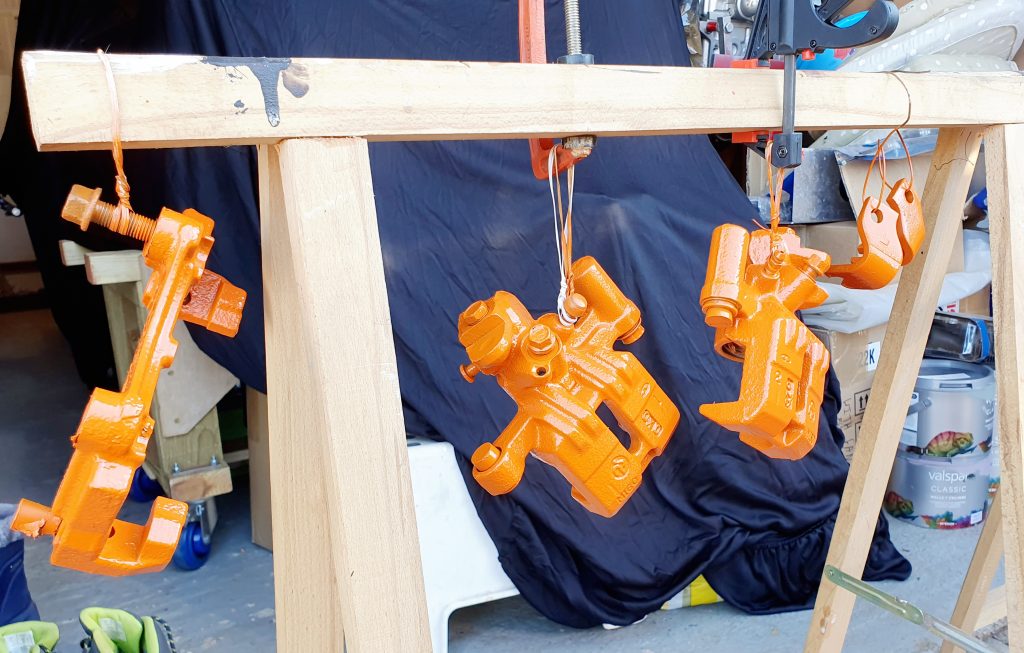
Front Brake Caliper Refurbishment
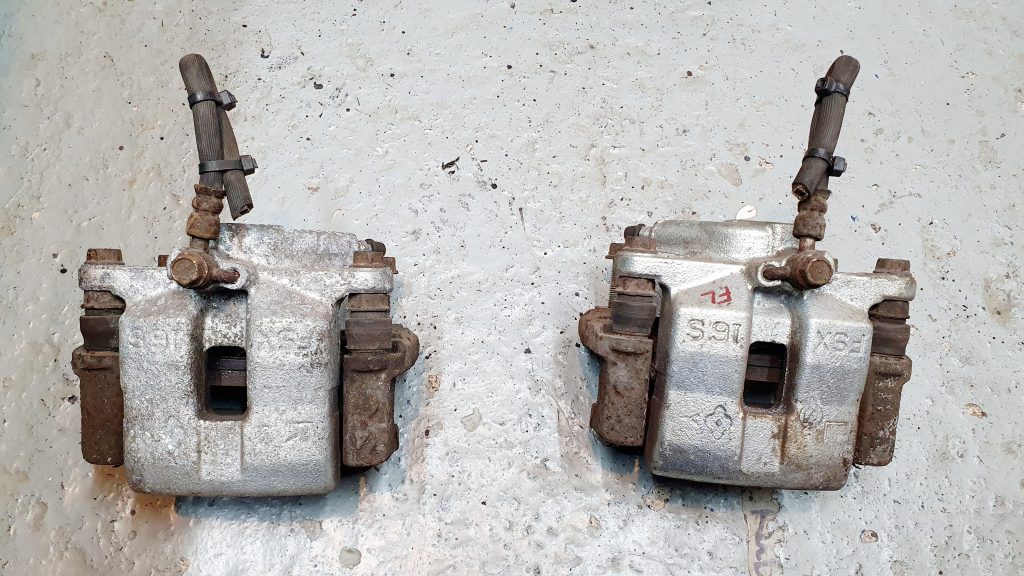
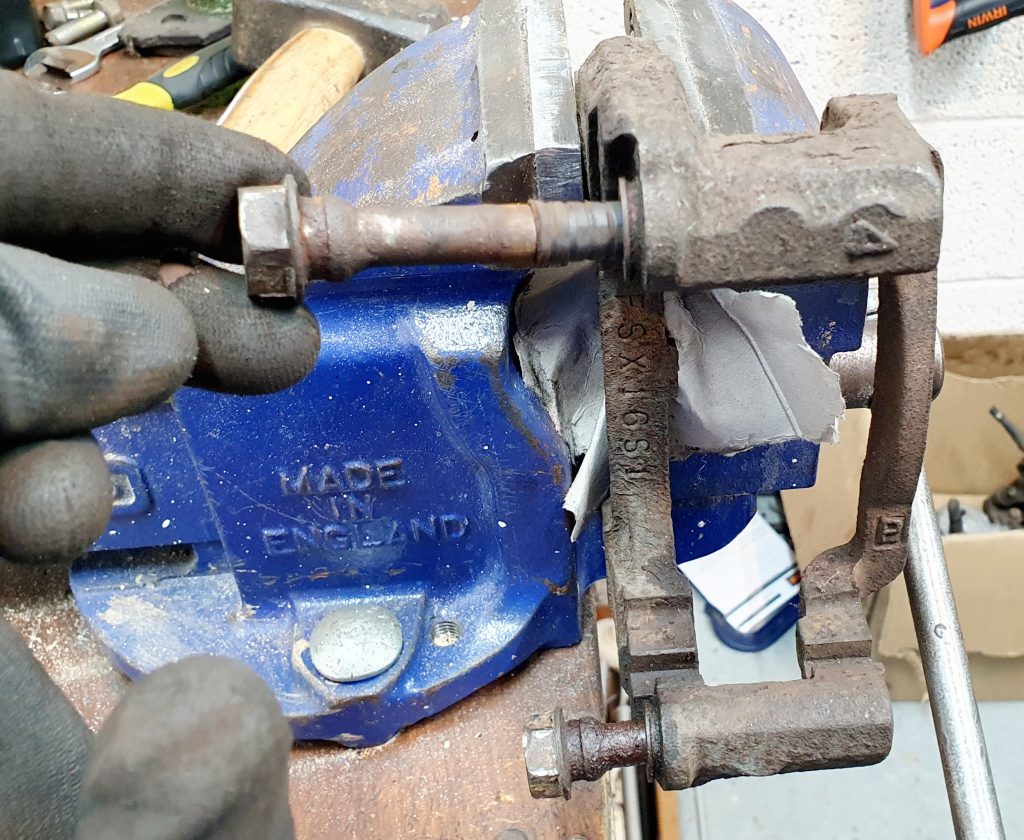
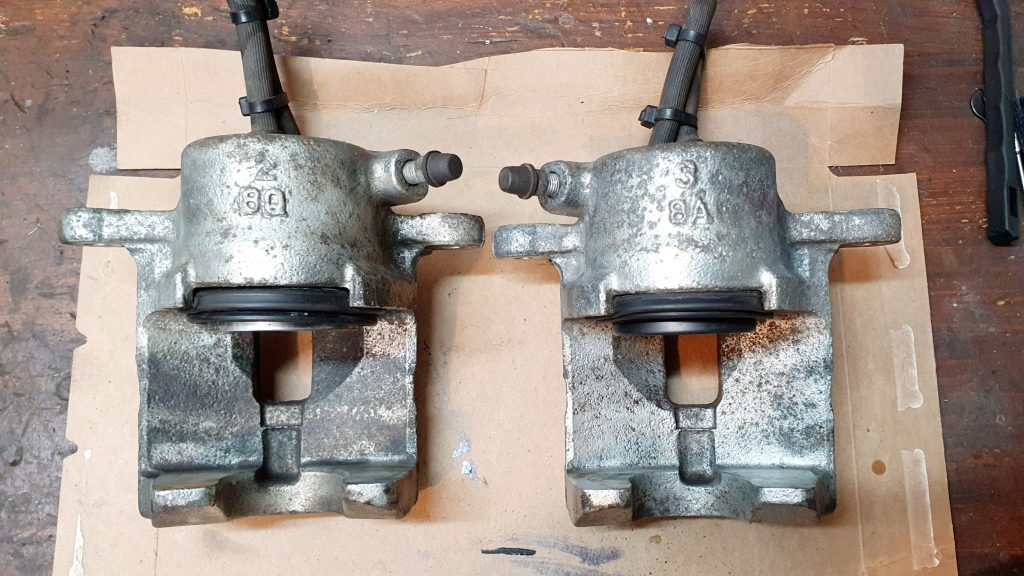
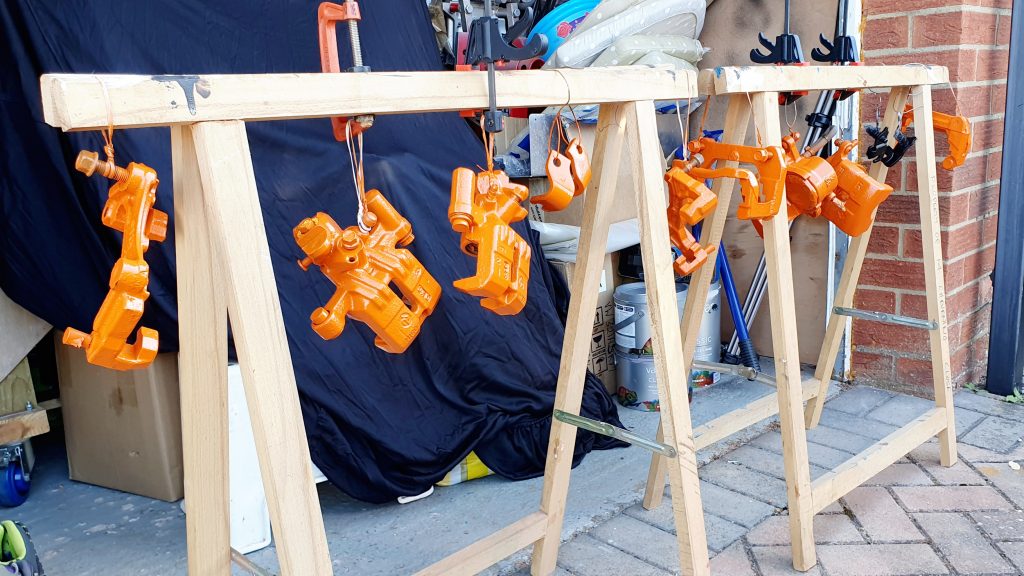
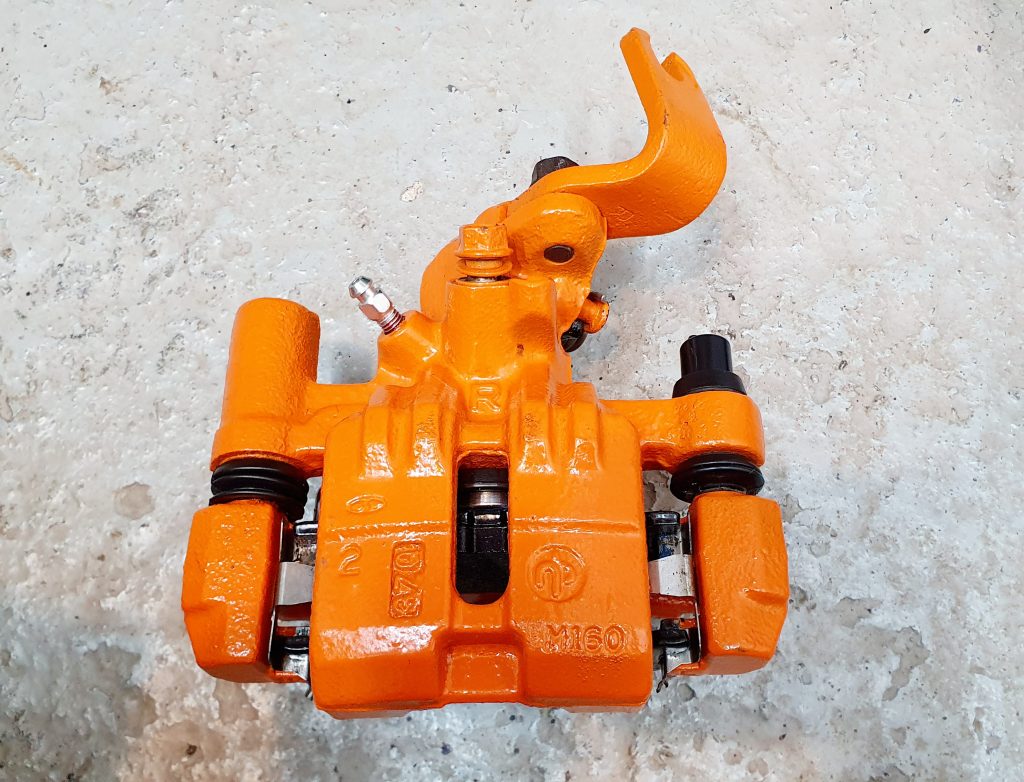
Before fitting the brake calipers I refurbished them fully. I was lucky that the front calipers were almost brand new as they had been replaced recently. So, they just needed a good clean and a paint. The only thing that was bad was the slide pins which must have been original. So, I bought some replacement ones which came with new boots in the kit from eBay.
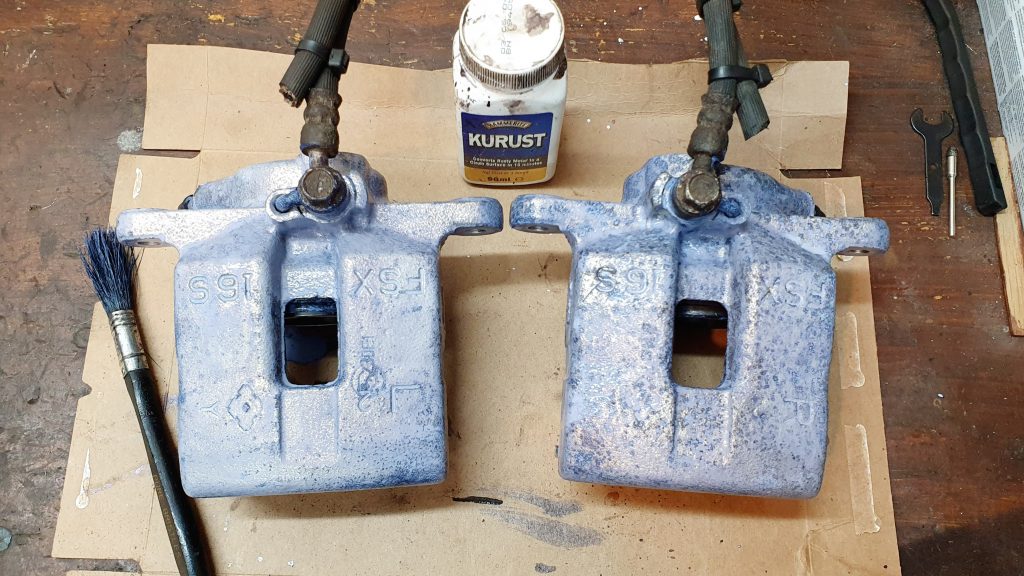
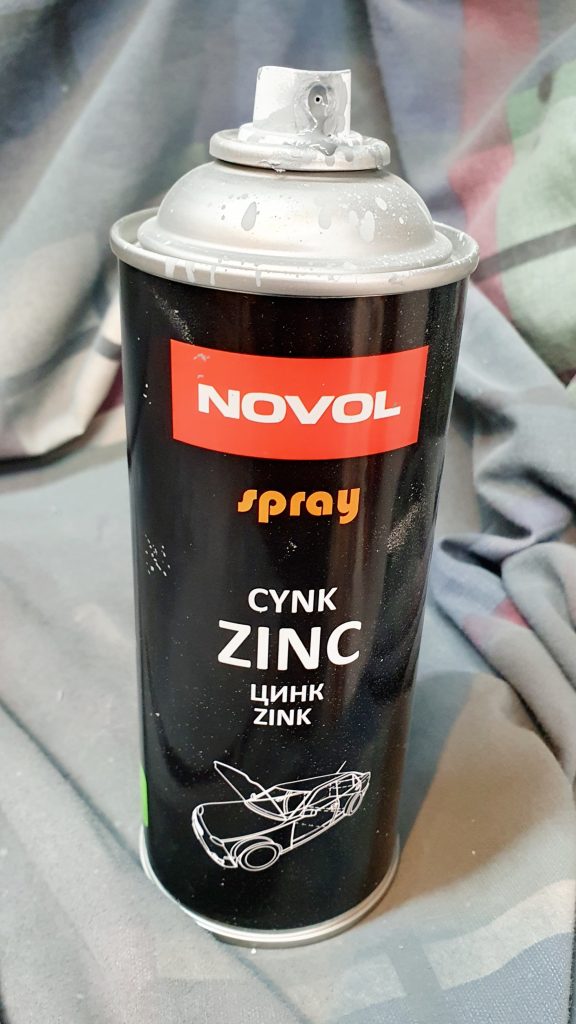
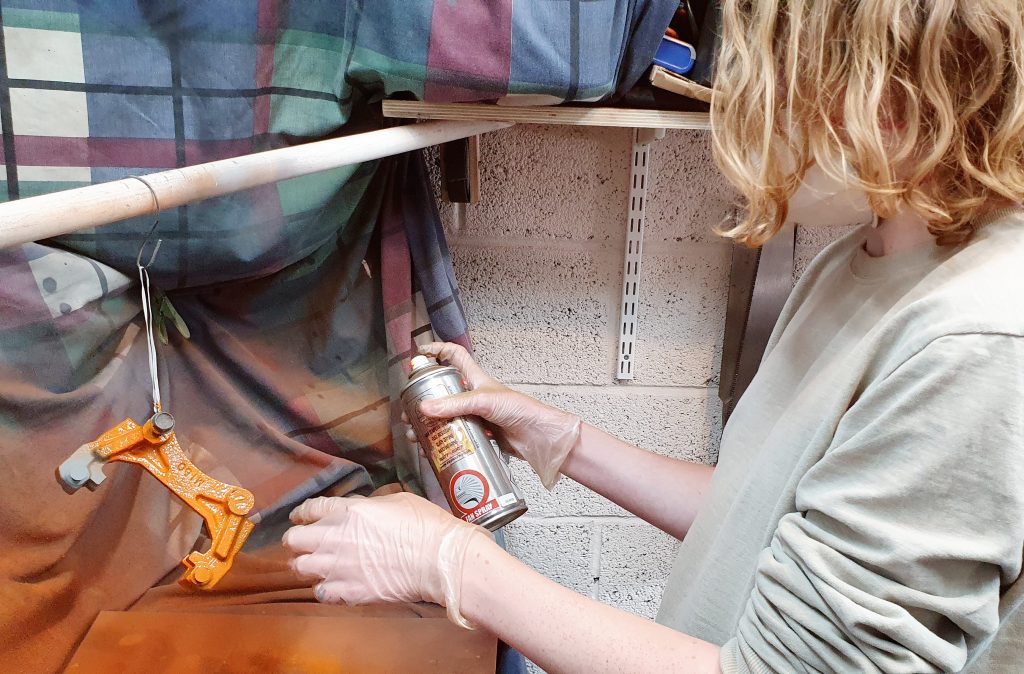
I used a high temperature primer as I have read this really helps with the longevity of the top coats for calipers and gives a much better finish than going straight to metal.
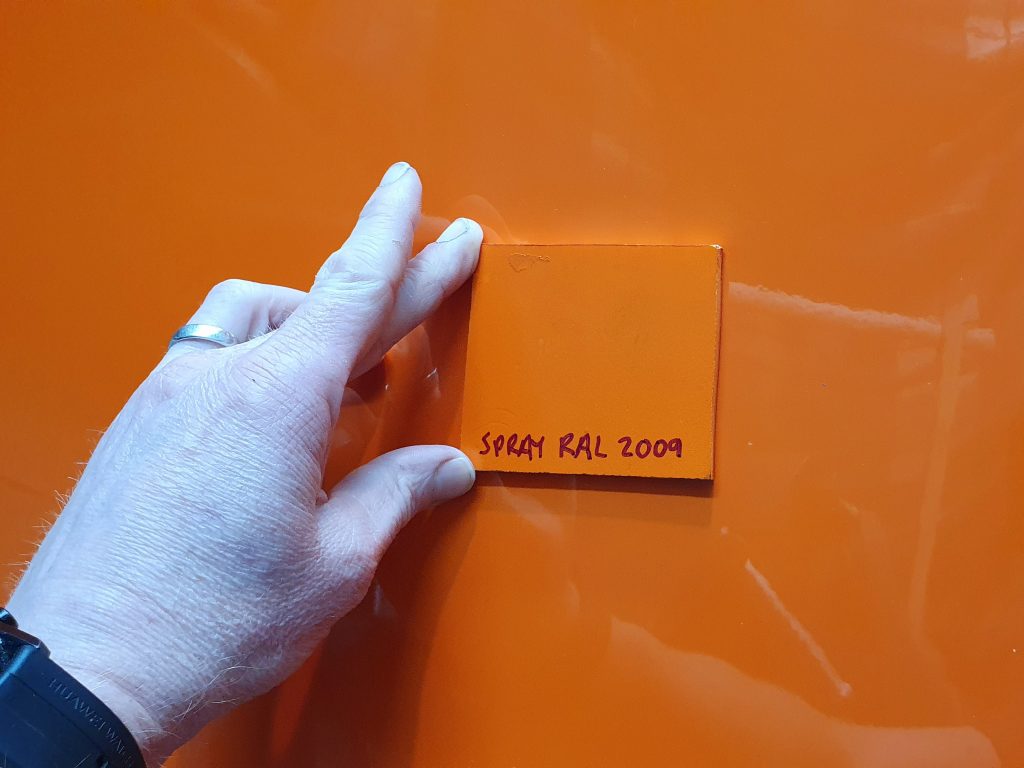
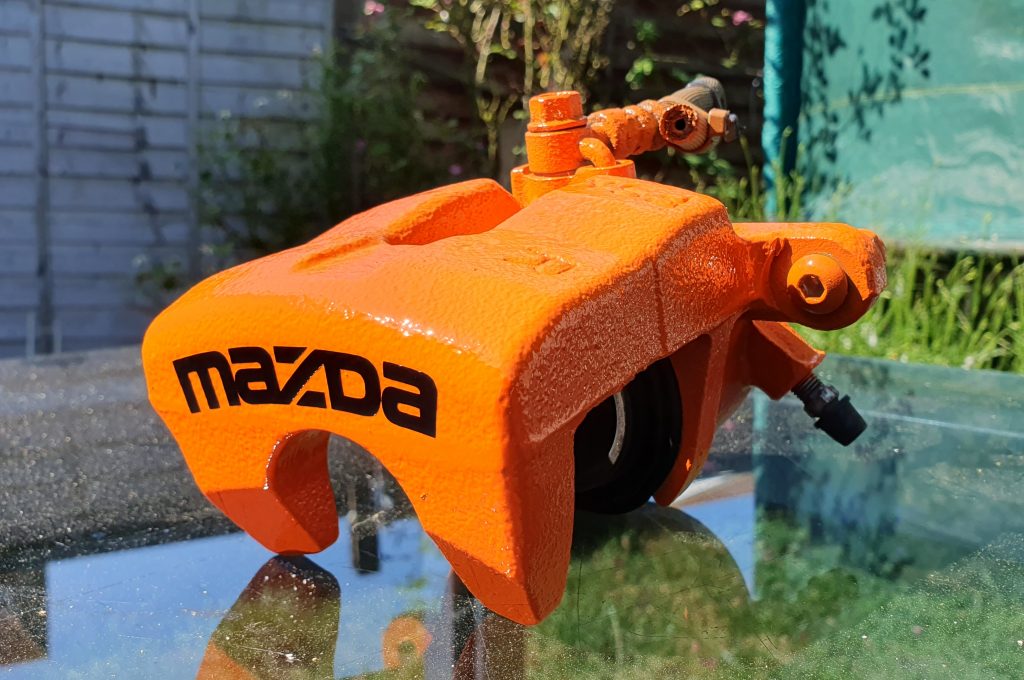
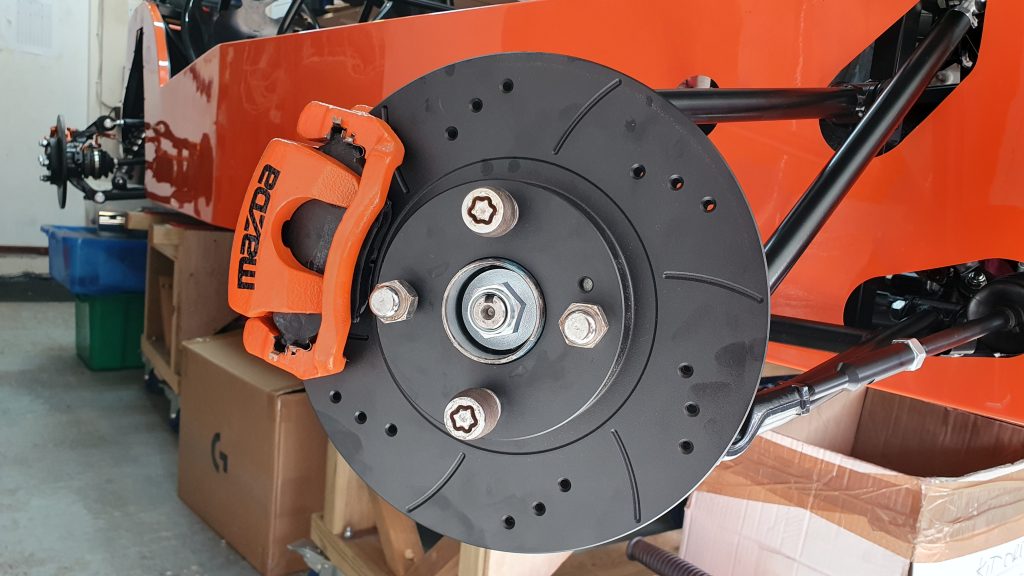
I then chose to use some body coloured caliper spray paint for the calipers. Now as mentioned in a previous post the orange gel coat colour is RAL 2009 Traffic Orange. I managed to find some high temperature caliper spray paint on eBay that you could choose the RAL colour for. This was a perfect match for the gel coat. I’m determined for this build not to have a 50 shades of orange…
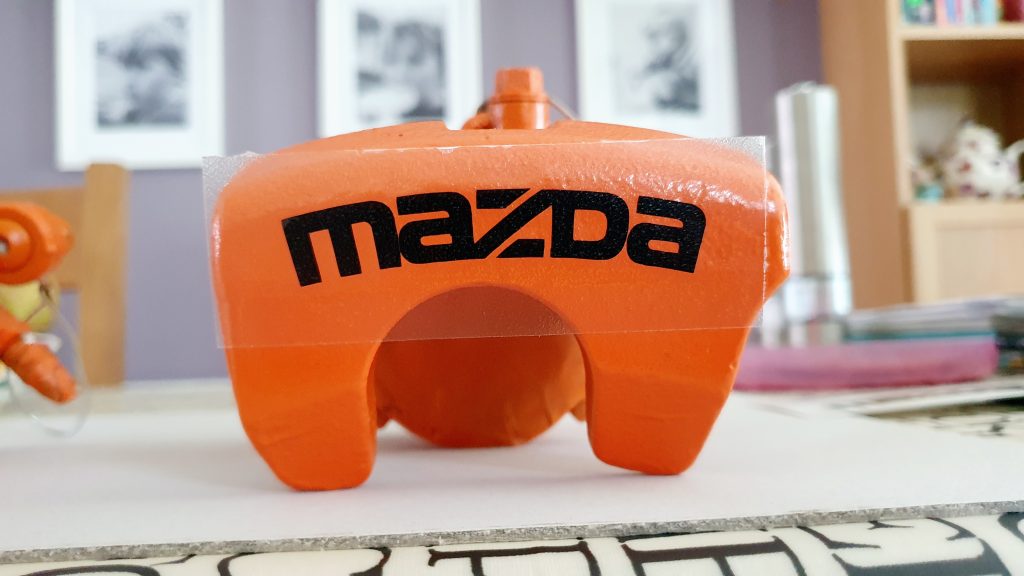
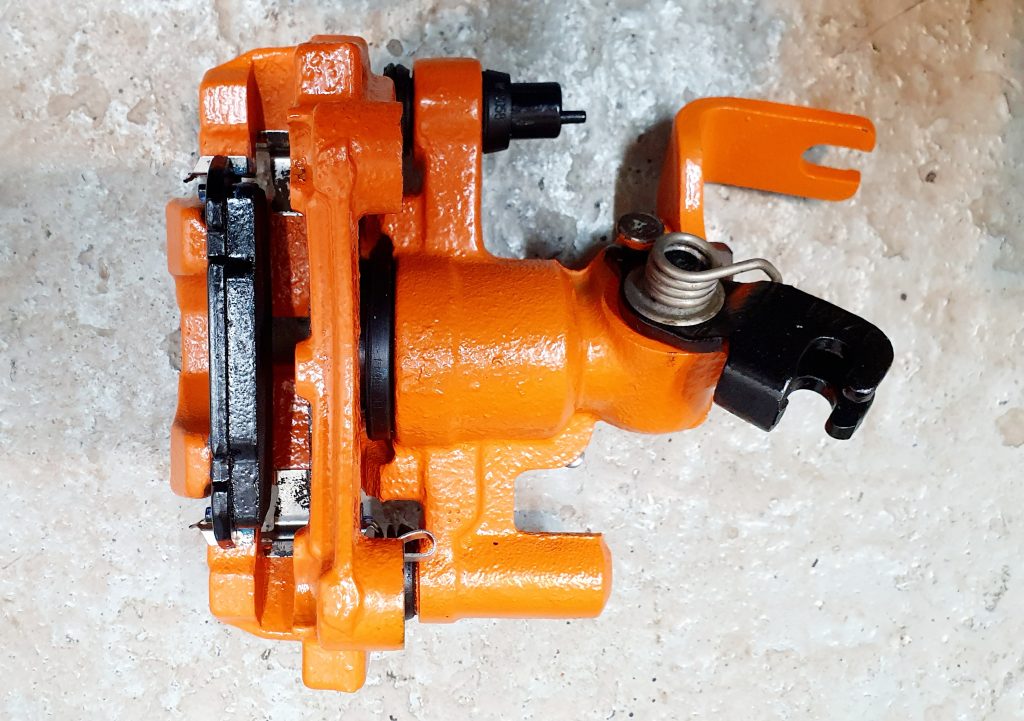
I added black Mazda high temperature caliper decals to the front calipers to give a subtle nod to the Mazda heritage of the donor.
I then used a high temp lacquer on top of the colour coat which went over the decal to help seal them in. Also, again I’ve read really helps to keep the colour long term and provides a nice dirt resistant surface. This is evident in the finish once dried, a really nice smooth surface which should help stop any dirt from sticking to it. I’m really pleased with the overall result!
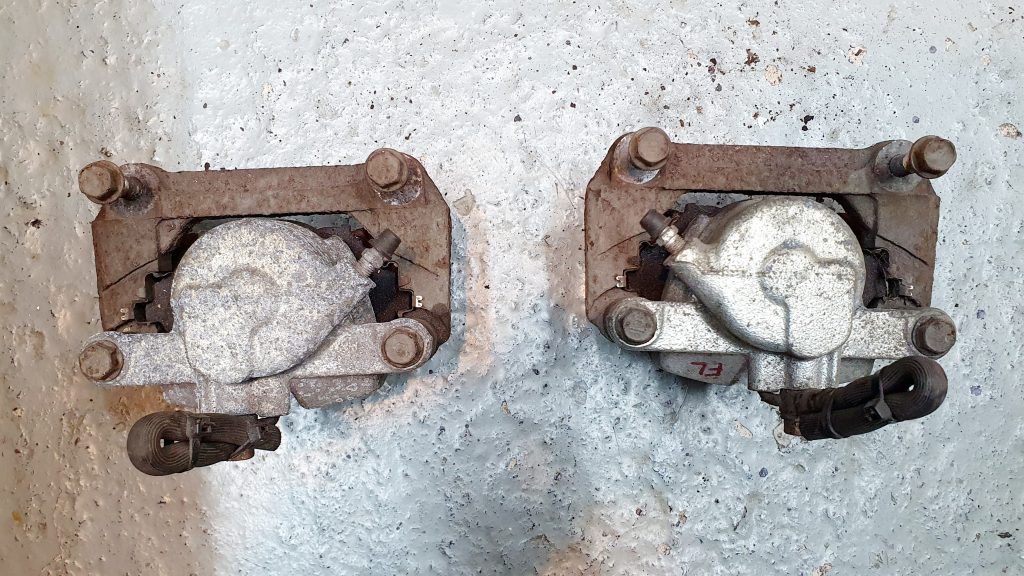
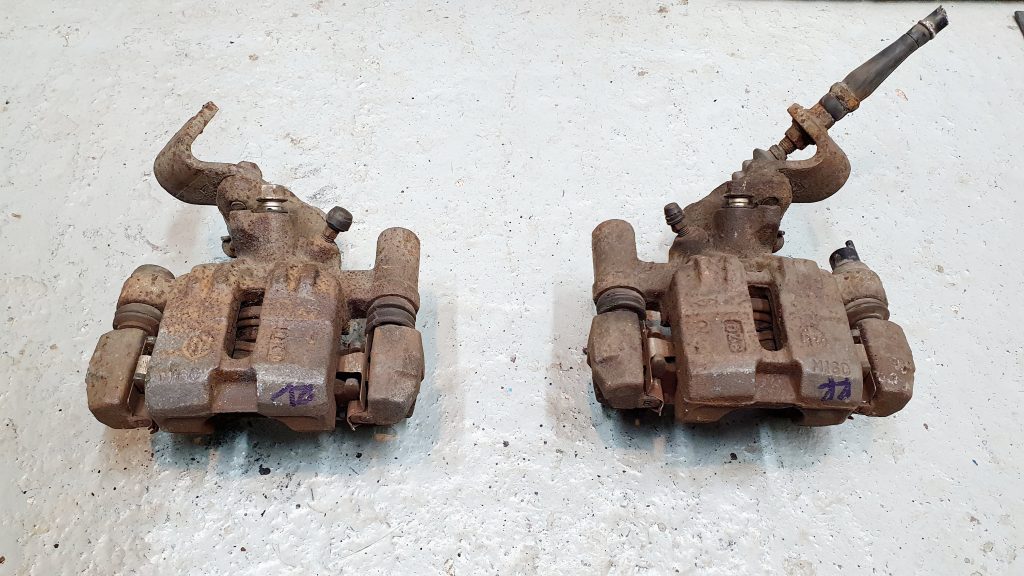
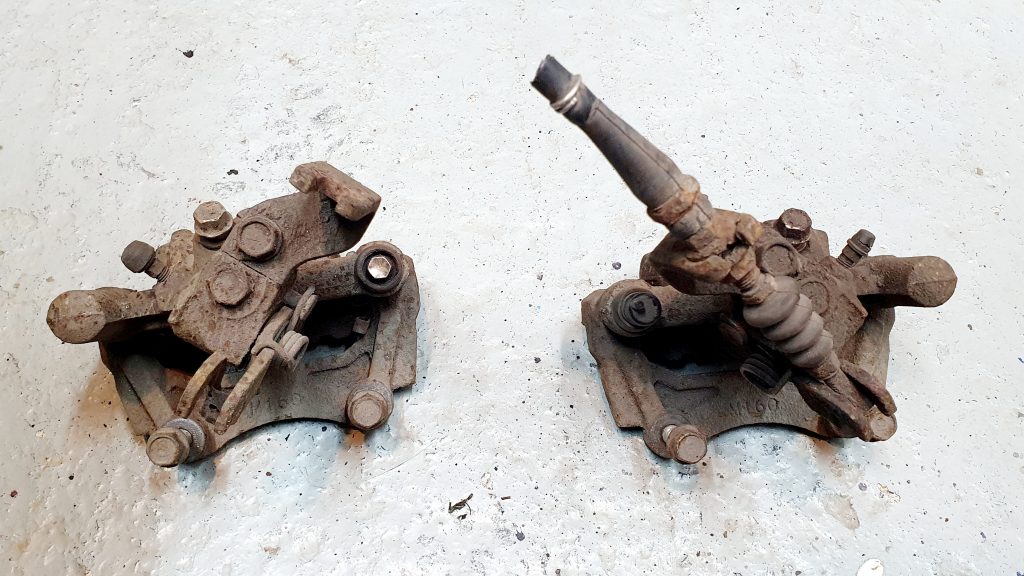
Rear Brake Caliper Refurbishment
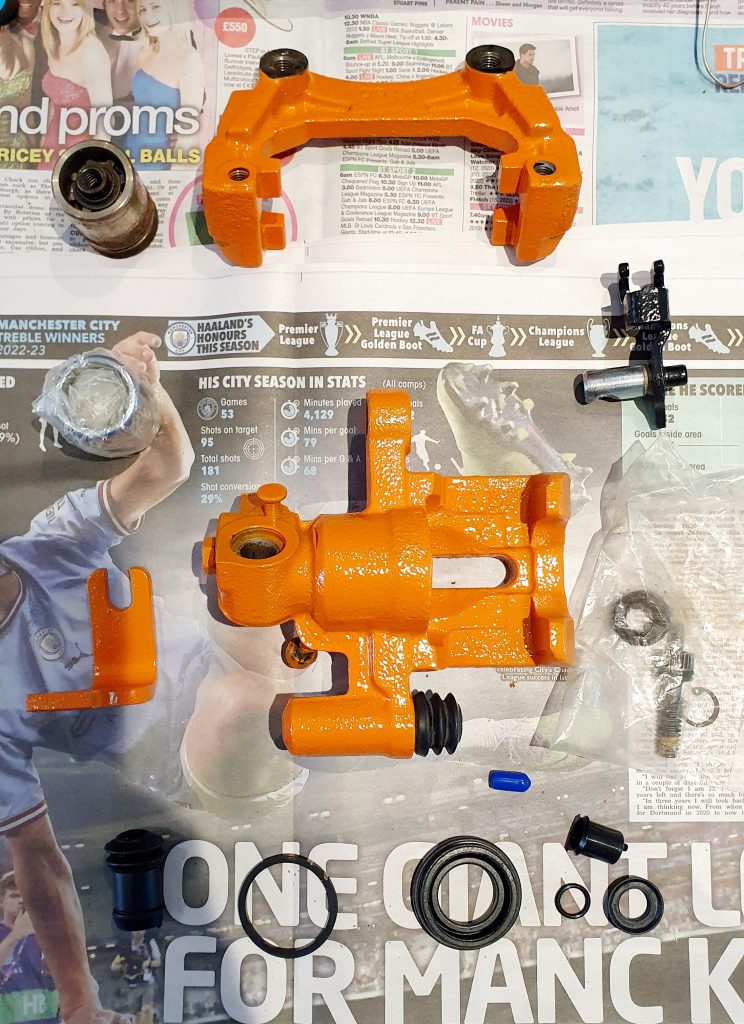
The rear calipers however needed a bit more of an overhaul due to 19 years of grime… My approach was to strip them right back and replace the piston, seals and boots to make them like new. I also gave them a good clean and paint with the same approach as the front calipers. Although I didn’t add a decal to the rears due to the space available, plus I thought it would be a bit of overkill.
To make the refurbishment easier, I bought a rear caliper rebuild kit from eBay. This included boots, seals, bleed valve, and I also bought new pistons. I found a really useful rebuild video on YouTube showing the process which is pretty straight forward.
I cleaned up and reused the brake pad shims as they were still OK with no rust etc.
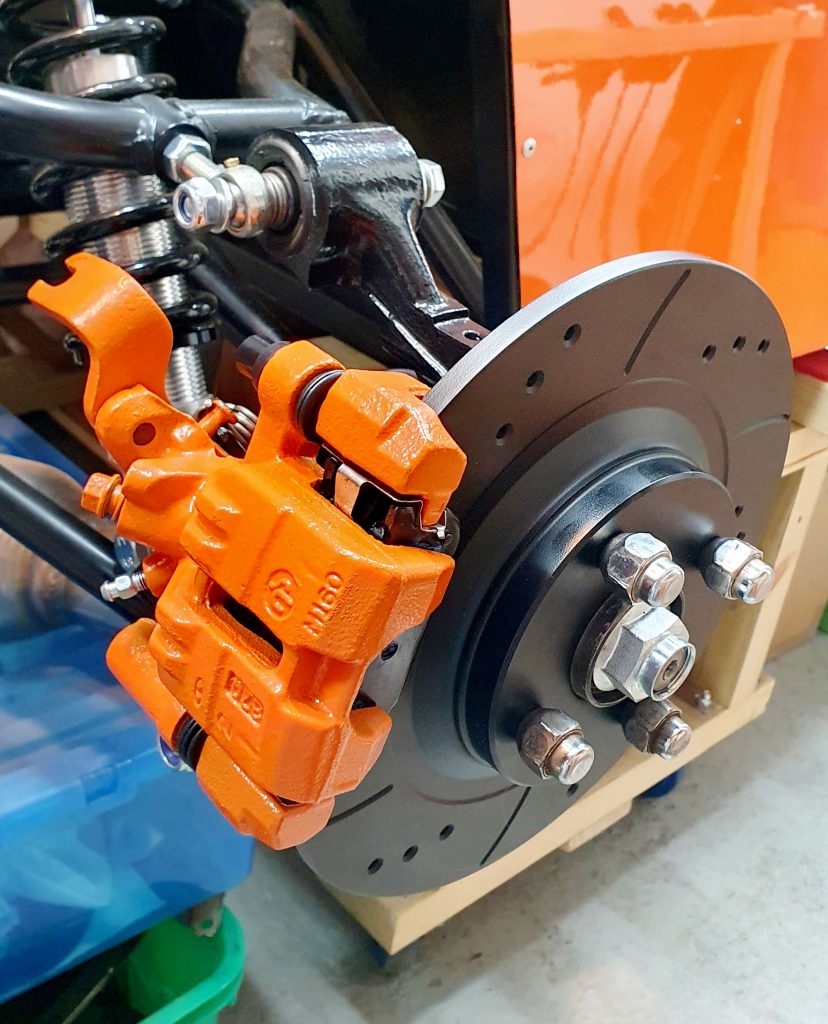
Brake Discs
I didn’t want to reuse old brake discs and pads, even though I did consider this at the start. I’ve got this far with the car looking fresh and new, I didn’t want to scrimp out now and compromise the build, finish and ultimately safety. So, after much deliberation (probably too much) I decided to opt for full drilled and grooved discs front and rear for the car. I much prefer the look of drilled and grooved and I do plan to track the car so it will provide true braking benefit at higher temps and keeping the pads clean.
So I opted for to MTEC black painted discs Front and Rear from BOFI Racing. Having painted discs means the typical areas that rust on discs at the edges and in the center are protected and should help keep the discs looking fresh and help them last longer. The MTEC disks get very good reviews for the price point and they weren’t any more expensive than going to OEM plain discs. I’m pleased with my purchase so far, they seem very good quality.
Brake Pads
For the MK Indy there seems to be a reoccurring recommendation of pads that provide a good level of braking performance both on road and on track and that is the Mintex 1144. I believe they are a slightly softer compound than the OEM pad but this is needed to provide sufficient performance due to the car being about half the weight of the original MX-5.
They are quite a bit more expensive than the OEM pads and particularly for the larger Mk2.5 sports brakes that I have they were £120 per axle from eBay instead of about £60 an axle for the standard Mk2 brakes. But from everything I’ve heard they are worth it.
Fitting the Brakes
The fitting of the refurbished calipers to the vehicle was straight forward and I used new caliper bolts again from eBay and once torqued up marked them with a orange paint mark so they can easily be visually checked later on.
Fitting the brake discs and pads was also straight forward as per the Mazda manual.
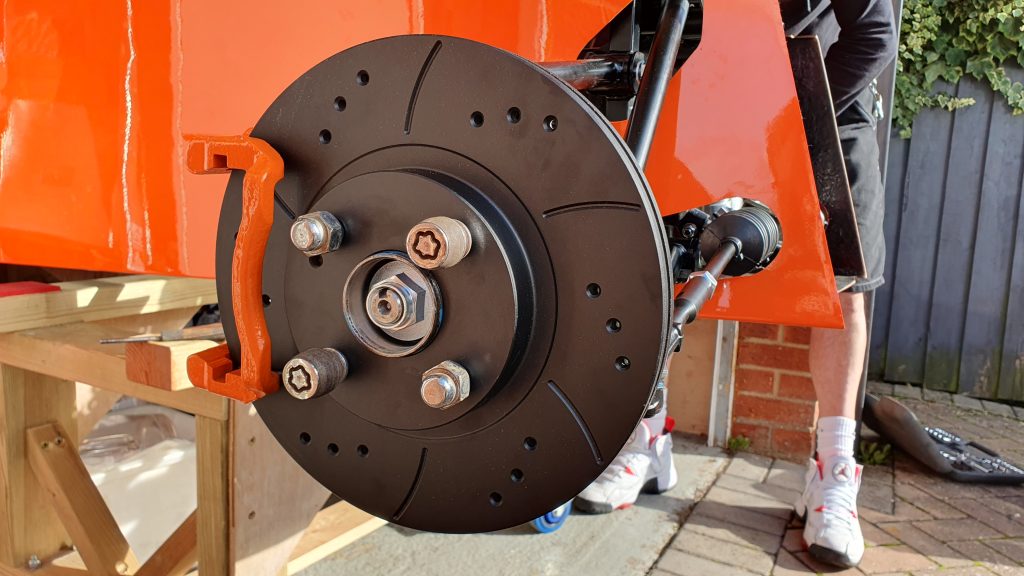
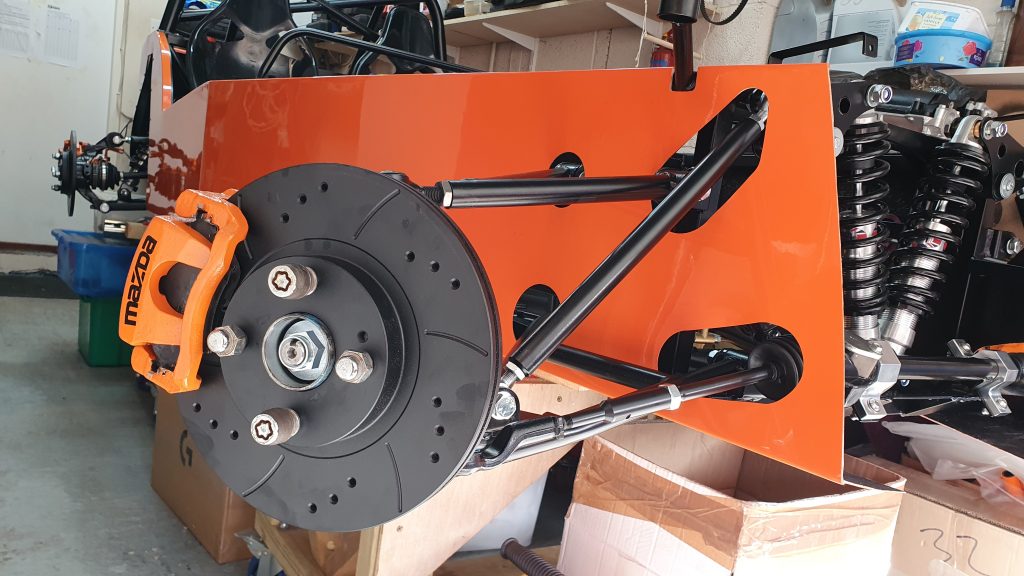
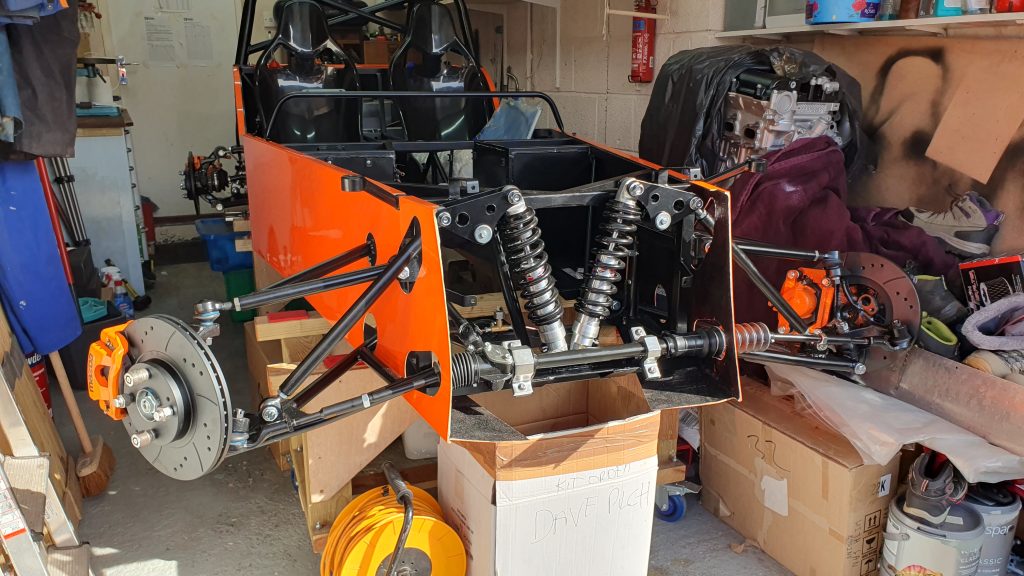
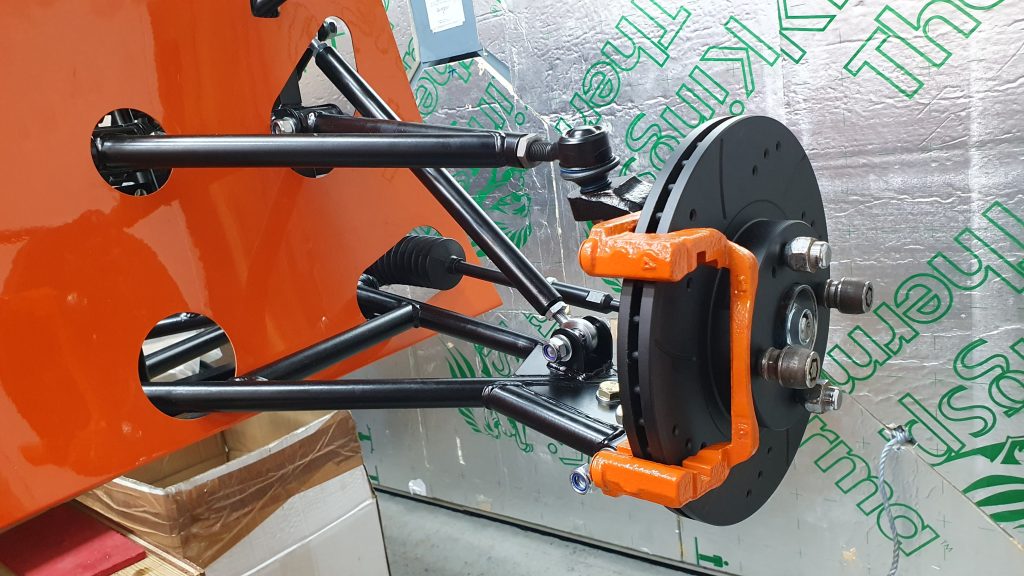
After fitting the MK Indy Brakes and Front Suspension I am rather pleased with the result, giving the overall look I was aiming for. The body coloured calipers contrast with the black suspension components really well and will pop nicely behind my Anthracite Pro Race 1.2 wheels!
I’m nearly ready for the wheels to go on…
Summary of Build Costs and Hours
Here is a summary of the costs and person hours (total number of hours for every person that has helped) for the build so far. This should hopefully help others with the planning of their builds, by providing cost and time actually incurred for this build. A more detailed breakdown of all the costs and hours worked on the build to date can be viewed here.
| Person Hours Worked This Post | |
|---|---|
| Clean and Prep Front and Rear Calipers for Paint | 3 hrs |
| Paint Front and Rear Calipers | 3 hrs |
| Fitting Front Suspension | 4 hrs |
| Rebuilding Rear Brake Calipers | 2 hrs |
| Fitting Front and Rear Brakes | 4 hrs |
| Car Build Costs This Post | |
|---|---|
| Caliper Paint Ral2009 Traffic Orange (2x cans) | £32 |
| Rear Caliper Rebuild Kit | £33 |
| Front Caliper Boots and Slide Pins | £13 |
| MTEC Black Drilled and Grooved 270mm Front Discs (Pair) | £85 |
| MTEC Black Drilled and Grooved 276mm Rear Discs (Pair) | £75 |
| Caliper Zinc Primer | £12 |
| Caliper Mazda Decals | £7 |
| Mintex M1144 Rear Pads | £114 |
| Mintex M1144 Front Pads | £120 |
| M12 x1.5 Fine Thread x 40mm Bolts for Front Bottom Ball Joint | £7 |
| Mazda Caliper Decals | £7 |
| Totals | This Post | To Date | All Posts |
|---|---|---|---|
| Person Hours Worked | 16 hrs | 360 hrs | 500 hrs |
| Car Build | £505 | £12,349 | £13,956 |
| Tools / Consumables | £0 | £459 | £470 |
| Total Cost | £505 | £12,808 | £14,426 |
