
So, after fitting the differential and refurbishing the driveshafts and uprights it was time to fit the MK Indy rear suspension onto my MK Indy RX-5 chassis. This is one section that is well documented in the manual and is quite straightforward.
Parts Required
The parts required for this part of the build are:
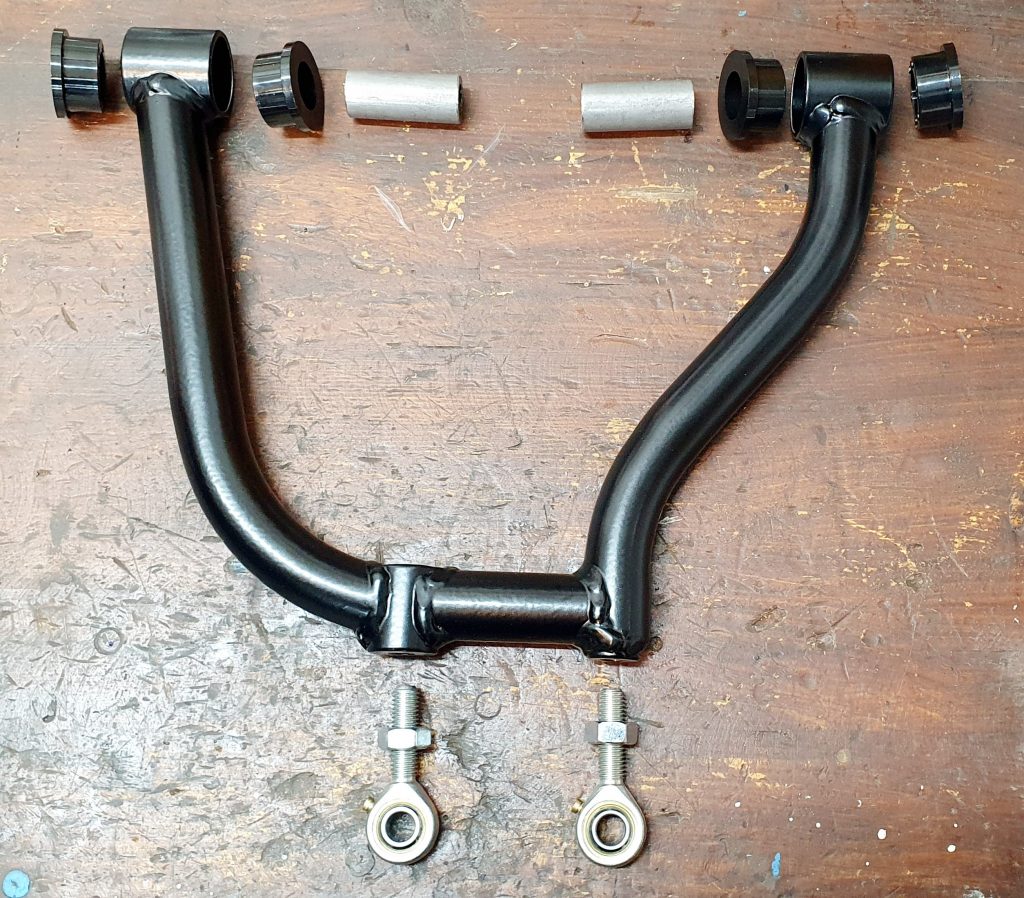
- 2x Upper Wishbones – part of the kit
- 2x Lower Wishbones – part of the kit
- 2x Rear Protech Coilovers (250lb 9″) – part of the kit
- 24x Poly bushes – part of the kit
- 12x crush tubes – part of the kit
- Suspension Bolts – part of kit bolt pack
- 4x Rose Joints – part of the kit
- Bearing Grease
- Rear Mazda Uprights and Hubs – refurbished from Donor Vehicle
- Mazda Driveshafts – refurbished from Donor Vehicle
Assembly of Wishbones
The assembly of the parts is quite straightforward and is well documented in the manual. The Parrot Bros have also done a great video on this which is worth watching beforehand. The first job is to assemble the wishbones by pressing in the poly bushes and crush tubes. These come with the kit. I first used a round file to take any burrs off the wishbones from the powder coating. I also used a tap to clean out the threads for the rose joints. These are the parts for the upper wishbone.
I used some Comma lithium bearing grease as this is what I had to hand, the MK website says to use silicone grease but it appears either can be used here. I put a thin layer inside the wishbone tube where the poly bush goes. My son then helped to press in the poly bushes in pairs using the vice and some soft aluminium vice grips my Dad made for me.
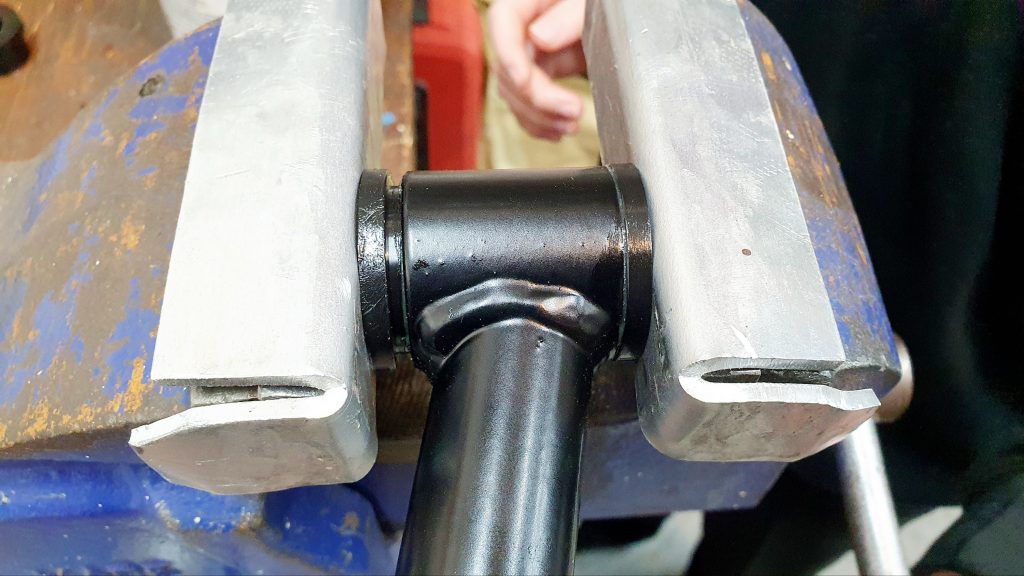
This was really easy and is even quicker with 2x pairs of hands. I held the wishbone straight and initially held the poly bushes in place while my son wound in the vice.
The same procedure was used for the lower wishbones, the only difference is you have more poly bushes instead of rose joints unless you have the RR wishbones.
Preparing the Chassis
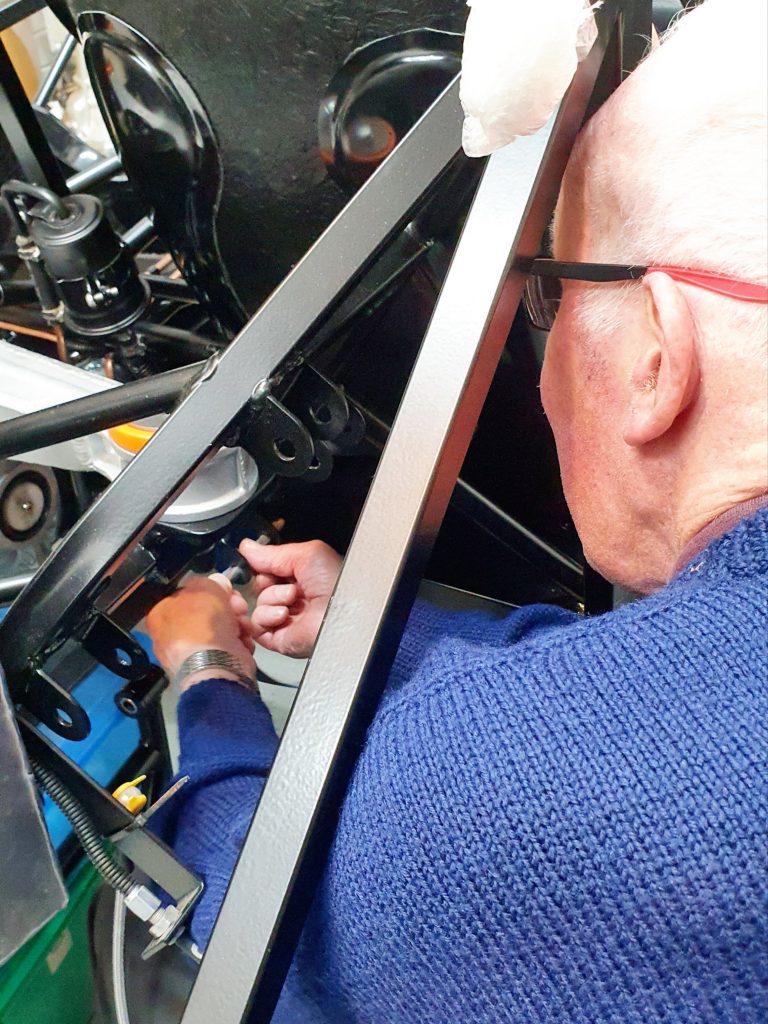
Before trying to fit the wishbones check the clearances you have on the chassis holes for the bolts. We found we had too much powder coating on the inside of the hole, so the bolt wouldn’t go through. My Dad simply ran a 12mm drill bit through the holes by hand to clean them out, which worked well.
Assembling the MK Indy Rear Suspension
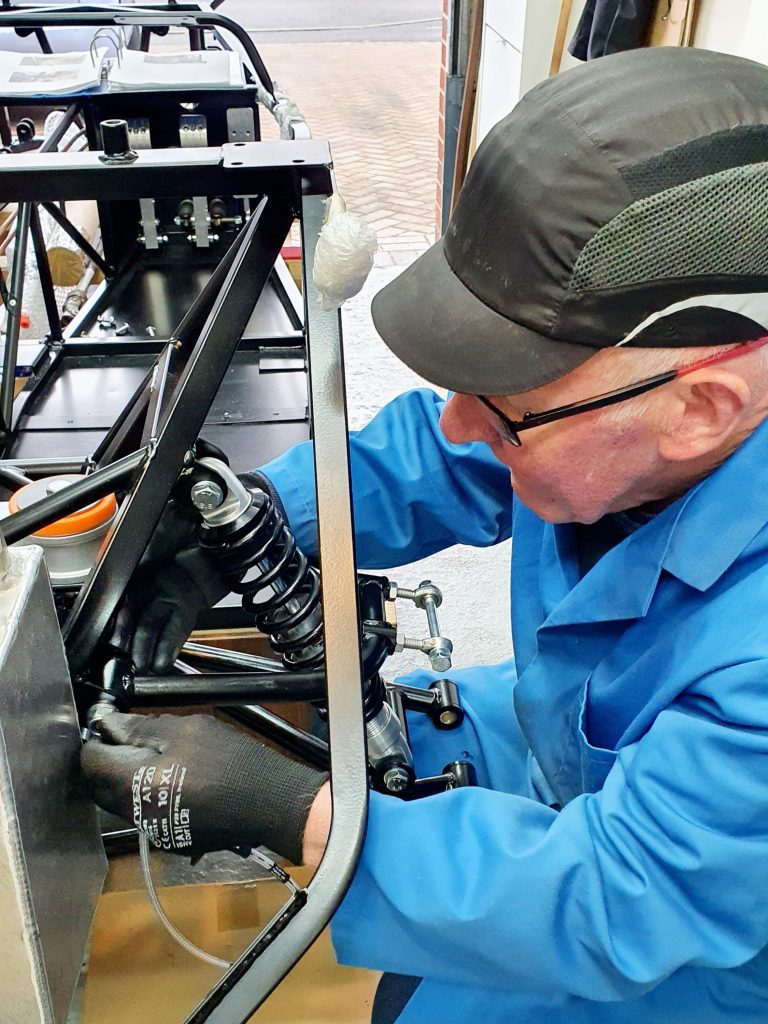
Next was simply following the manual, paying particular attention to the direction of the bolts. If you don’t, you won’t be able to get some of the bolts out for maintenance later on once you have all the body panels in place – without cutting them. A couple of bolts need a little persuasion with a hammer, but other than that it is straightforward. My mate Dave built up the entire rear left suspension, so I can now blame him if there are any problems on this side!
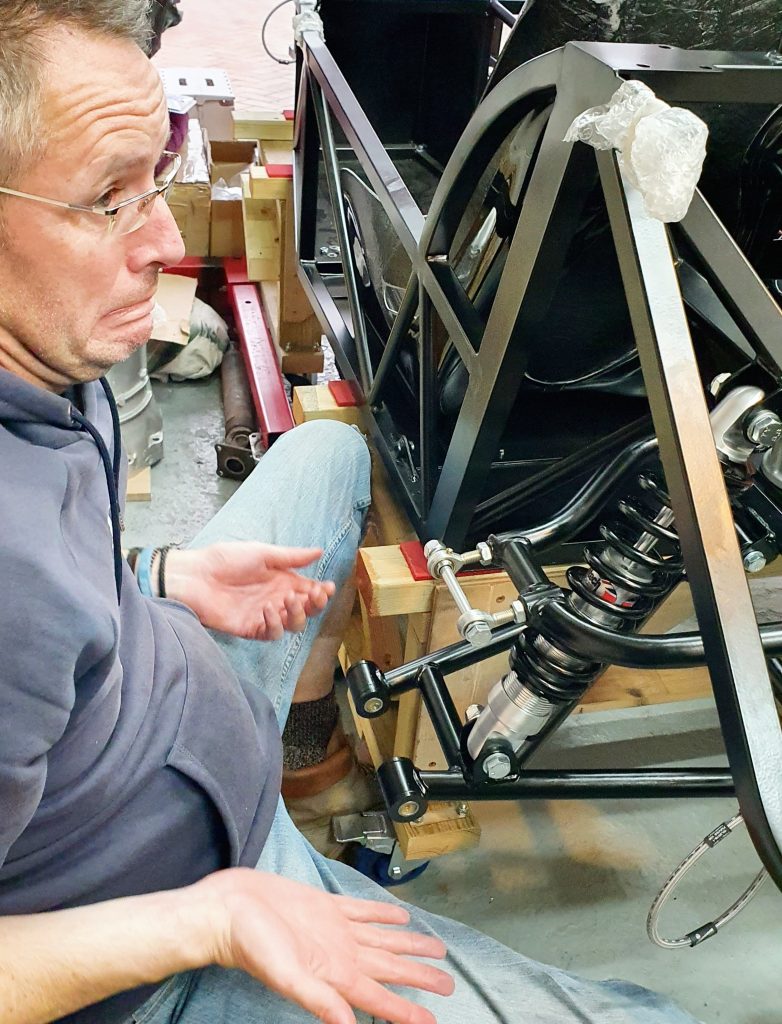
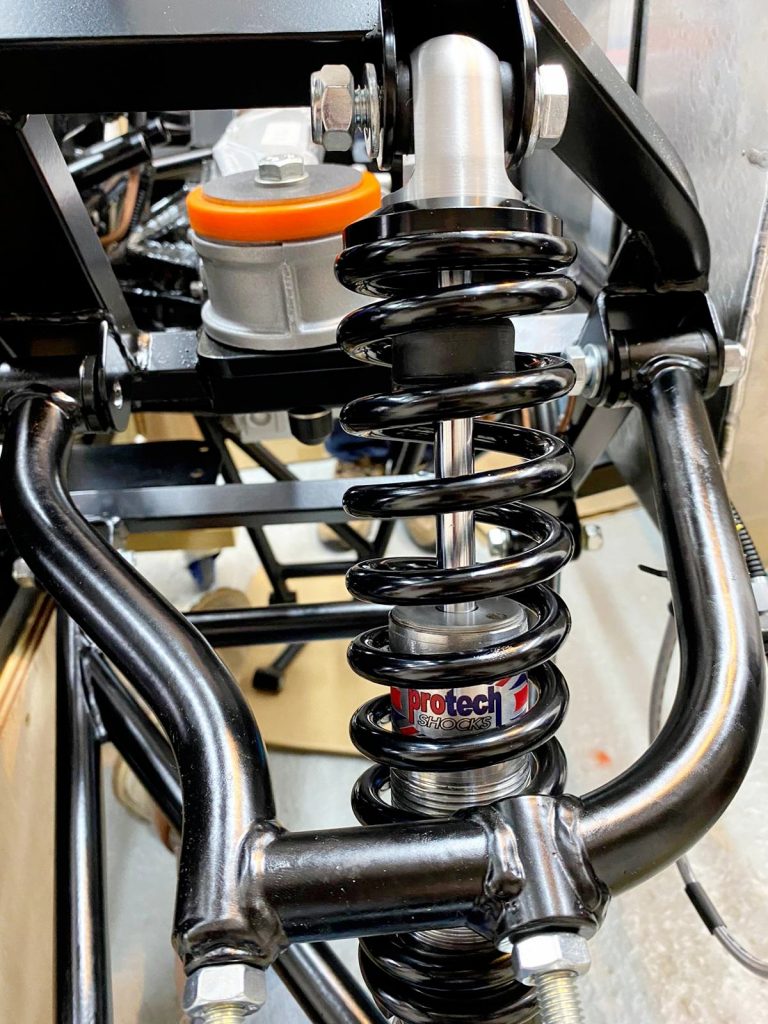
The only thing to note, that is not clear in the manual, is which Protech shocks to use for the back. It is the longer 9″ 250lb version. Note carefully the orientation of the shock needed in the manual. Also, make sure the shocks are fully assembled correctly with the spring retaining cup at the top round the correct way. The Parrott Bros had some issues with theirs not being assembled correctly.
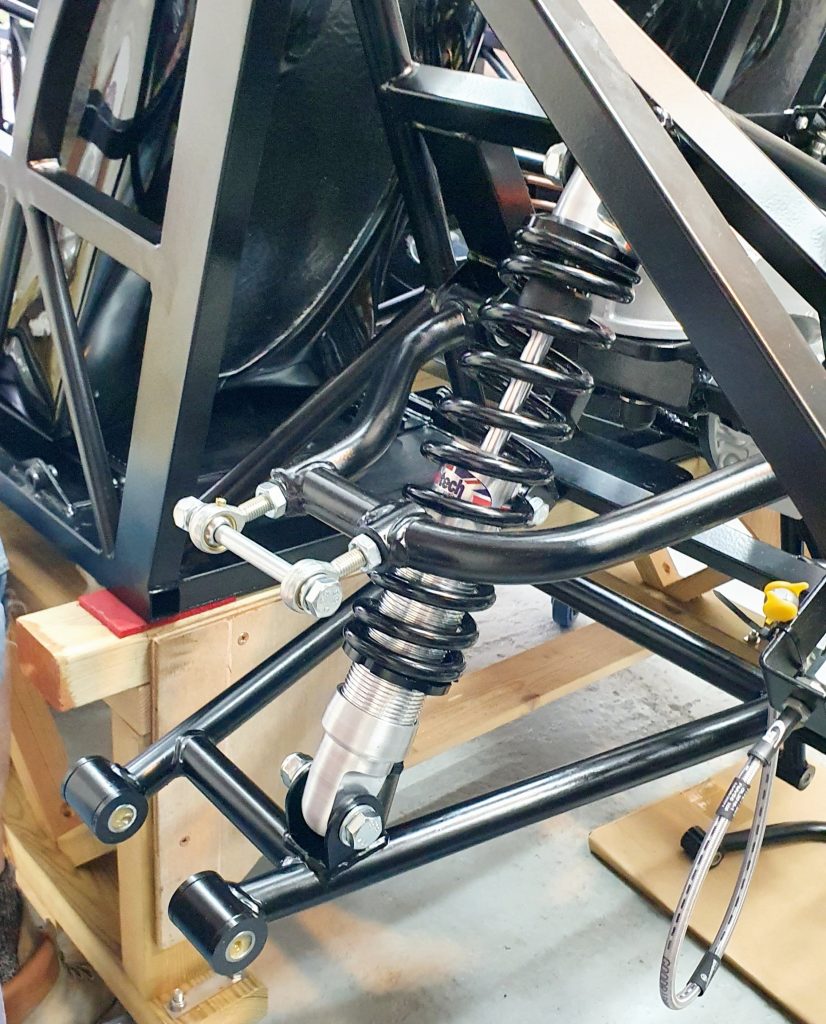
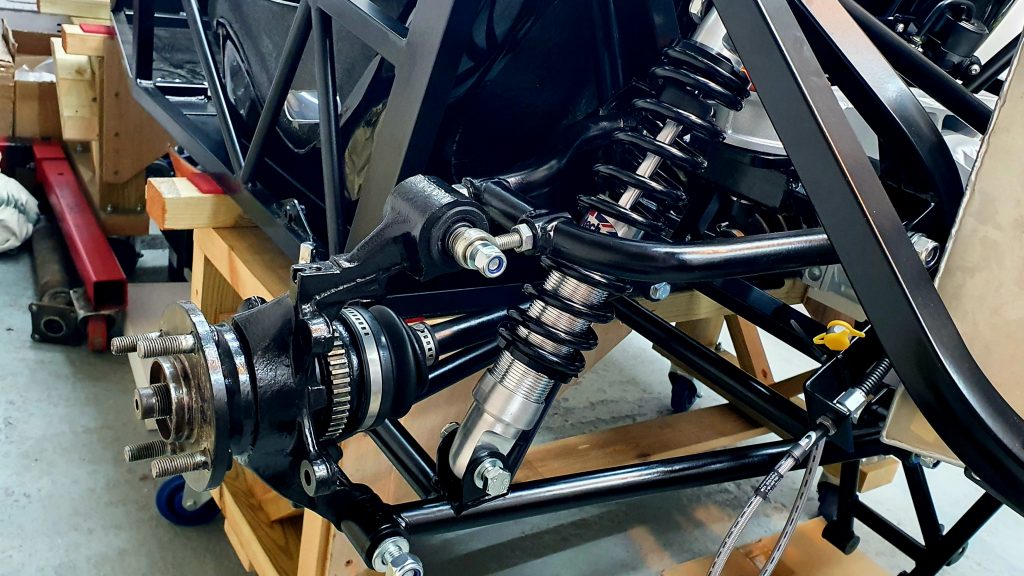
This is what it looks like before you add the rear uprights. Note at this stage the bolts should only be done up finger tight and only torqued up once the car is on the ground with the full weight of the car on it. Otherwise, it can throw your geometry setup out.
My Dad then assembled the rear right-hand side suspension. So, I can blame him if there are any problems with this side!
Fitting the Rear Uprights and Driveshafts
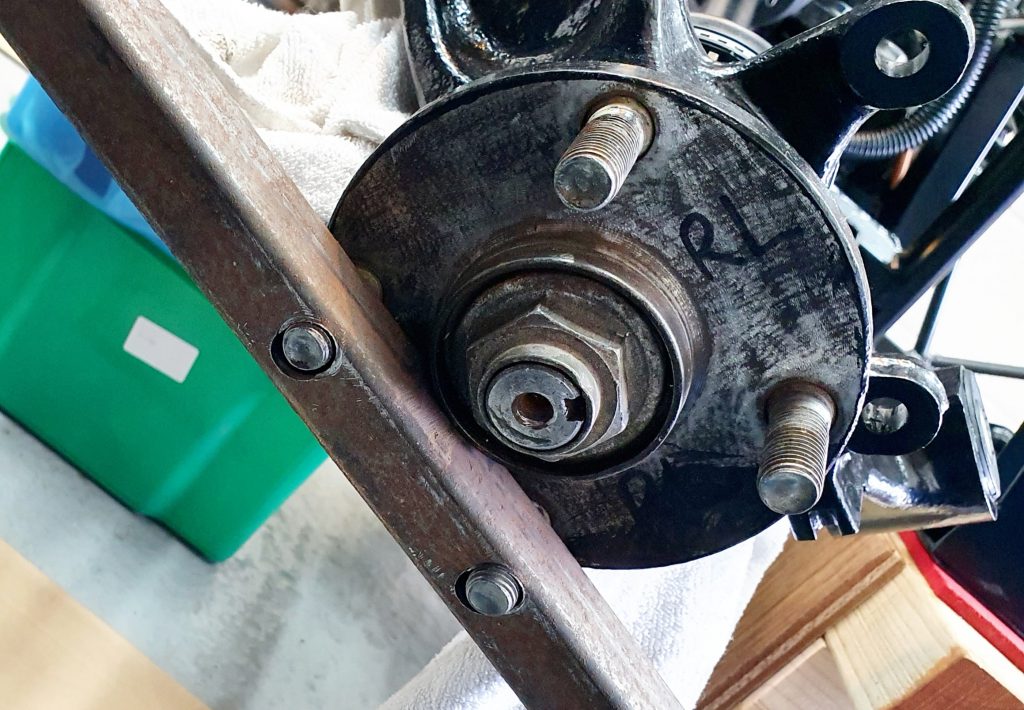
Next was to fit the Mazda Driveshafts and rear uprights which I had already refurbished. One thing to note here is that the original rear right Mazda upright goes on the rear left of the RX-5 and vice versa. This helps with the geometry of the rear suspension and routing of brake lines and callipers.
The driveshafts simply push into the differential and you need to ensure they are seated all the way in. It just needs a persuading tap with a mallet on the end of each driveshaft to get past the spring clip. Once into the differential, you can push on the upright onto the other end. Just make sure you smear some copper grease on the spline to help with removal later on.
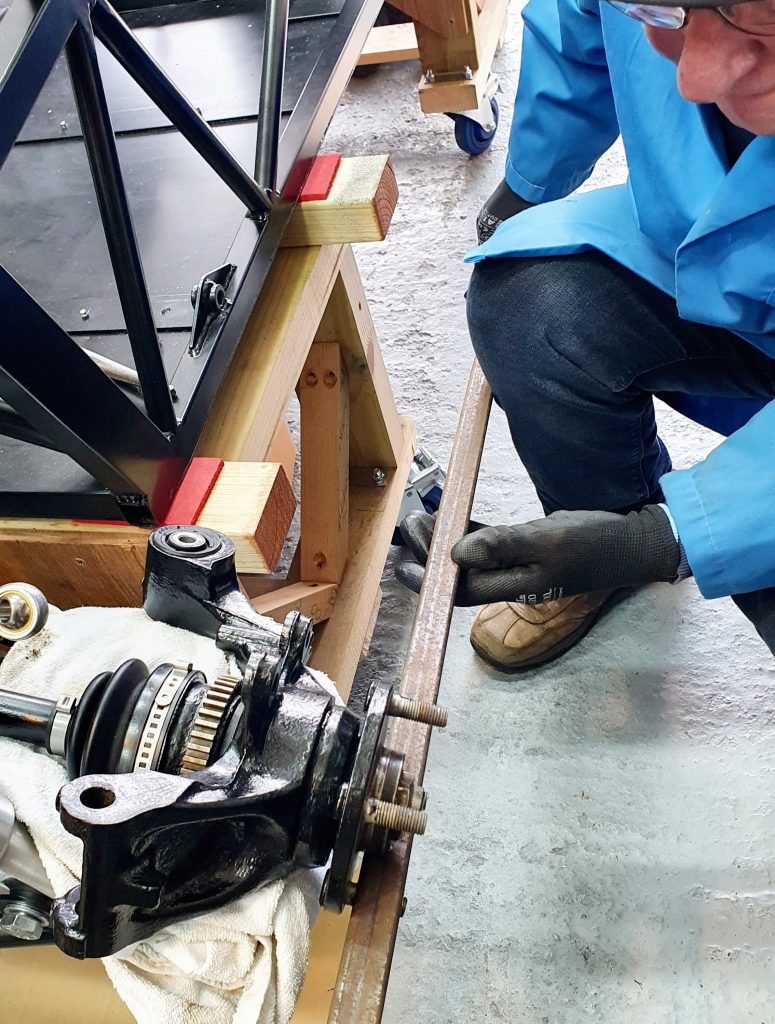
We then used the old hub nuts to wind the upright fully onto the driveshaft end. Next we used our previously made-up ‘hub locking bar‘ (made from a piece of steel inch tube with a couple of holes in it) to hold the hub in place whilst we tightened up the hub nut. We only tightened it enough to ensure it was fully seated. Later on we will replace these with the new hub nuts.
Once this was complete we could then bolt the upright to the rear suspension as per the manual.
Here is the rear suspension fully completed with driveshafts in and the shocks and upright fitted.
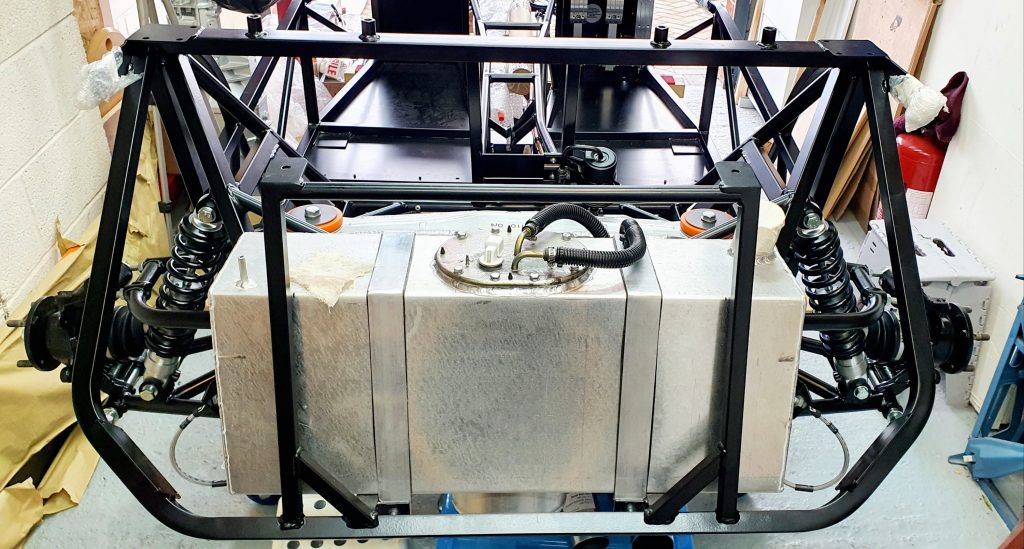
The Rear of the car is now starting to look like a car!
Summary
Overall this was a pretty straightforward job and a really satisfying one too! The rear is now really starting to take shape and look like a car! It is now ready the fitting of the rear tub bodywork.
Summary of Build Costs and Hours
Here is a summary of the costs and person hours (total number of hours for every person that has helped) for the build so far. This should hopefully help others with the planning of their builds, by providing cost and time actually incurred for this build. A more detailed breakdown of all the costs and hours worked on the build to date can be viewed here.
| Person Hours Worked This Post | |
|---|---|
| Fit Drive Shafts and Build Rear Suspension (2x people for 6hrs) | 12 hrs |
| Totals | This Post | To Date | All Posts |
|---|---|---|---|
| Person Hours Worked | 12 hrs | 314 hrs | 500 hrs |
| Car Build | £0 | £12,536 | £13,956 |
| Tools / Consumables | £0 | £459 | £470 |
| Total Cost | £0 | £12,995 | £14,426 |
