
I have already fitted the pedal box, brake lines and fuel lines. It is now time to fit the fuel pump and the fuel tank.
Fitting the Fuel Pump to the Tank
The first thing to do is modify the standard Mazda MX-5 fuel pump bracket as per the manual. This straightens out the bracket that the fuel pump is fixed to. This allows the fuel pump to sit in the swirl pot at the bottom of the MK Indy fuel tank. This helps to stop fuel starvation when cornering.

MK can now supply a aluminium bracket in the kit which makes this very easy. This avoids the need to weld anything (as previously needed) and means you get the correct angle easily. All you have to do is cut out a small wedge from the bracket and drill a few holes to rivet the bracket in place.
The Parrott Bros have a great video on this with a bit more detail which is well worth a look before you try it yourself.
Modifying the Bracket
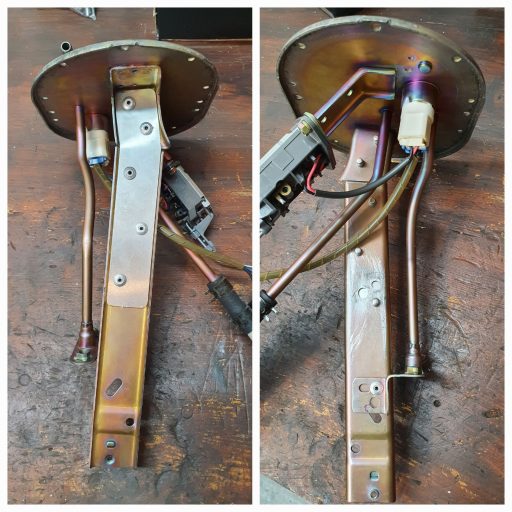
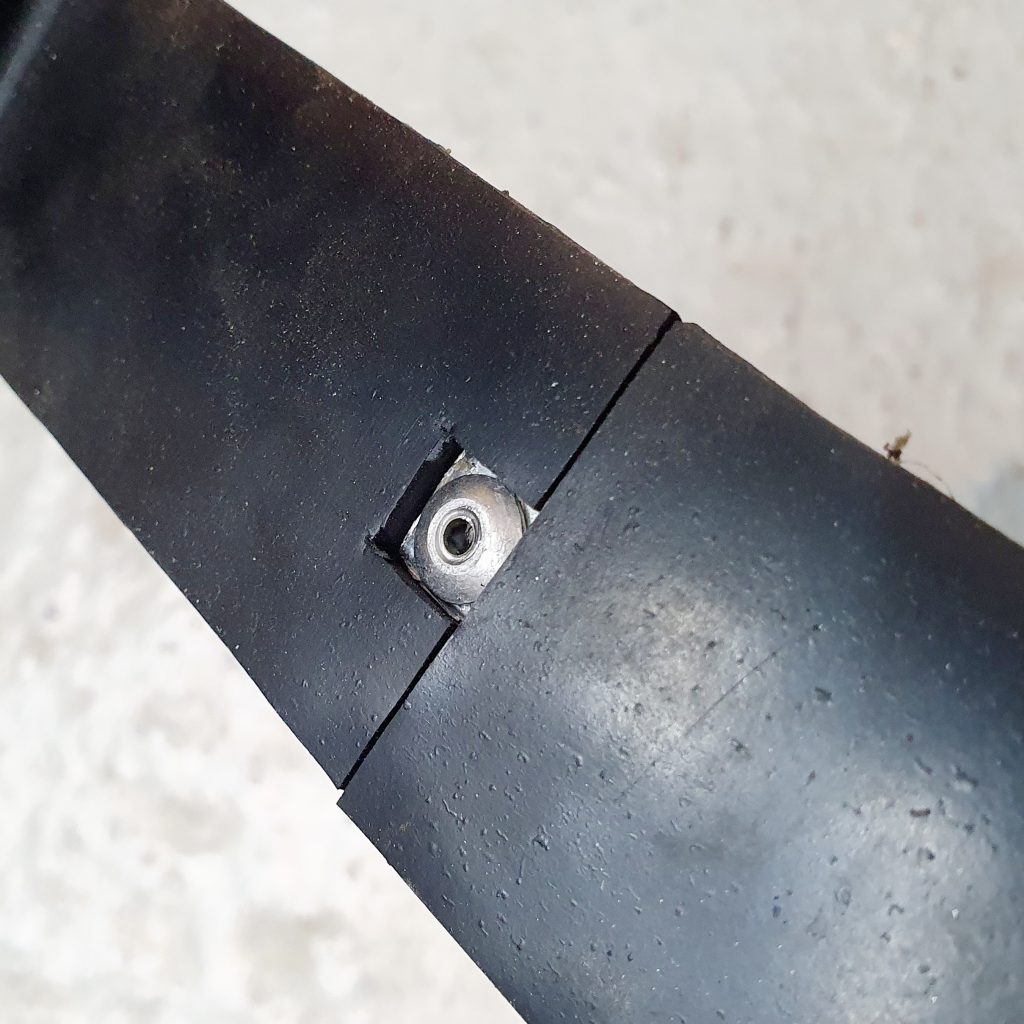
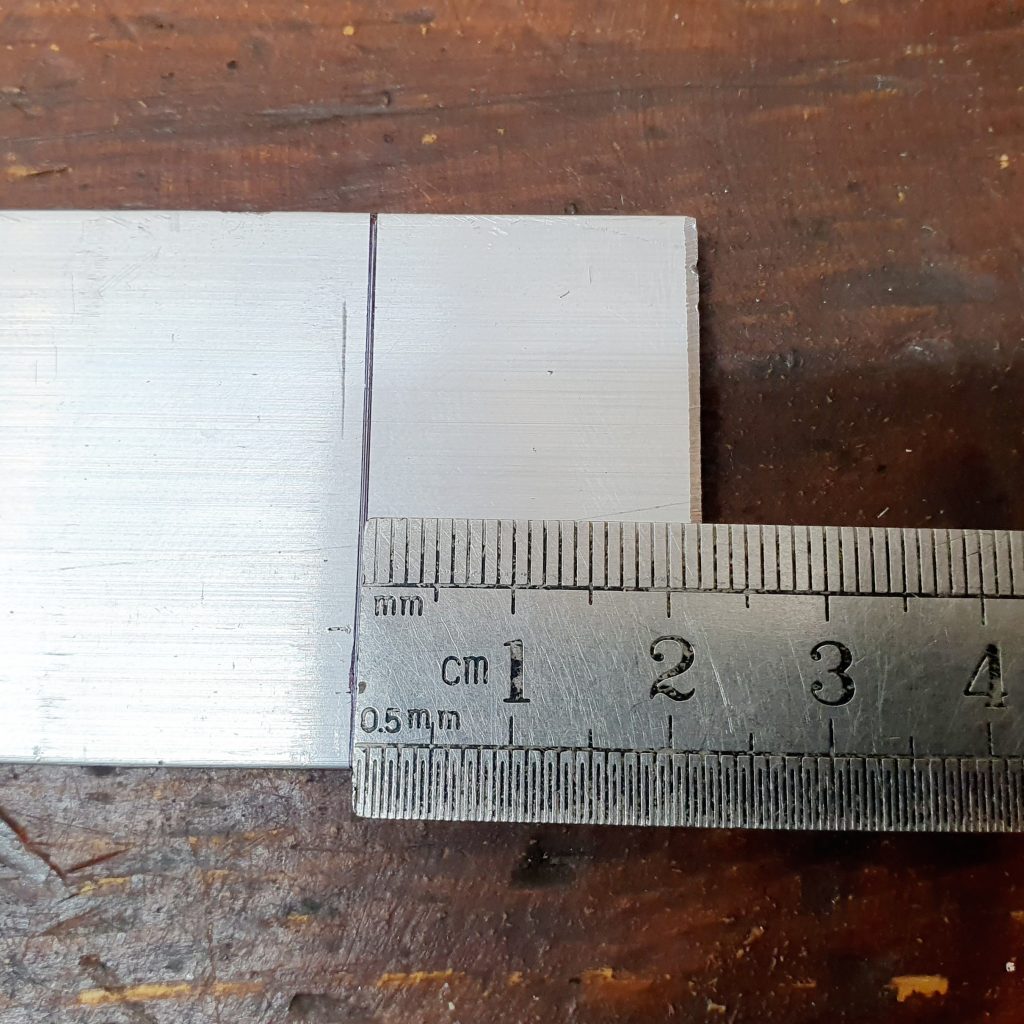
The process is pretty much as per the manual. Here are a few additional things I found out when doing it. The manual shows a measurement of 55mm (Figure 52) for the first cut to be made. I found this needed to be 43mm for my bracket to get the kink in the right place. So measure this against the aluminum bracket and make your own judgement.

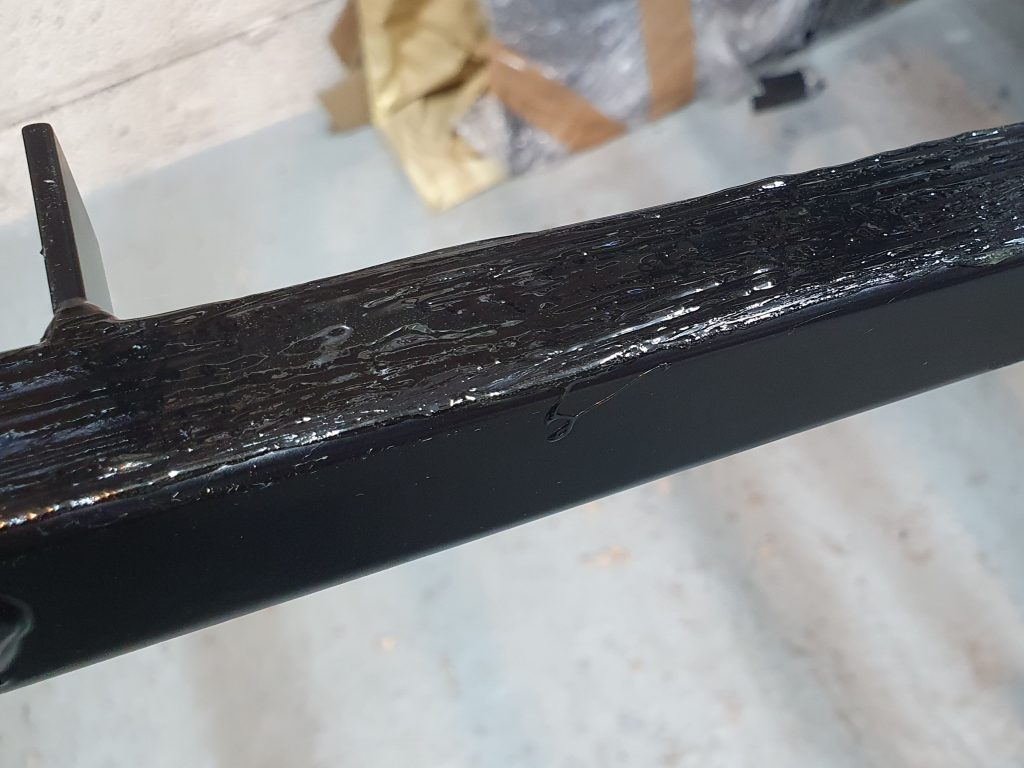
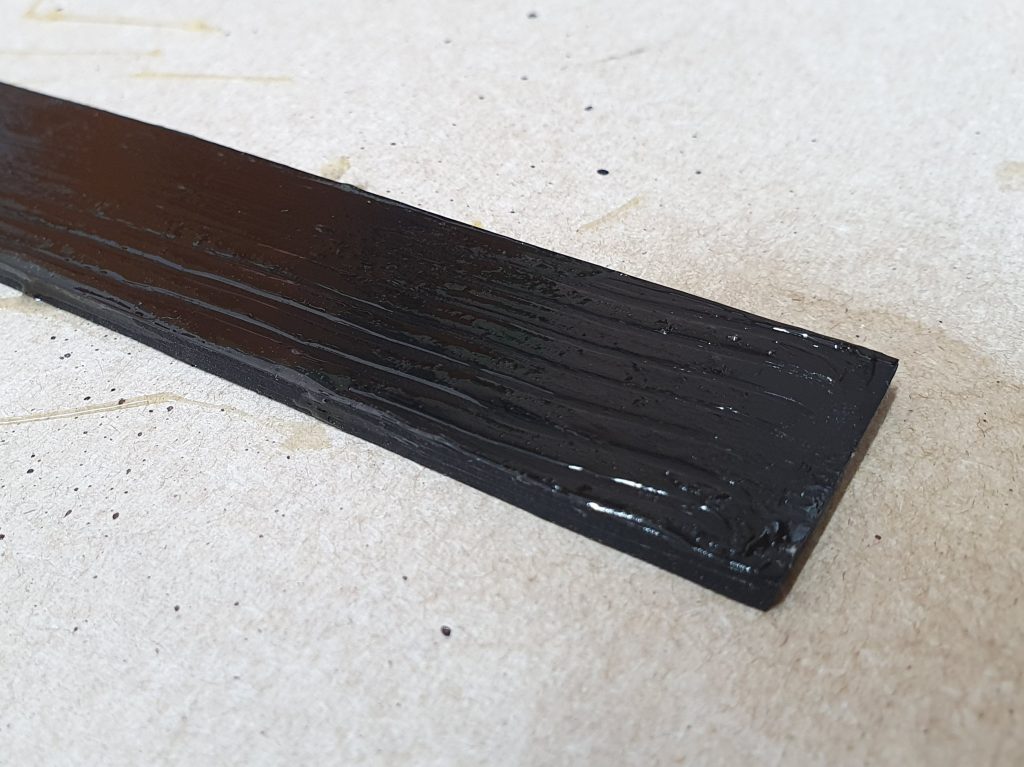
You can see the cuts I made in the image above. I found it easiest to use a dremel with a cutting wheel. Just be very careful as you cut as you do get very close to the fuel lines which you don’t want to cut!
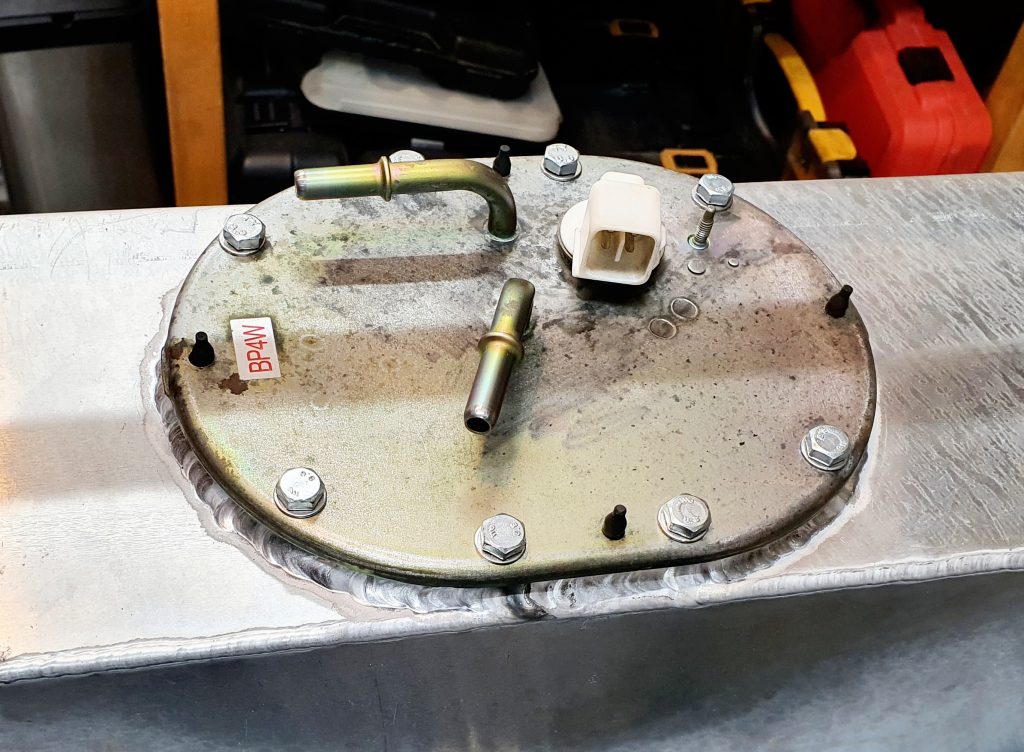
Once you have cut out the small wedge there is one additional thing you need to do on the Mk2.5 fuel pump which isn’t in the manual. I don’t think this is needed on the Mk2 version but can’t be certain.
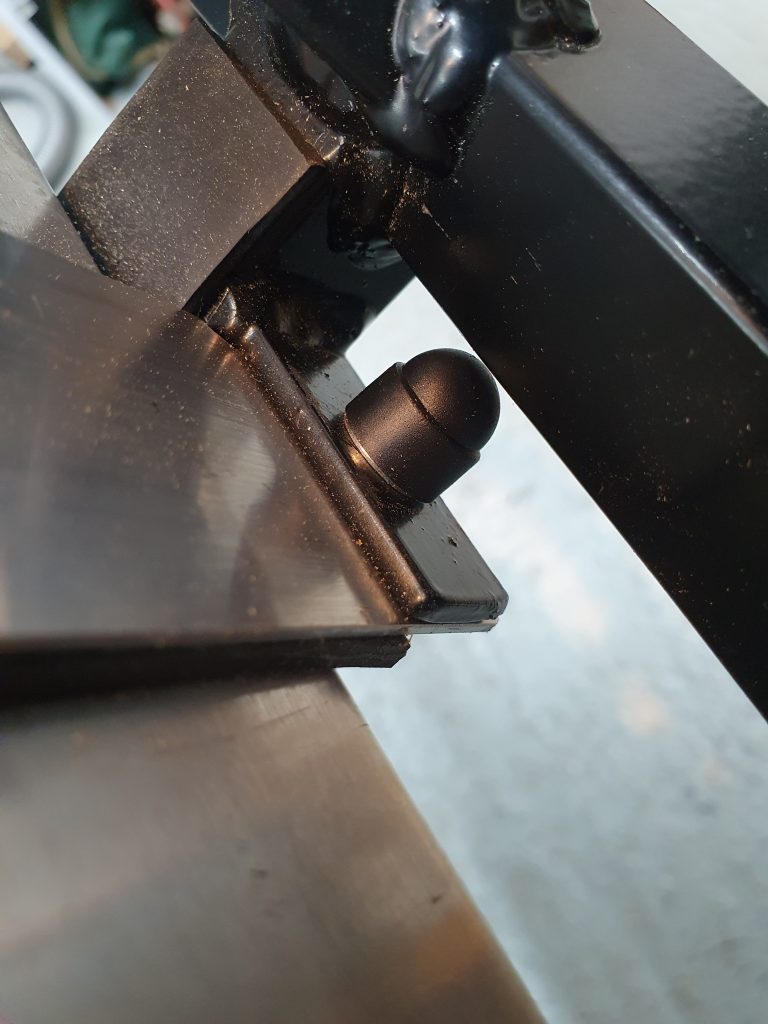
The return feed on the Mk2.5 version appears to have a one way valve or similar on it which has an extra bracket which is spot welded to the main bracket. I don’t think the Mk2 version has this and the pipe is not connected to the bracket.

All you have to do is drill through the spot weld of this bracket (marked in blue above) and the bracket then can be removed. You can then drill and rivet the aluminum bracket onto the cut down bracket.
Modifying the Fuel Lines
Then you need to carefully bend the feed and return fuel lines to be inline with the new bracket shape. This can be done quite easily by hand. Then rivet the return pipe bracket back onto the bracket in the new position, which is further down.
Once the feed pipe is in the correct position you need to shorten the hard fuel filter pipe to match the new length of the bracket. You need to unclip and remove the flexible fuel pipe first. I measured this and took 25mm off the feed pipe and reclipped on the flexible pipe. This was spot on and allowed the fuel pump to be reattached to the main bracket again.

Next you need to modify the float to align with the new bracket. This again needs to be carefully bent into position as per the manual. Finally you need to drill out the fuel tank fixing holes to 6mm for the fixing bolts. Make sure you don’t drill out the rubber gasket fixing holes though as pictured below.

The final modification is to the rubber gasket where you need to snip off the little lugs from the underside before installing. I used a pair of electrical side snips, but a Stanley knife would also work well.

The modified fuel pump is now ready to be installed in the fuel tank. Make sure you don’t over toque the bolts otherwise it will thread them. I have not torqued them up yet as I’m sure I will need to take it out later on for one reason or another.

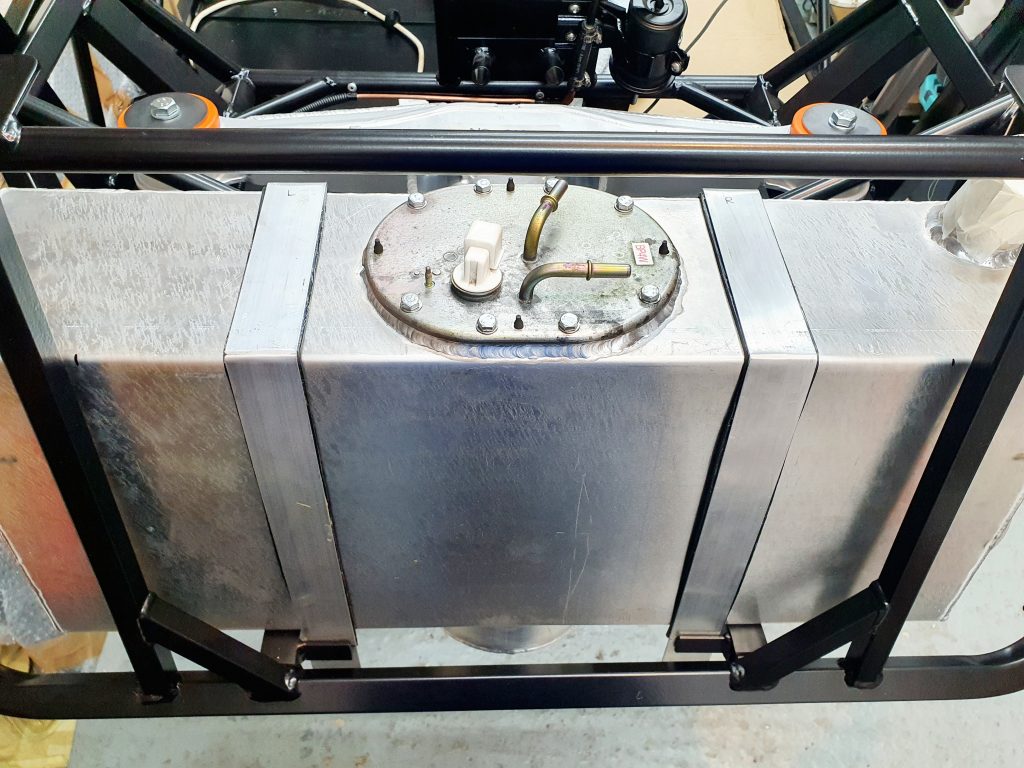
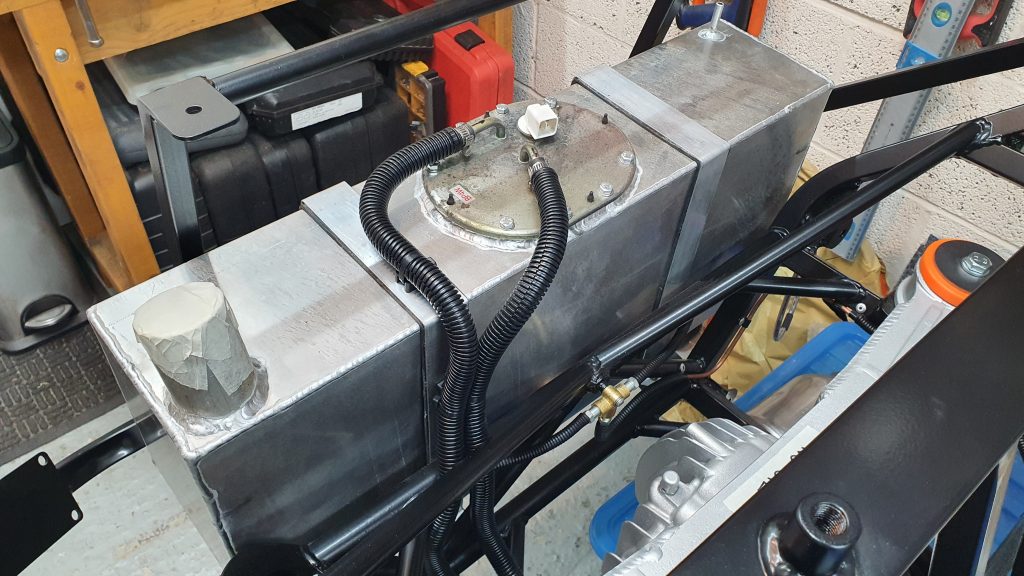
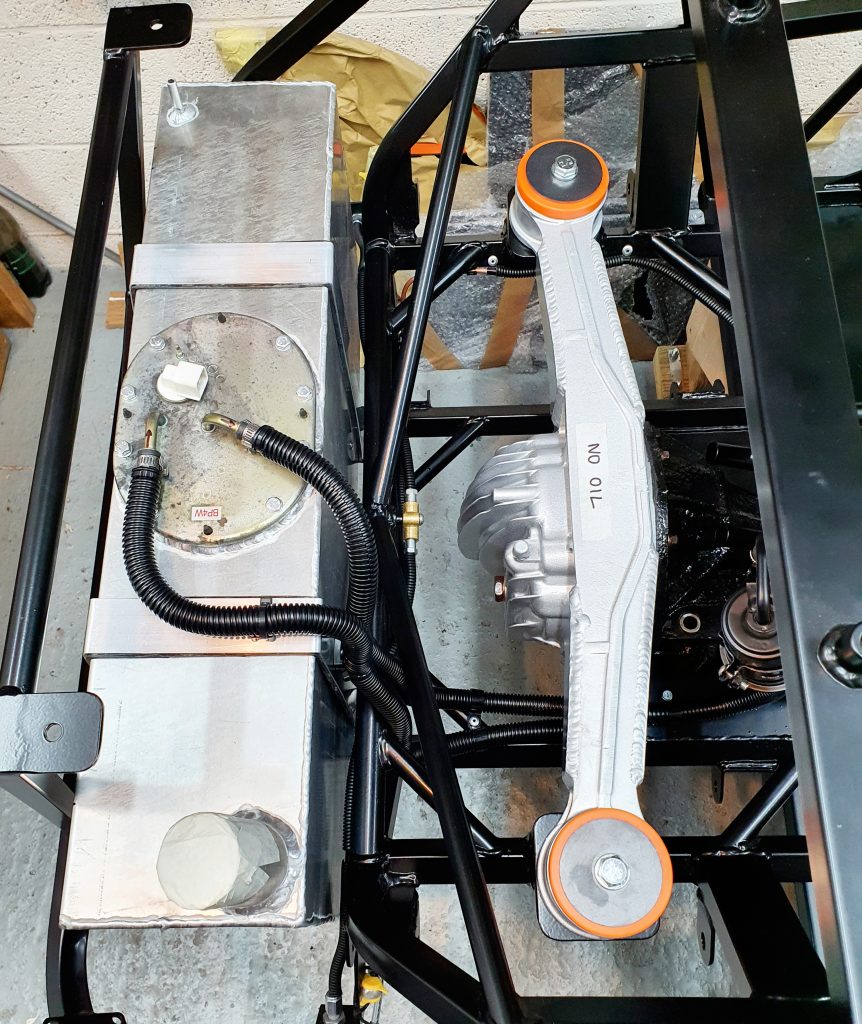
Fitting the Fuel Tank
The fitting of the fuel tank was pretty straight forward and I simply followed the manual. I also highly recommend you check out the Parrott Bros video on fitting the fuel tank as it shows the process very well.
The main thing I did differently to the manual was use a 3mm Nitrol/Rubber Fuel and Oil Reistant Matting instead of foam. This was cut into strips and stuck with a impact adhesive to the chassis under the tank. I also used this under each of the tank straps. This should keep the tank fixed well and slo stop vibrations. The manual mentions to use thin foam under the tank but I felt a fuel and oil resistant rubber would be better. A 500mm x 500mm of 3mm was £20 off eBay, which was more than enough for the job.

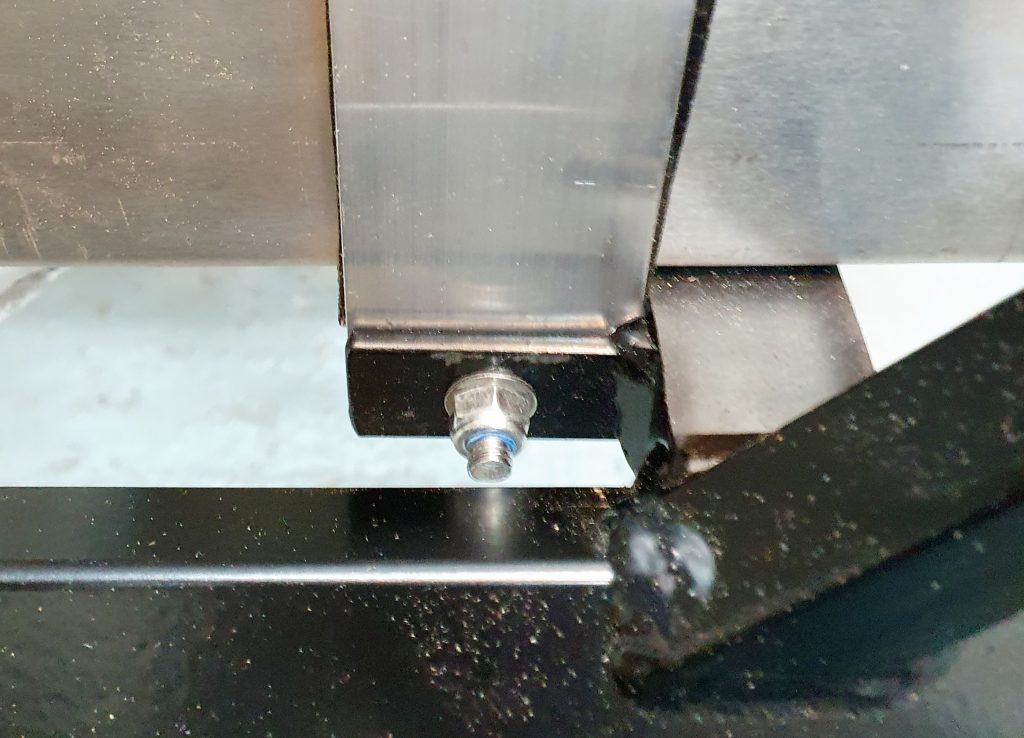
I used stainless steel 6m bolts, nylocs and washers to fix the straps to the chassis. I also used ratchet straps to pull the tank down hard onto the chassis when it drilled the final fixing holes to make sure they were as tight as I could get them. This worked well. I also capped off the nuts with M6 nut caps to stop any water ingress.
Fuel Tank Fitting Gallery
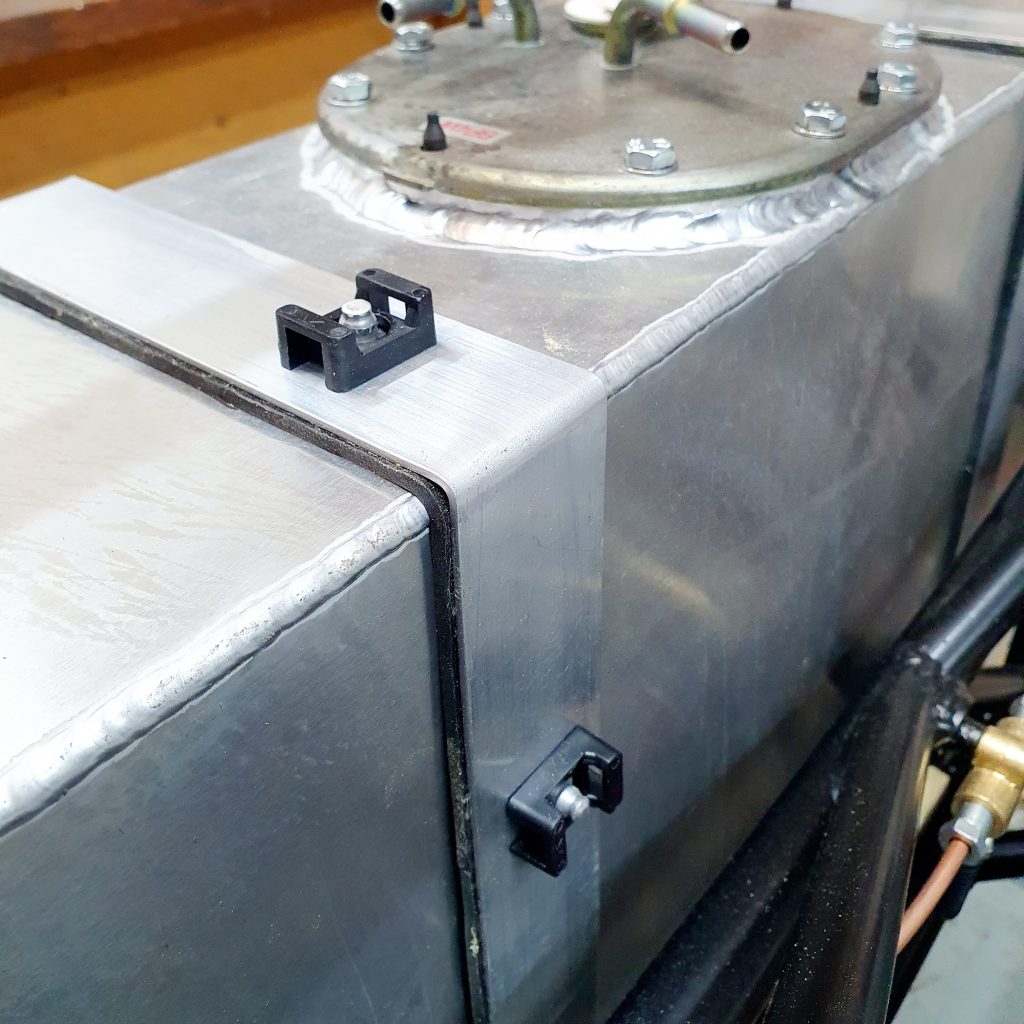


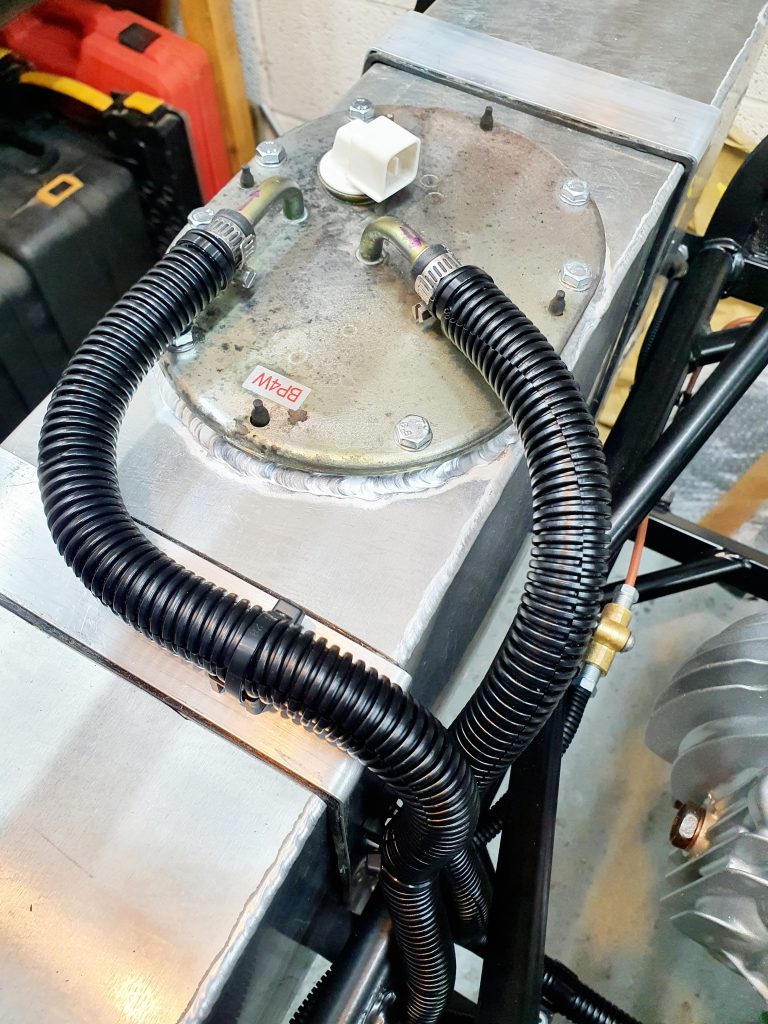
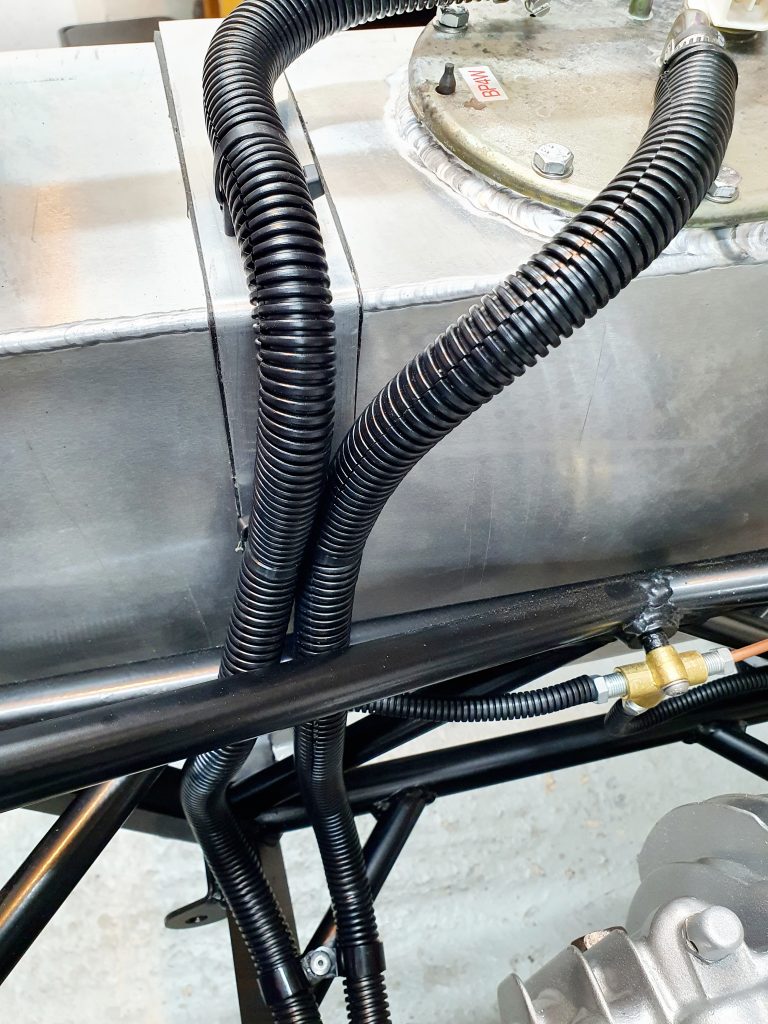
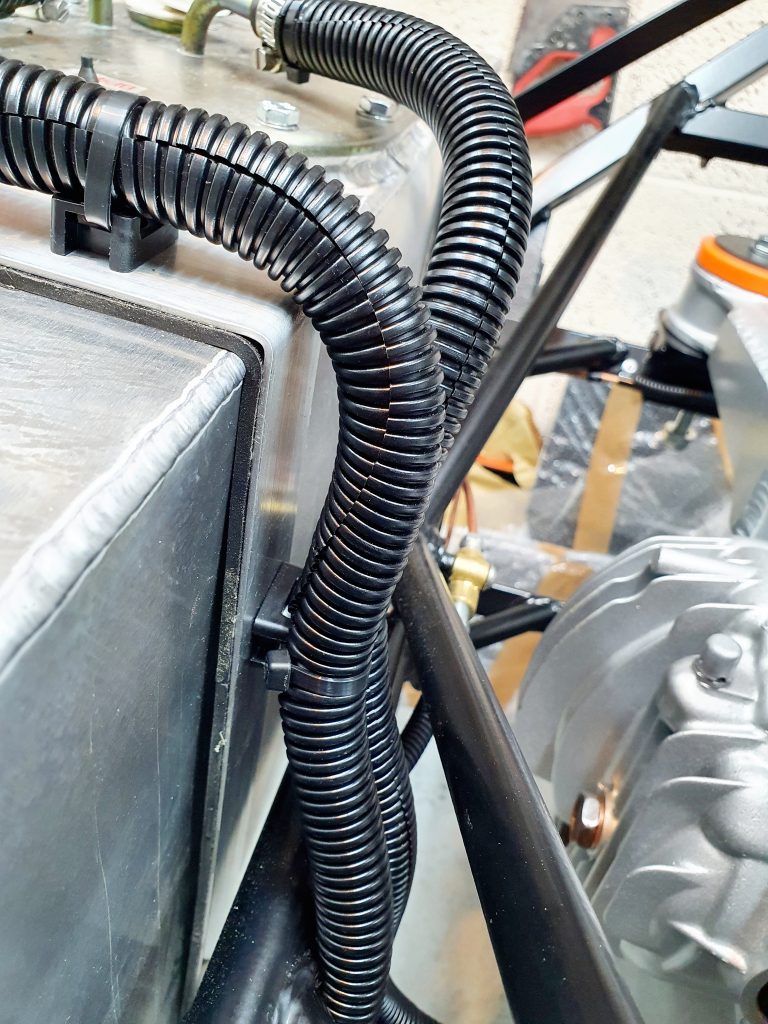
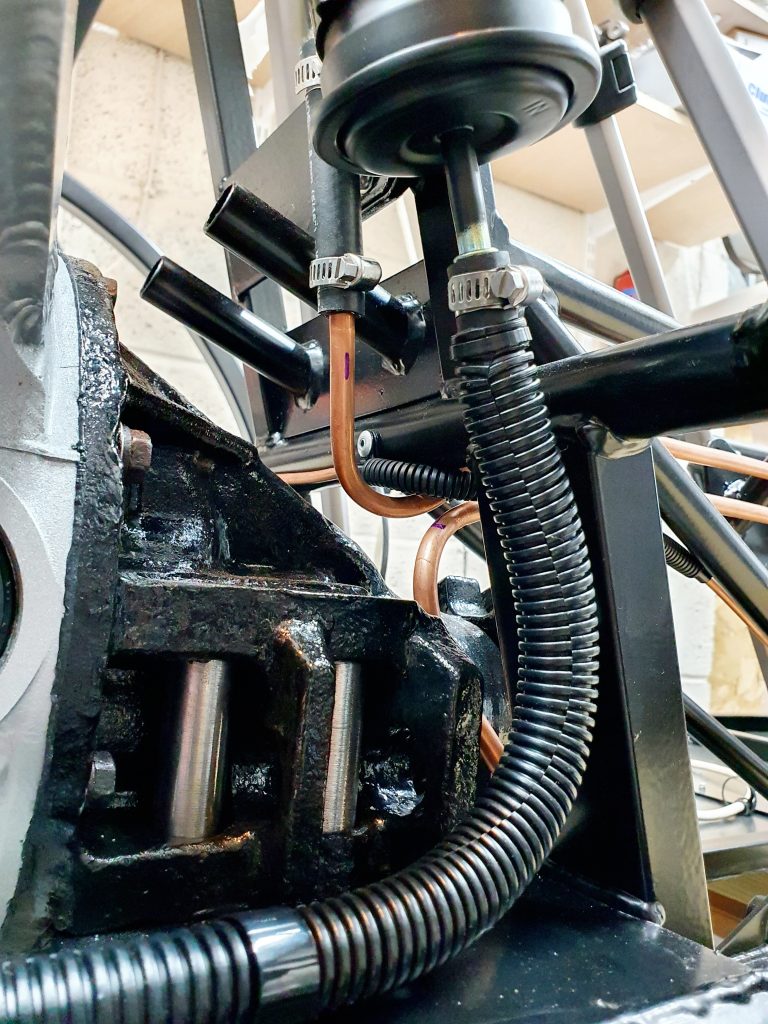
Fitting the Flexible Fuel Pipes
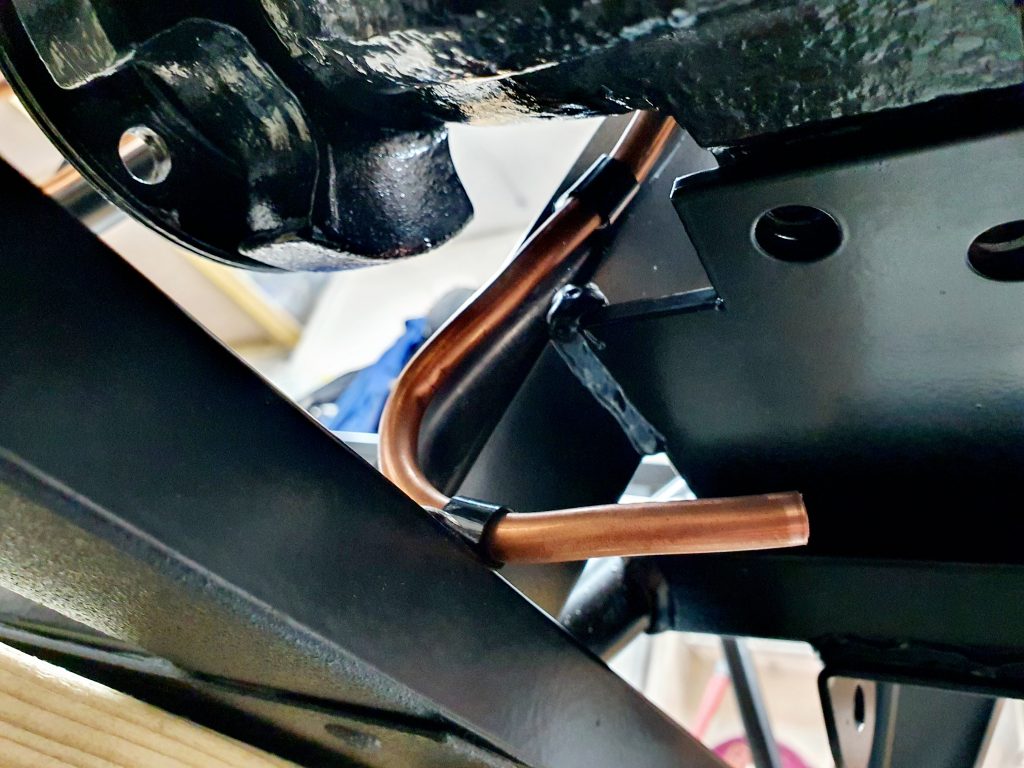
I then connected the fuel tank up to the fuel filer and hard fuel lines I had already run. This is well documented in the manual and I largely followed the guidance there.
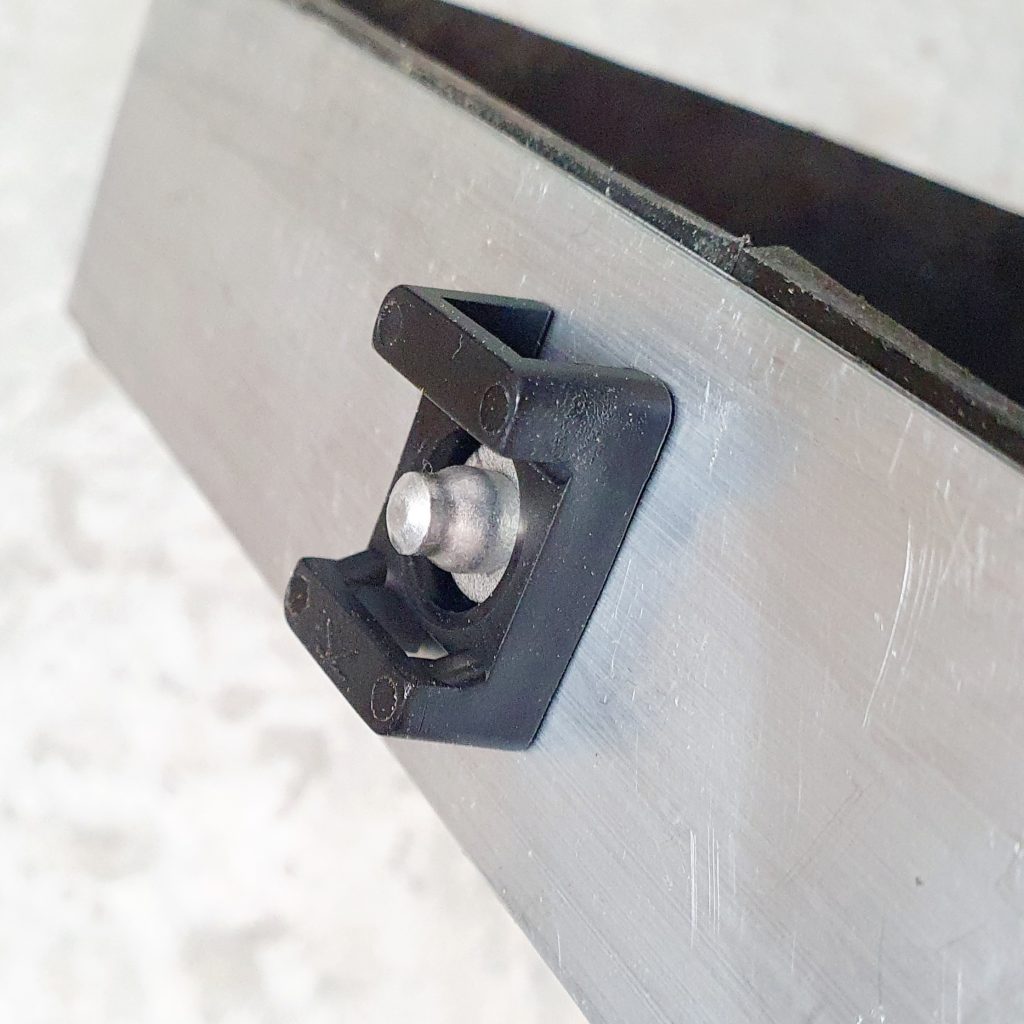
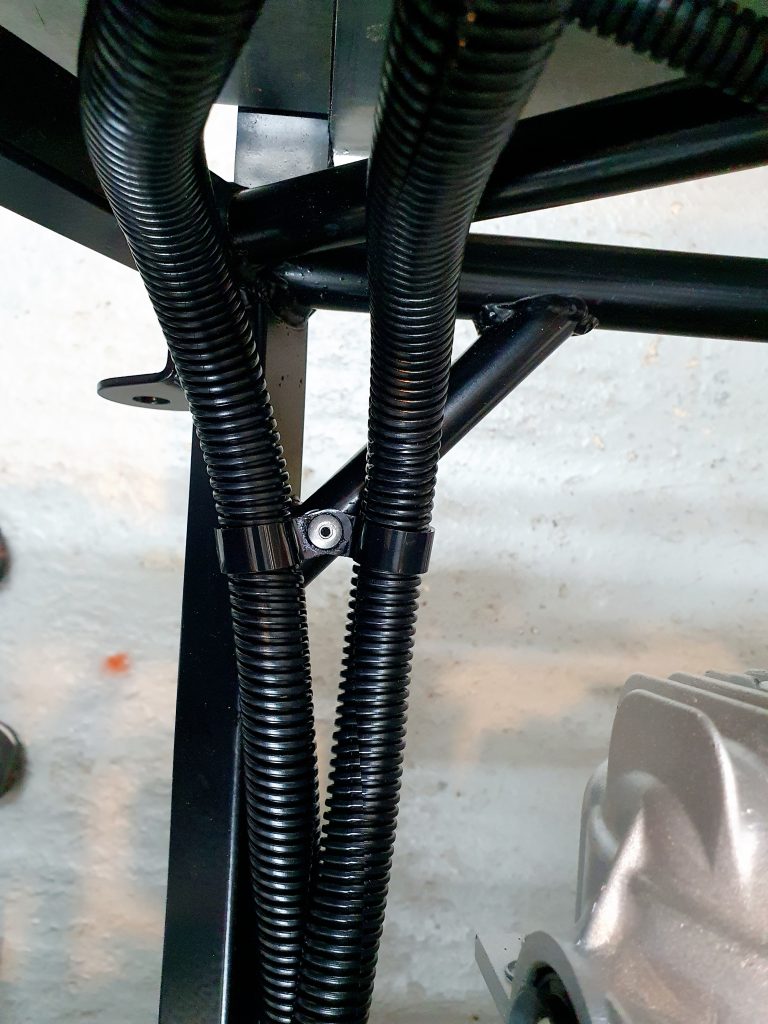
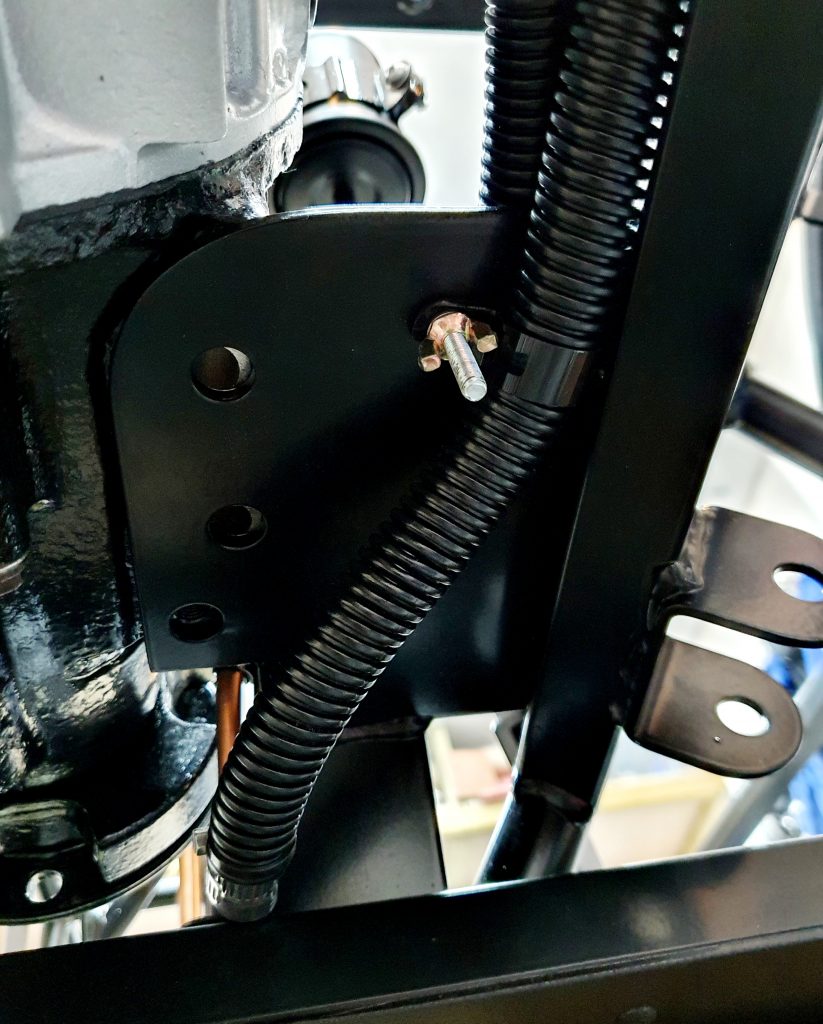
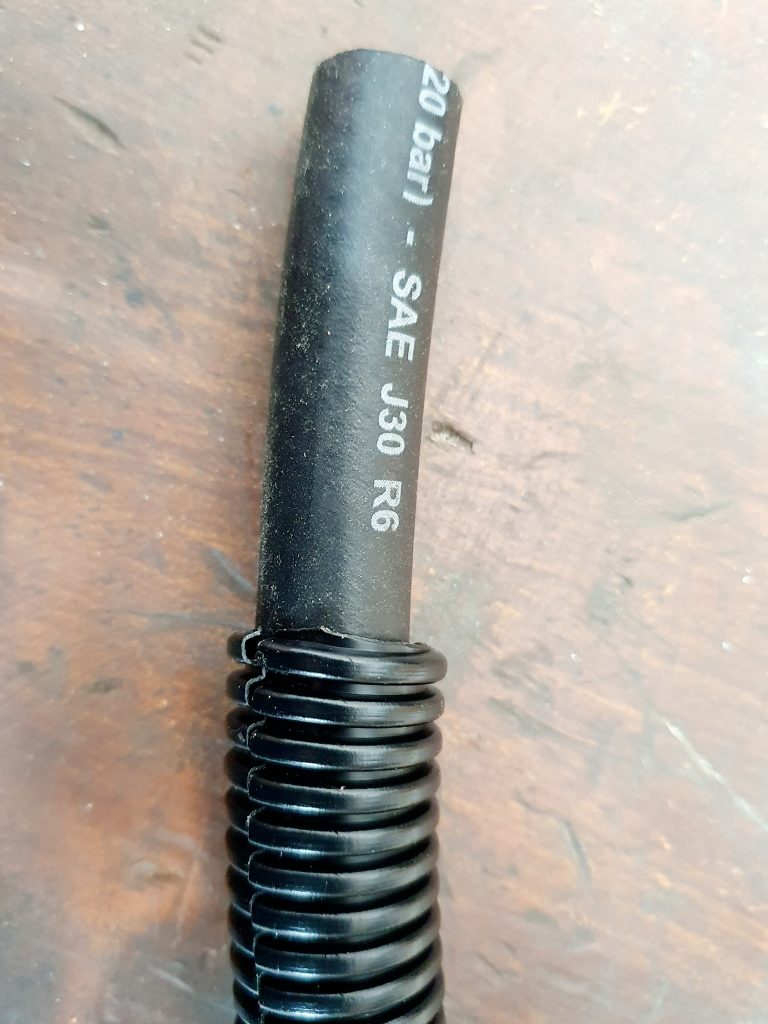
I slightly changed the routing of the lines more direct as they suggest to add a P-clip to the brake line t-piece which I felt pulled the fuel pipe too far over so I went direct. You need to ensure you maintain a p-clip fixing every 250mm. I also added an additional fixing point to the top of the tank strap to help hold the fuel line firm. I used stainless small jubilee clips /worm drive fixings to fix the flexible pipe to the hard lines.
Fuel Pipes Gallery


Time Lapse Video
Summary of Build Costs and Hours
Here is a summary of the costs and person hours (total number of hours for every person that has helped) for the build so far. This should hopefully help others with the planning of their builds, by providing cost and time actually incurred for this build. A more detailed breakdown of all the costs and hours worked on the build to date can be viewed here.
| Person Hours Worked This Post | |
|---|---|
| Fuel Pump Modification and Install | 2 hrs |
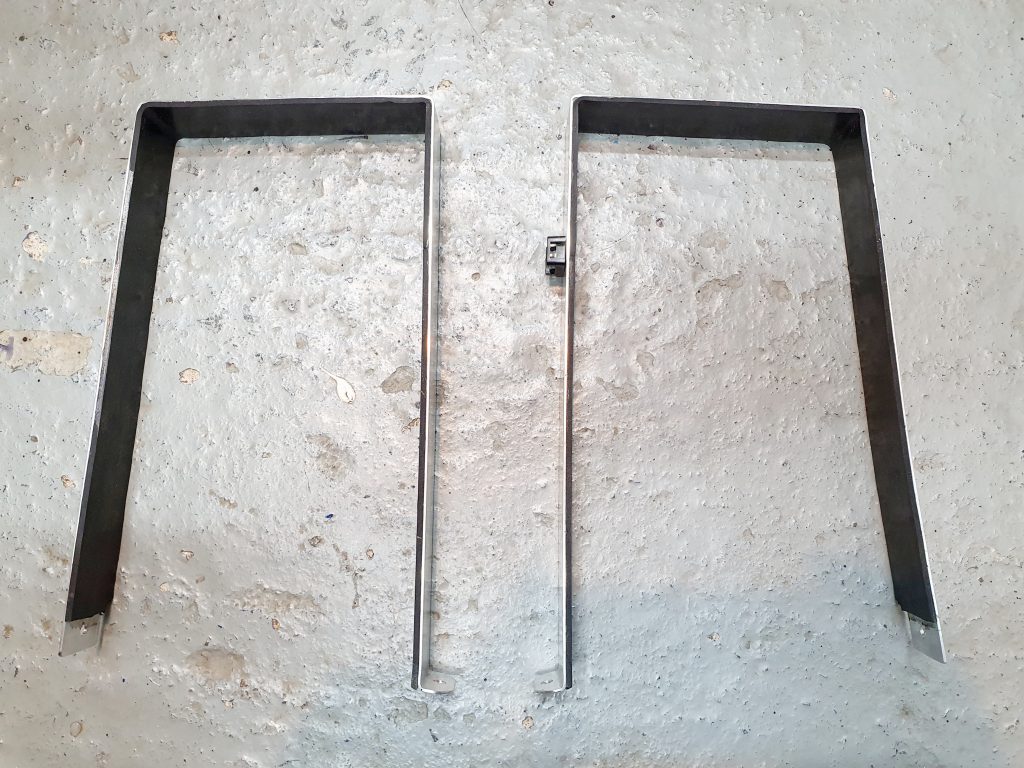
| Make and Fit Fuel Tank Straps | 2 hrs |
| Fit Flexible Fuel Lines | 2 hrs |
| Car Build Costs This Post | |
|---|---|
| 500x500mm Nitril Rubber Matting | £18 |
| Jubilee Hose Clips Stainless 10-16mm | £6 |
| Split Conduit 15mm Internal Diameter | £8 |
| 30x M5 x 25mm Stainless Button Head Bolt | £5 |
| 50x M5 Nyloc Nuts Stainless | £4 |
| Tool Costs This Post | |
|---|---|
| Pipe Cutters | £14 |
| Evo Stick Glue | £6 |
| Totals | This Post | To Date | All Posts |
|---|---|---|---|
| Person Hours Worked | 6 hrs | 266 hrs | 516 hrs |
| Car Build | £41 | £12,485 | £14,083 |
| Tools / Consumables | £20 | £389 | £470 |
| Total Cost | £61 | £12,874 | £14,553 |