
After fitting the dashboard and the engine bay bulkhead, it was now time to fit the MK Indy internal panels to the car to finish off the interior.
Rear Bulkhead Panel
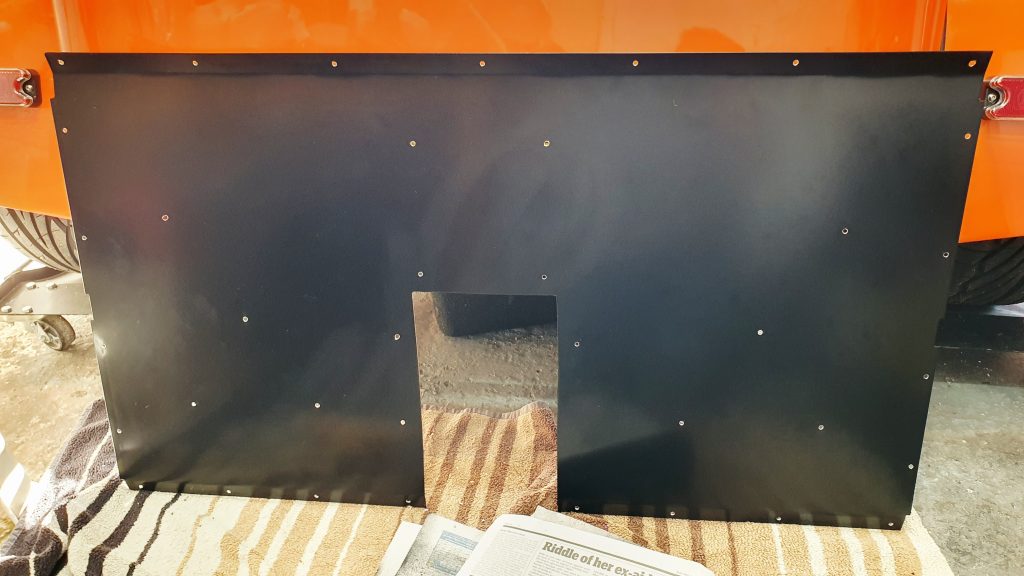
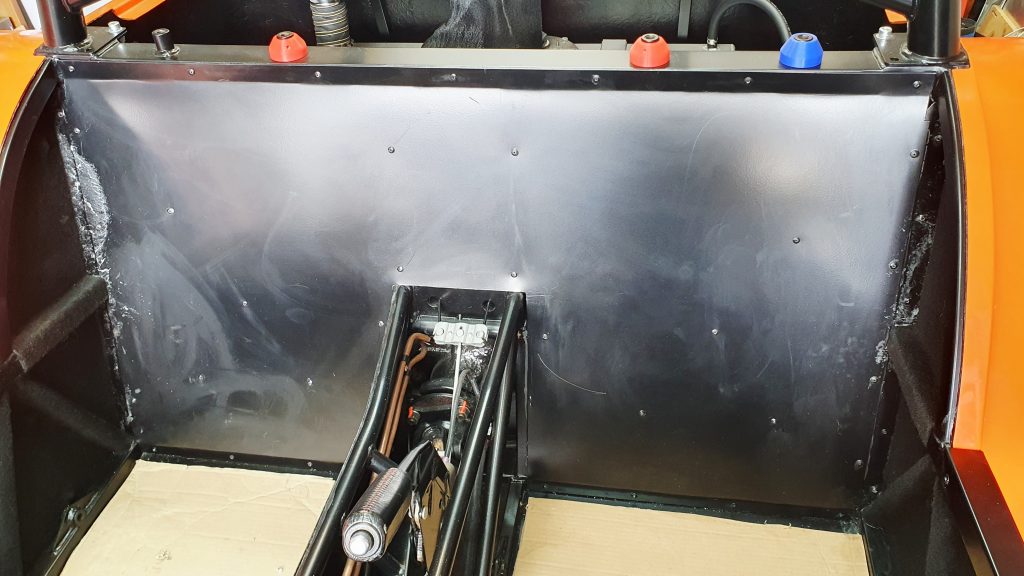
Fitting the rear Bulkhead Panel behind the seats was the first job. I did a dry test fit of the panel to see how far off it was. I realised it was overall a bit narrow for the required full width. The rest was pretty close, with the only real adjustment being a bit of fettling around the transmission tunnel with a file, as it was a bit narrow. So to make it fit the full width better, I needed to make some brackets. This was to make sure there were no gaps at the edges and that there was sufficient material to rivet into place.
I created some brackets out of 2mm aluminium and painted them with the Simonez Satin Black paint. Then riveted them in place to the side box sections.
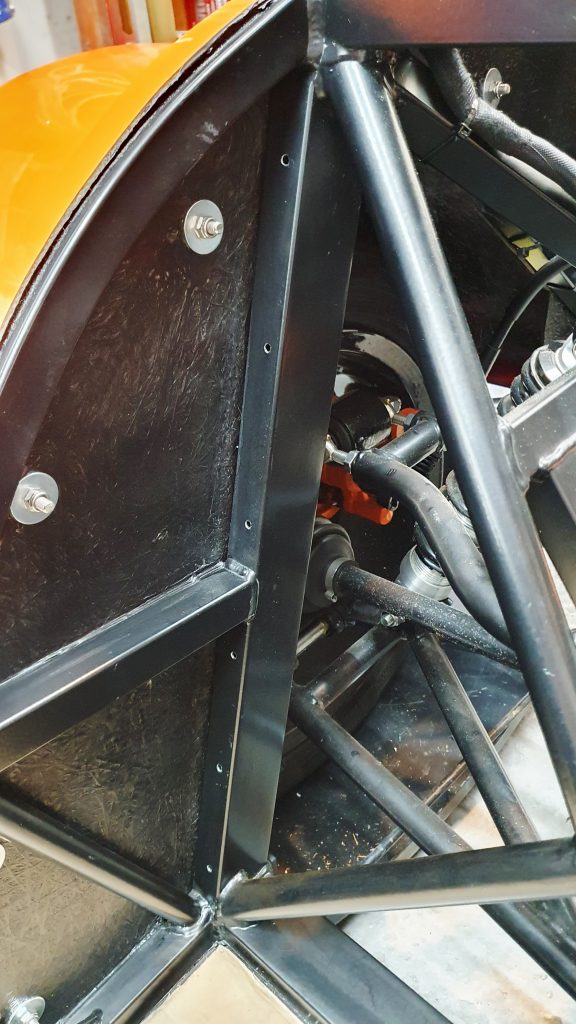
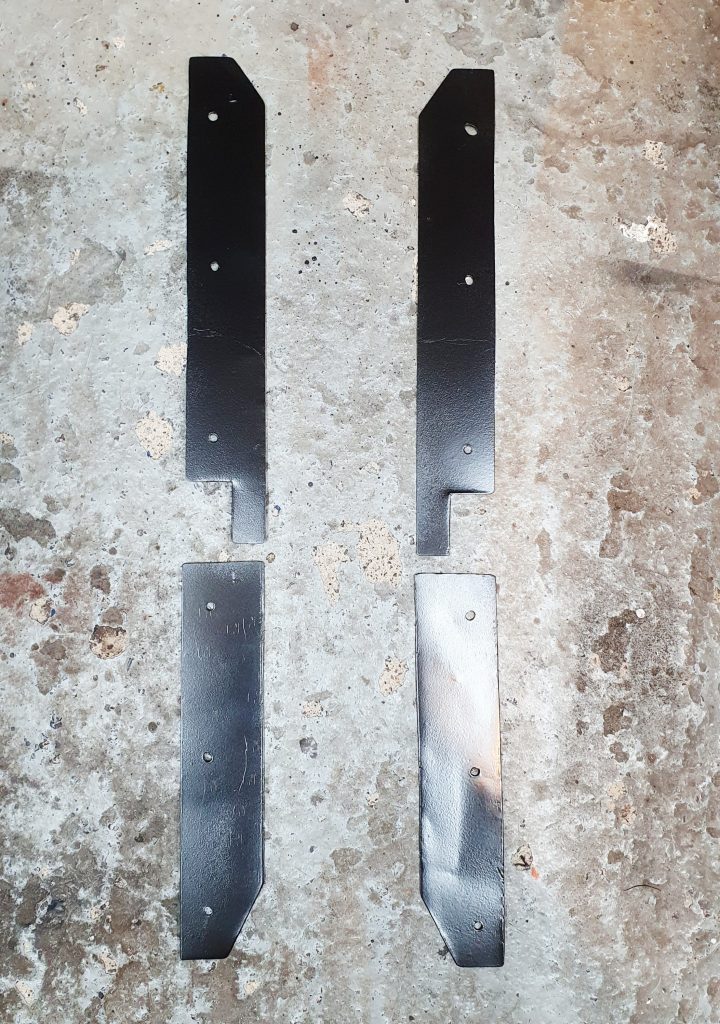
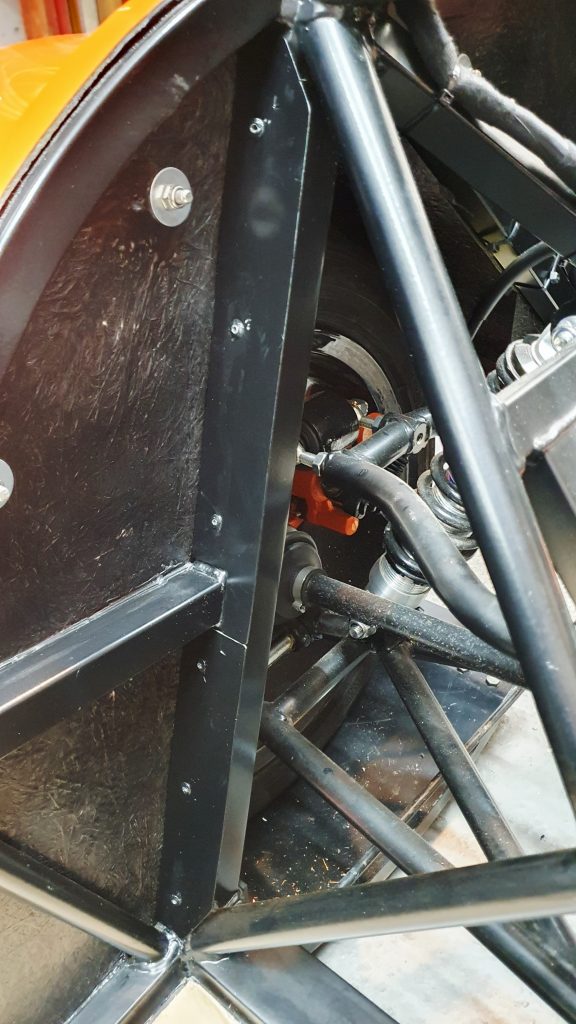
This provided sufficient mounting points now for the rear panel. I clamped the rear panel in place, then drew around the chassis tubes from the rear with a chalk pen. My orange pen had dried up 🙁 so had to use purple! I needed to slightly adjust the opening with a file around the tunnel chassis rails to make it fit correctly.
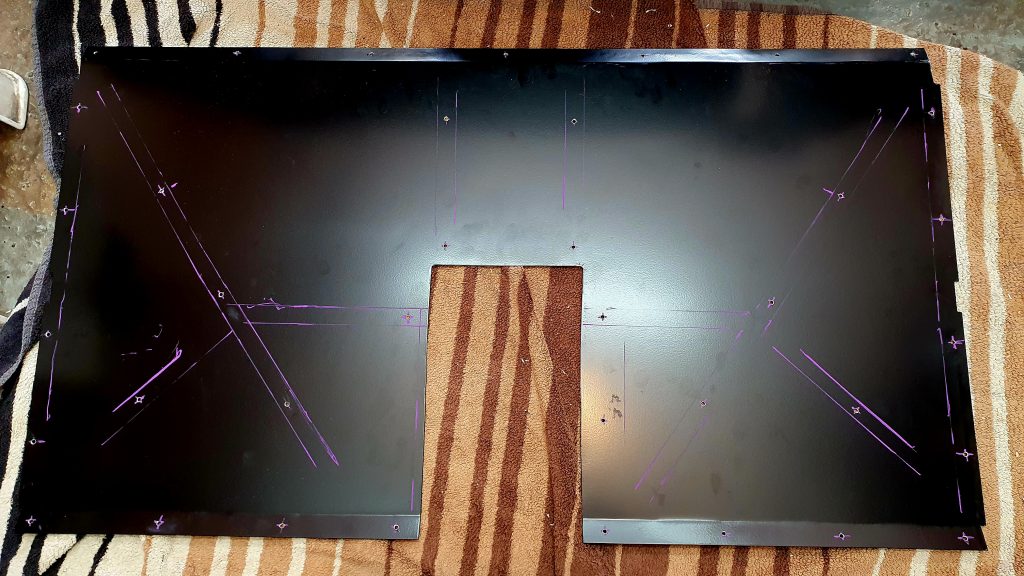
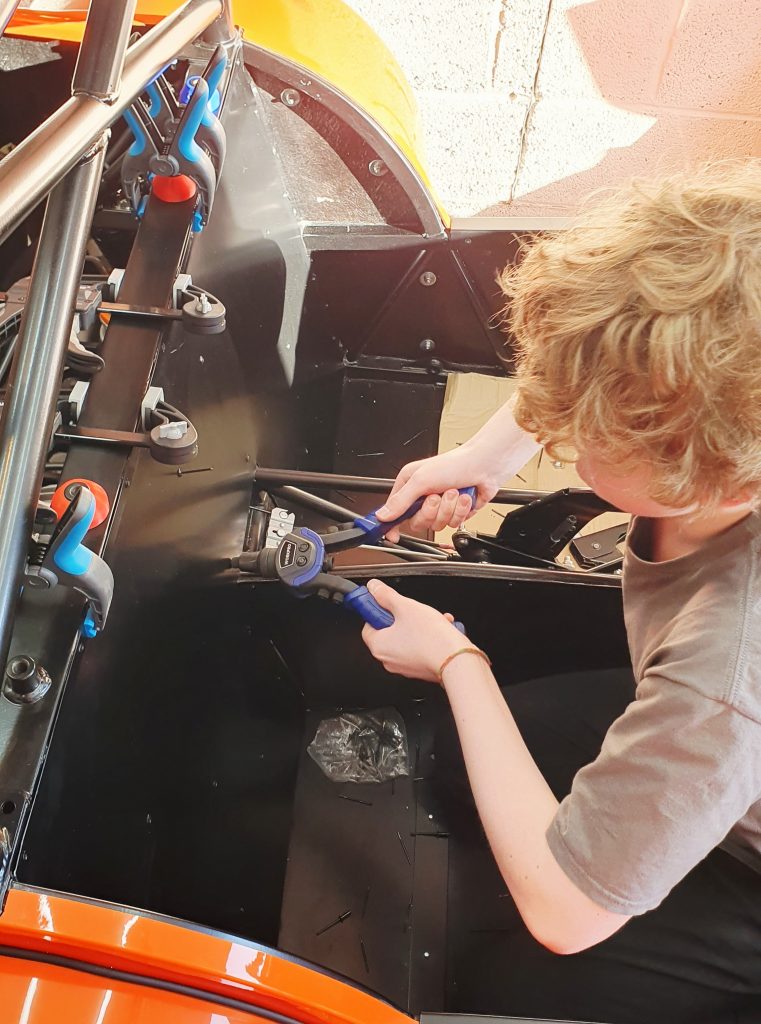
From these chalk pen marks, I could then mark and drill out the rivet holes in the centres of the tubes. I then clamped the rear panel in place and drilled the chassis out using the holes in the panel as a jig. Then removed the panel, cleaned it up to remove grease. Then added Tiger Seal before riveting it in place with 4mm black closed rivets.
Tunnel Side Panels
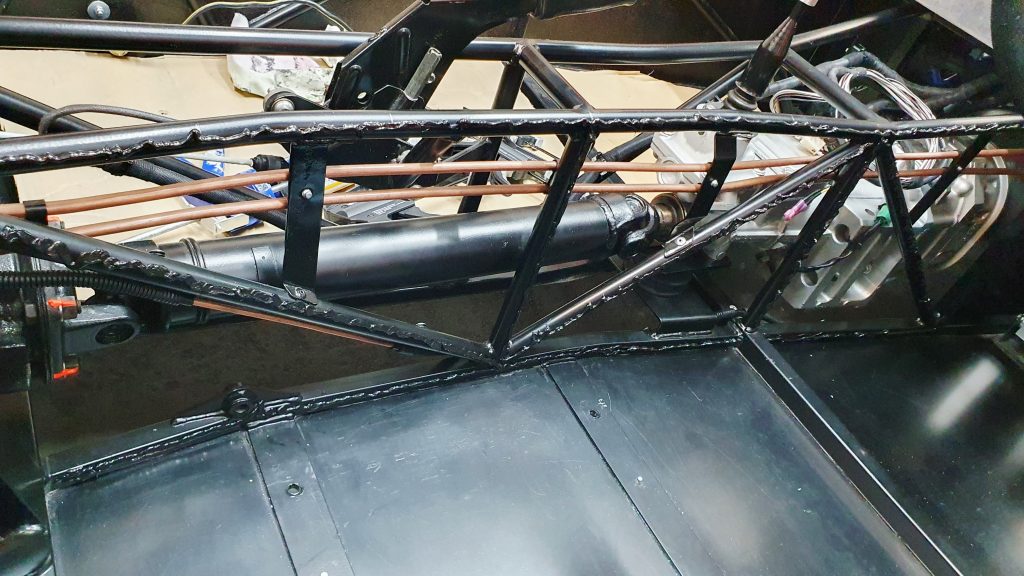
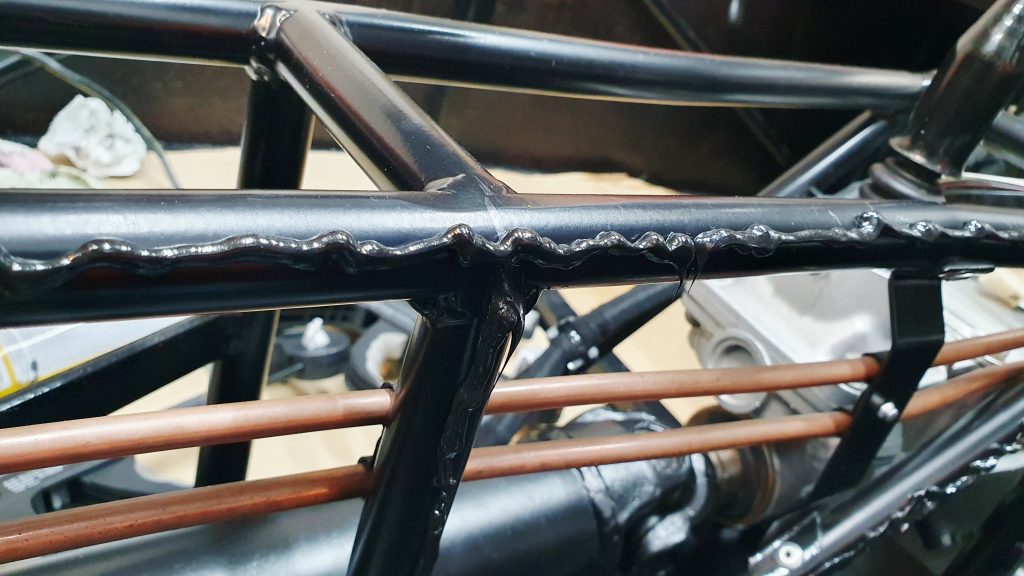
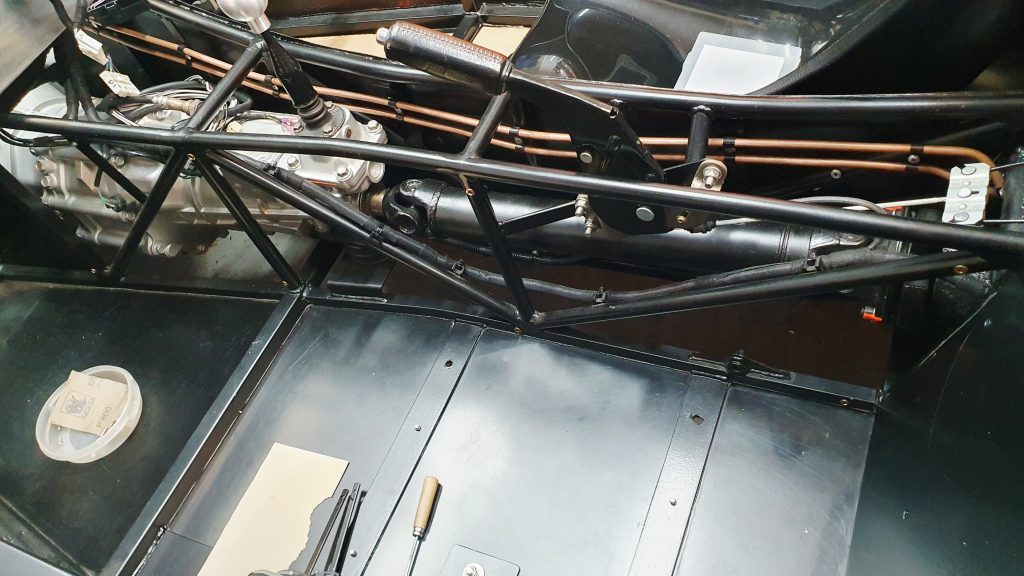
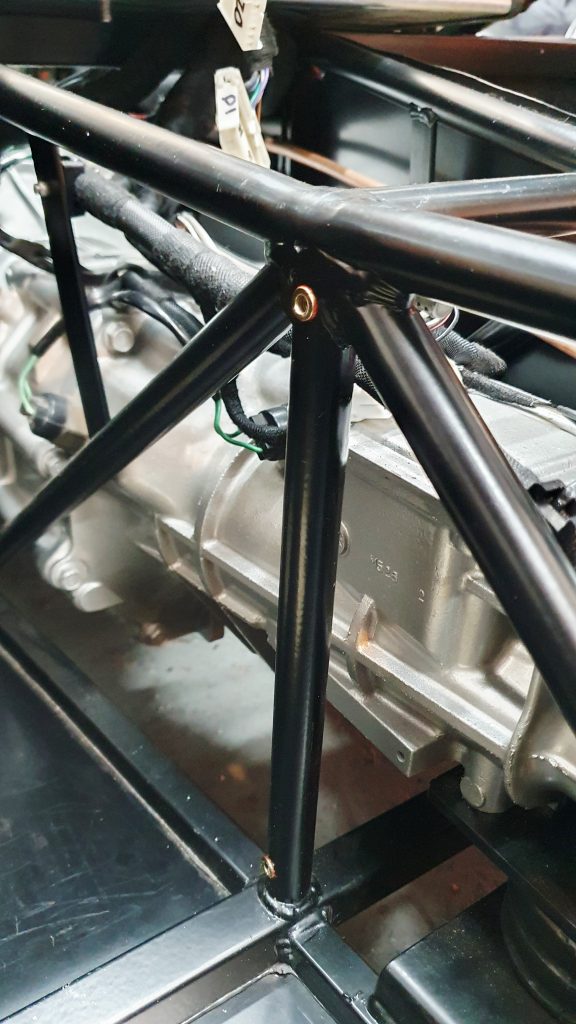
Next were the transmission tunnel side panels. For this I decided to fix the driver’s side with rivets but make the passenger side removable. This is to allow easier access to the transmission plugs and sensors, and also to aid in filling the transmission oil if needed. I was thinking of future maintenance in mind.
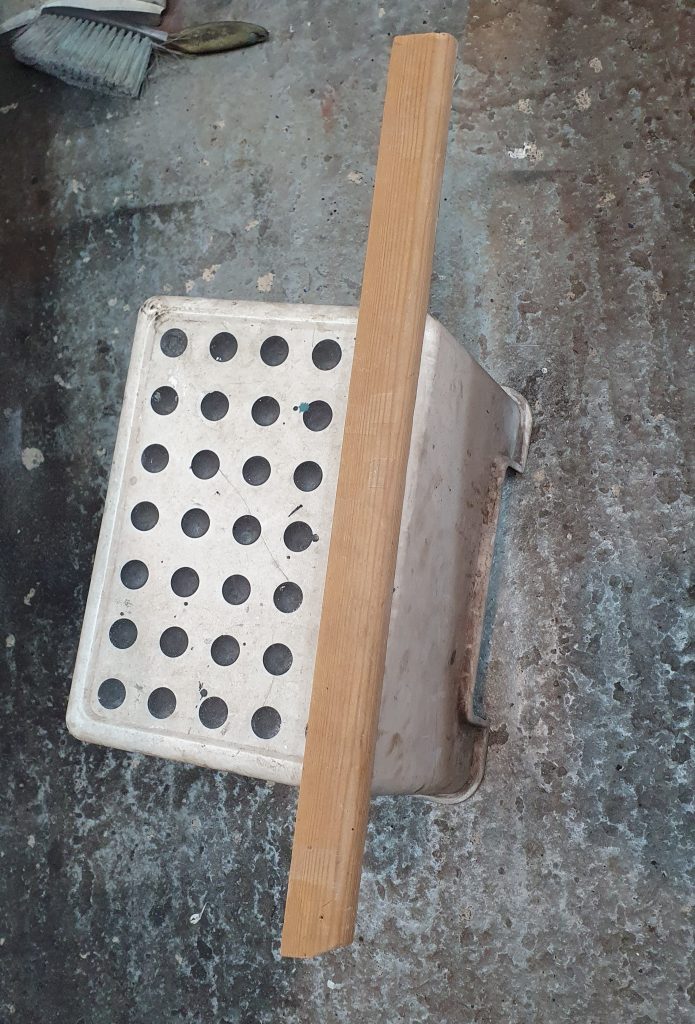
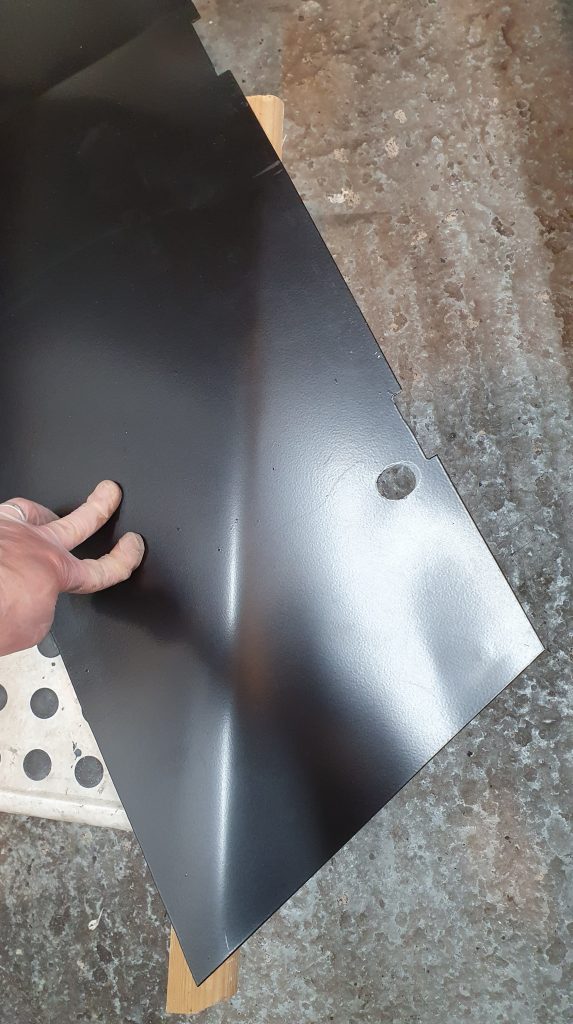
First I did a dry fit with clamps and needed to bend the panel in the right places to fit around the chassis rails. I achieved this by using a rounded piece of wood and carefully marking the start and finish points of the bend before starting. This worked very well with some clamps to hold it into position. I did this for both sides to make sure they would clamp well in place with not too much tension or resistance.
Driver’s Side Tunnel
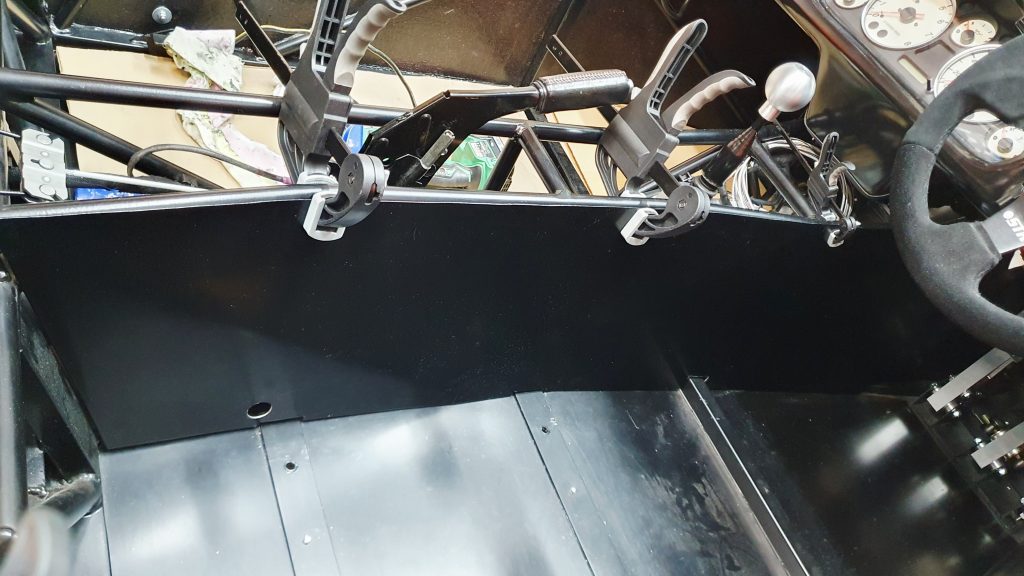
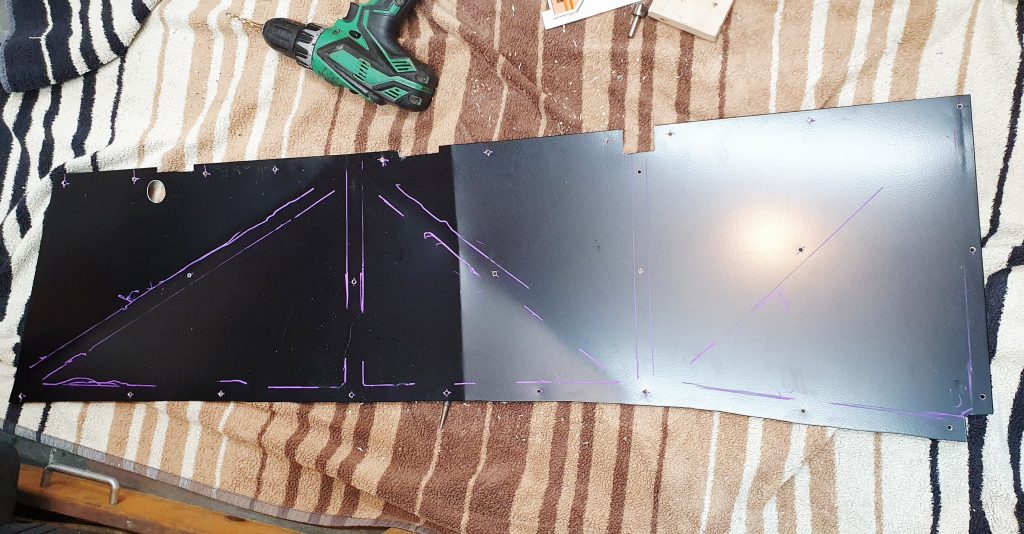
Once content with the panel bends, I clamped the driver’s side panel in place. Then marked around the inside edges of the chassis rails with a chalk marker pen. The same approach as the rear bulkhead.
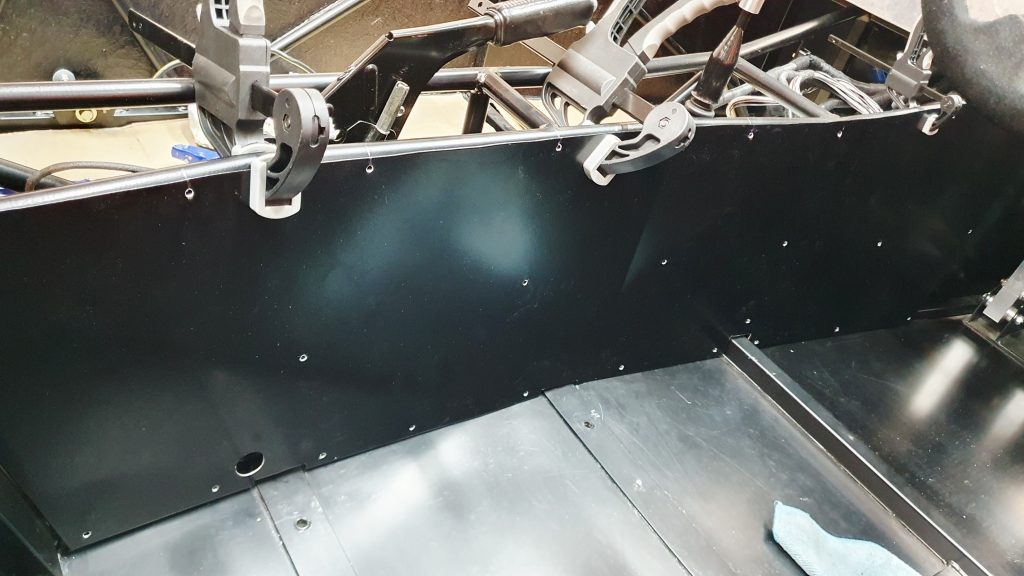
I then removed the panel and drilled the holes for the rivets evenly on the centre line between the chalk markings. Then I clamped the driver’s side back in the car and used the holes in the panel as the drill jig to drill through the 4mm holes into the chassis. Finally, on the driver’s side, I cleaned up all the surfaces to remove any grease and applied Tiger Seal. Then used clamps to clamp the panel back in place and then used 4mm closed black rivets to fix the panel to the chassis for the final time.
Passenger Side Tunnel
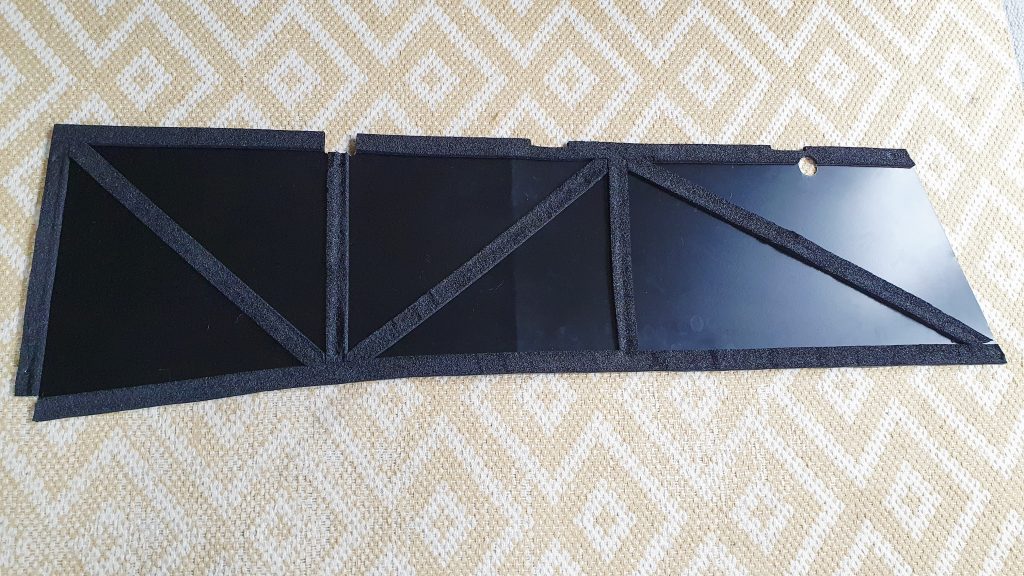
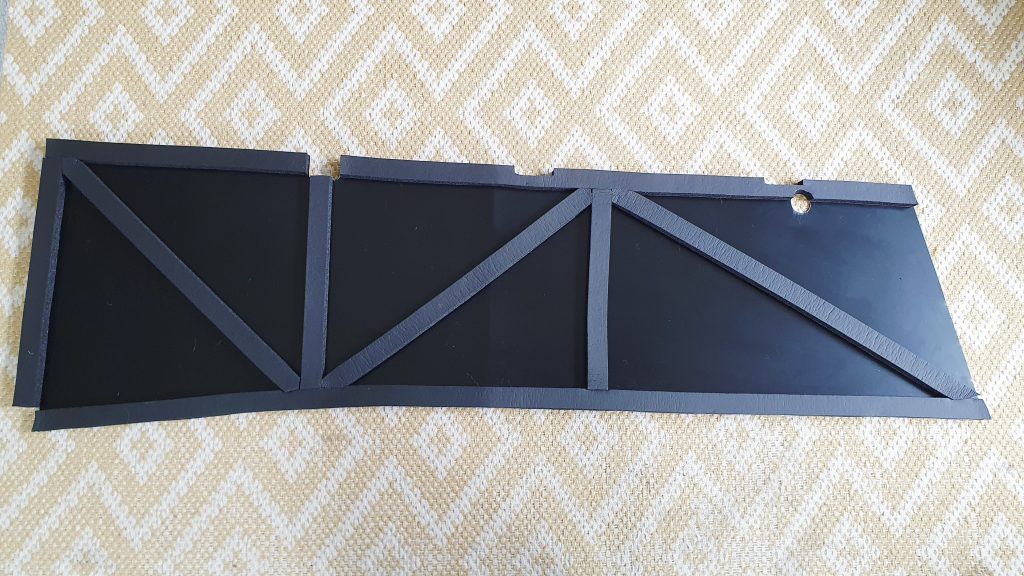
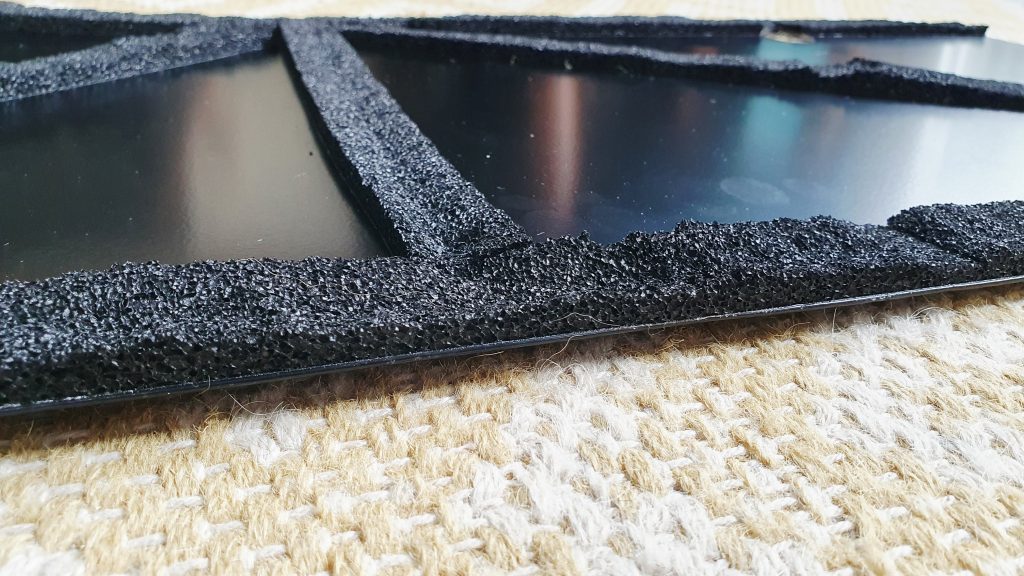
For the passenger side, I decided to bolt the panel in with M4 bolts. So I used M4 rivnuts fitted to the chassis. I used only 8x rivnuts for the whole panel and put some adhesive foam tape on the back of the PANEL. This is to stop any vibrations when the panel was fixed in place. This will allow me better access for servicing the car and accessing the gearbox, propshaft, and wiring harness.
Carpet and Flooring
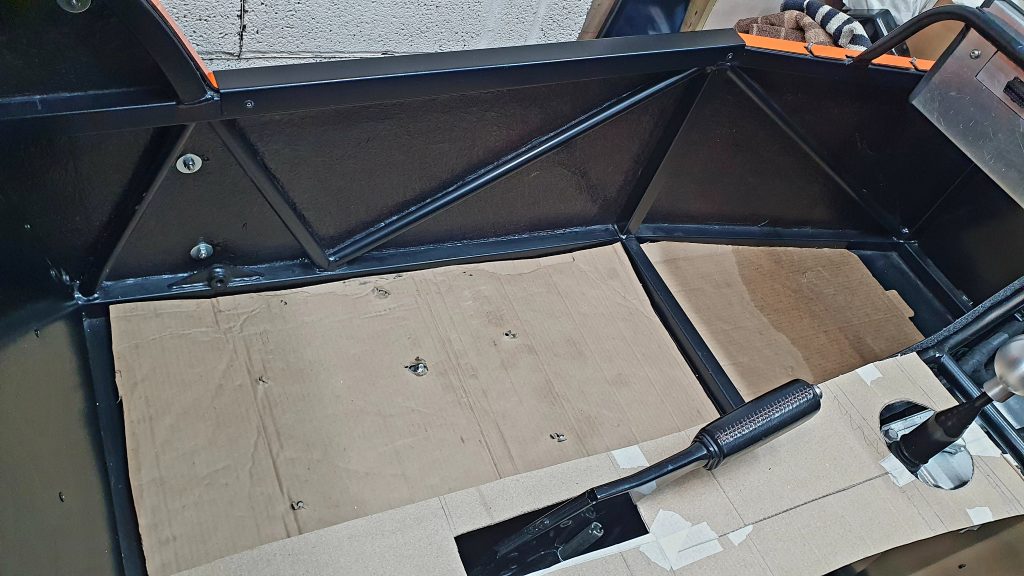
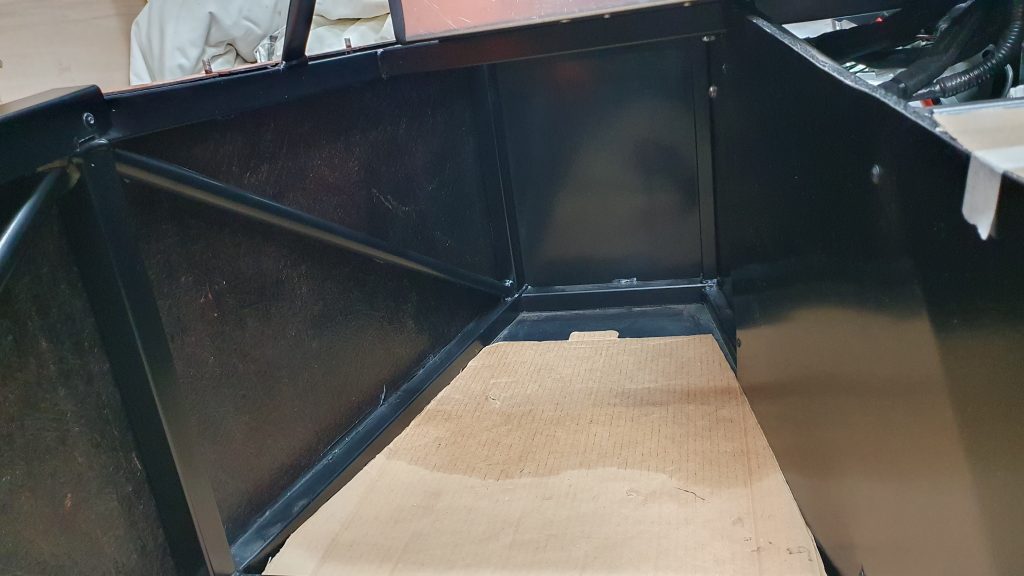
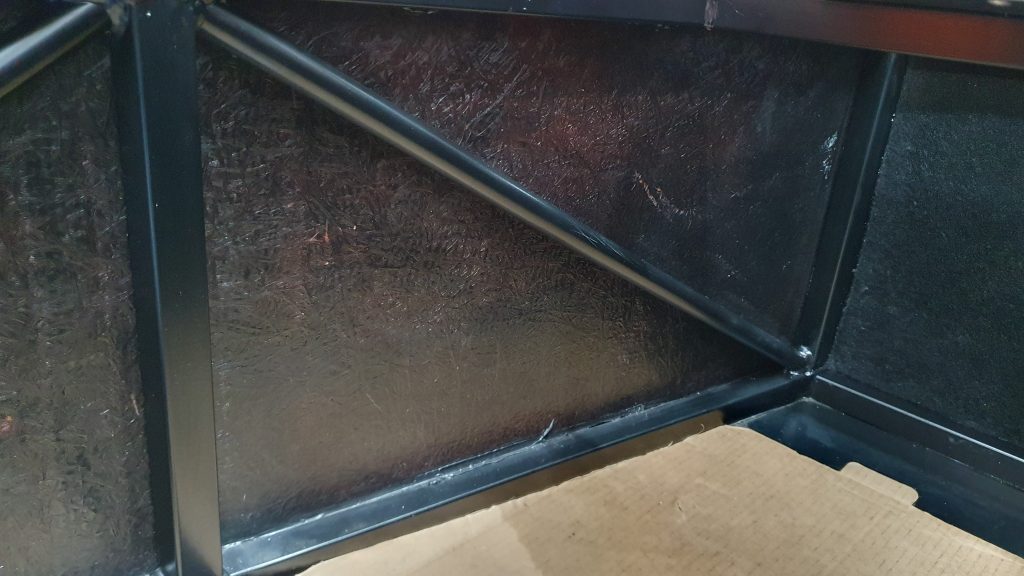
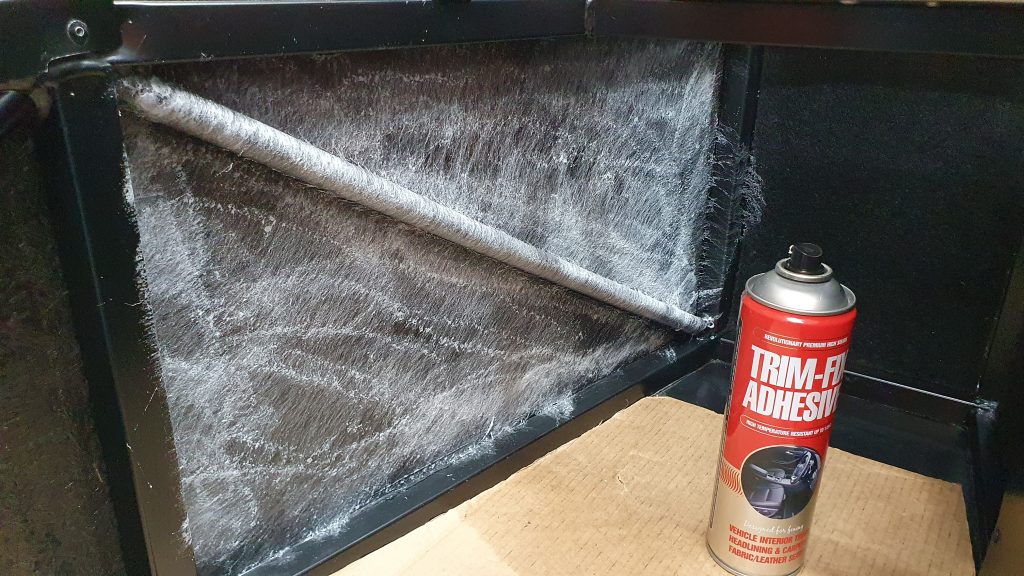
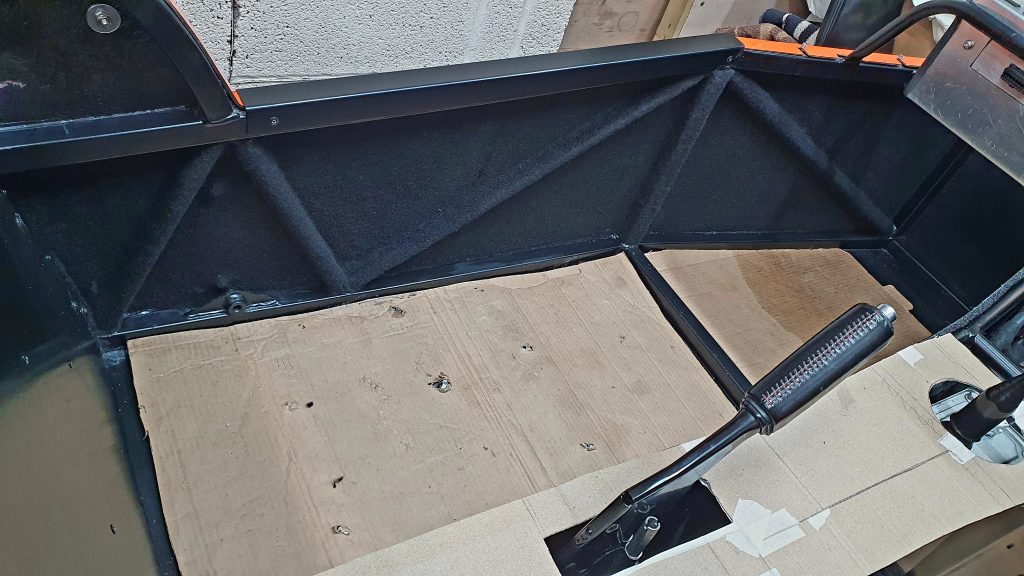
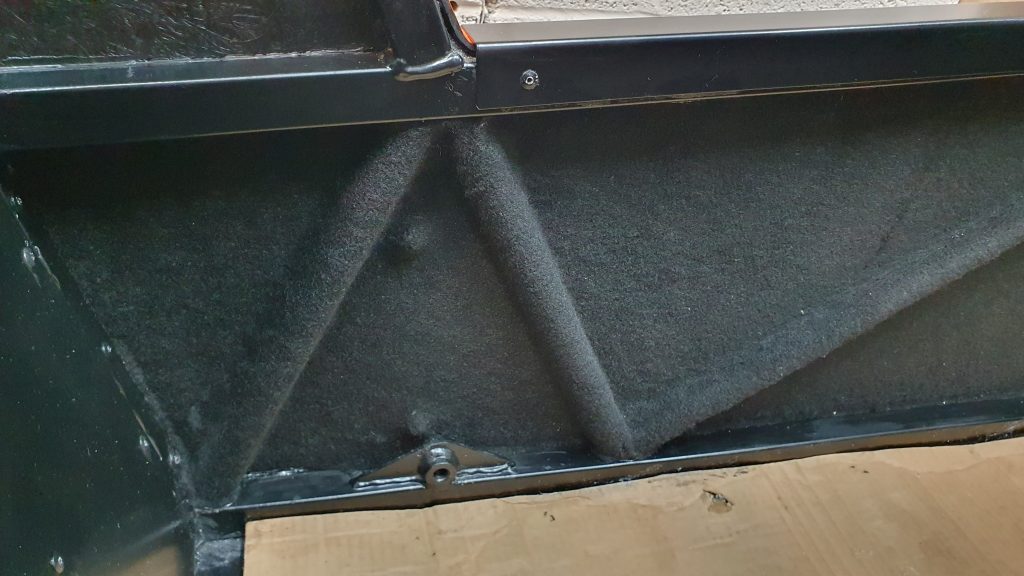
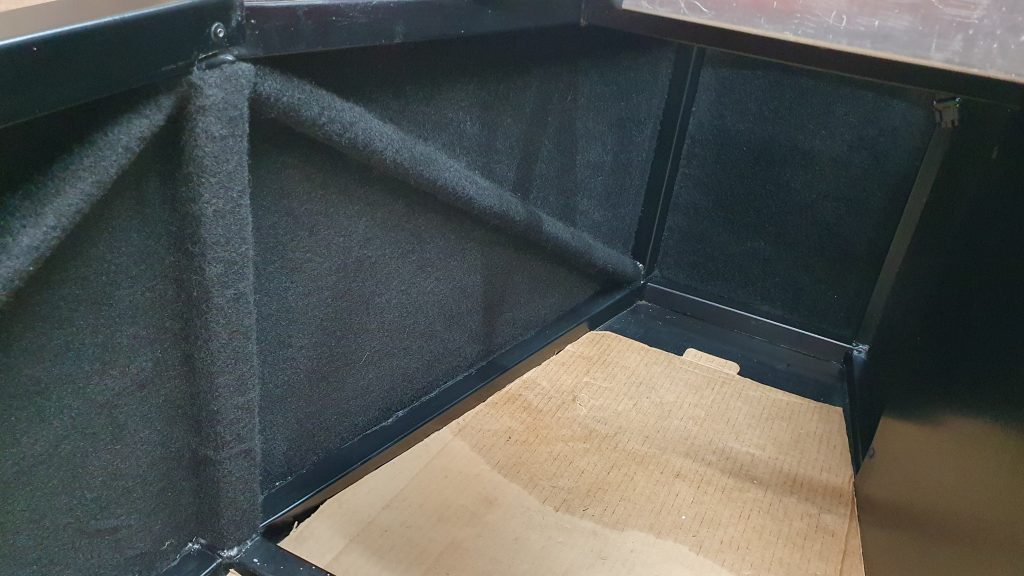
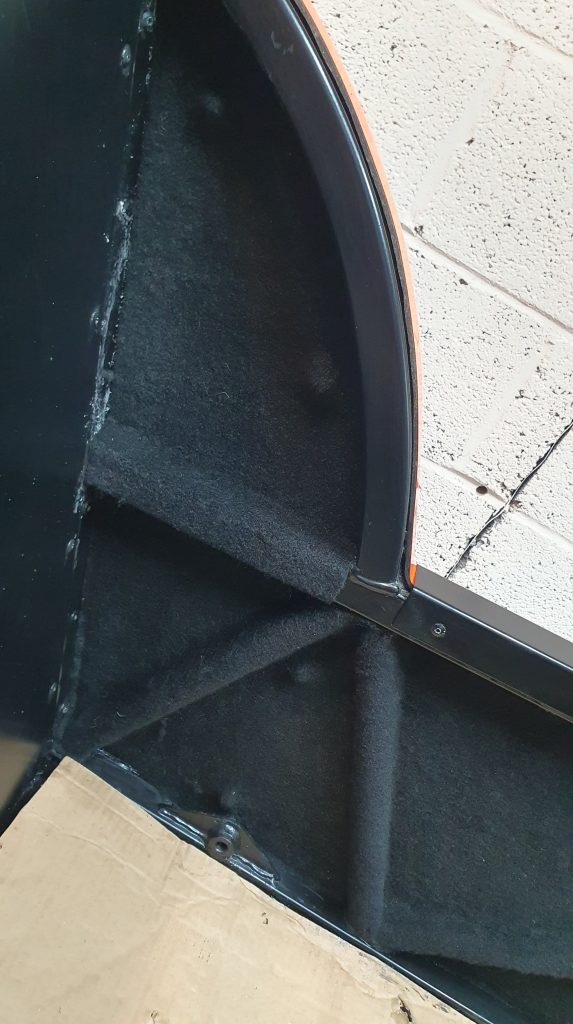
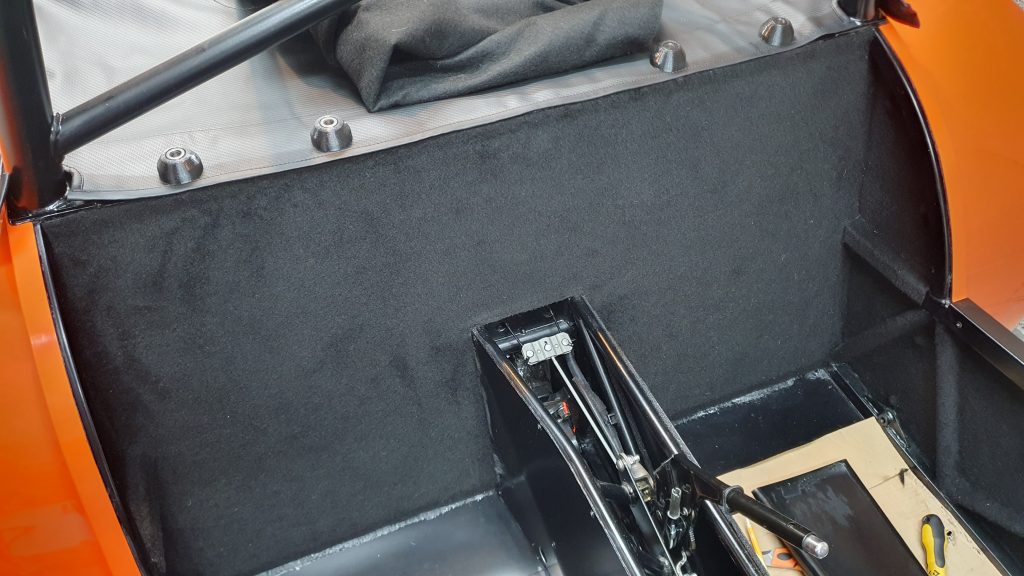
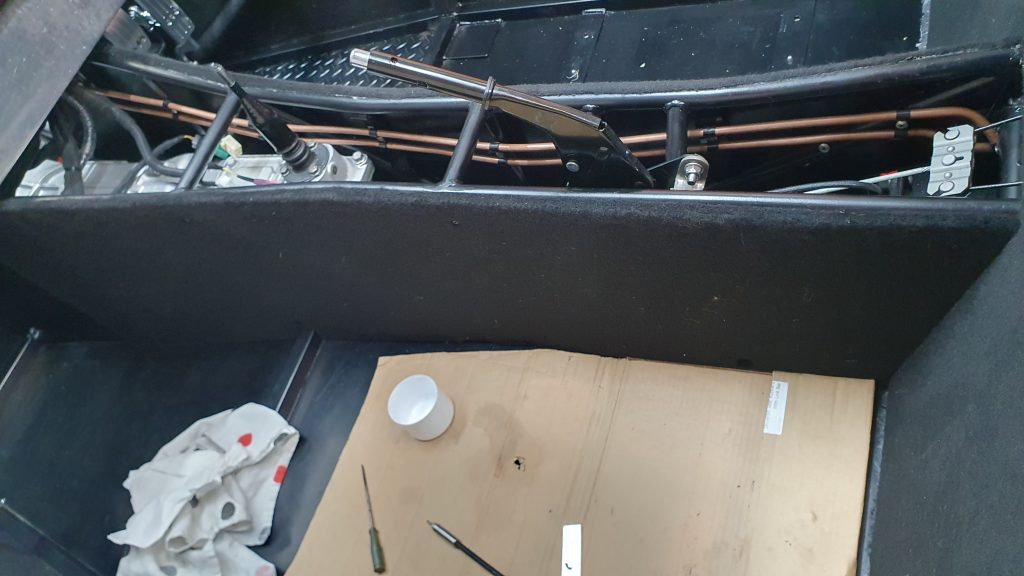
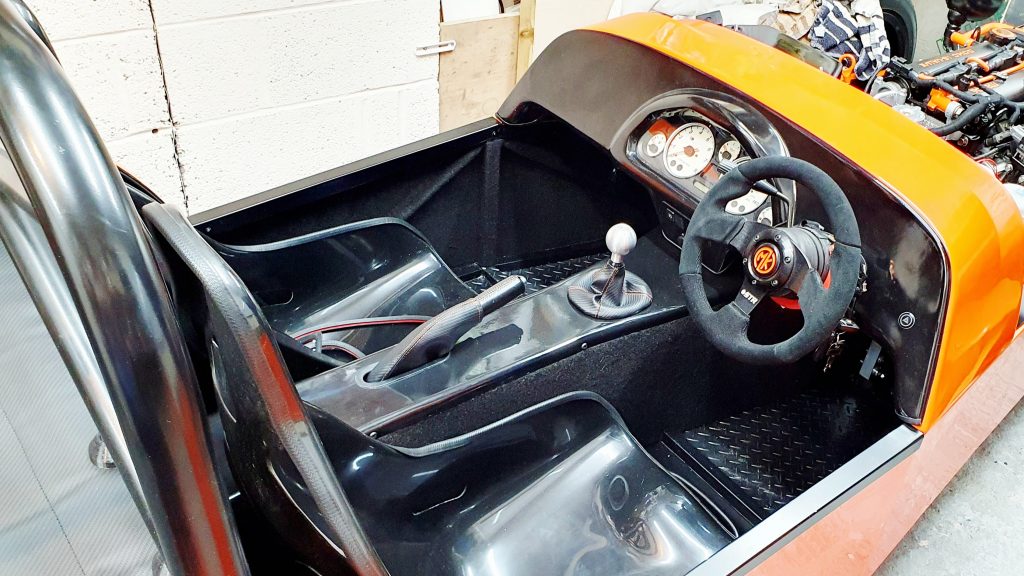
Before installing the tunnel top, I wanted to finish off the internal panelling with carpet to make it feel a bit more premium and a nicer place to sit. So I used some traditional black campervan stick-on carpet for the sides and the back. This is fairly easy stuff to manipulate, cut out and apply with spray adhesive, which provides a really nice finish to the side panels. I’m really pleased with the result.
Flooring
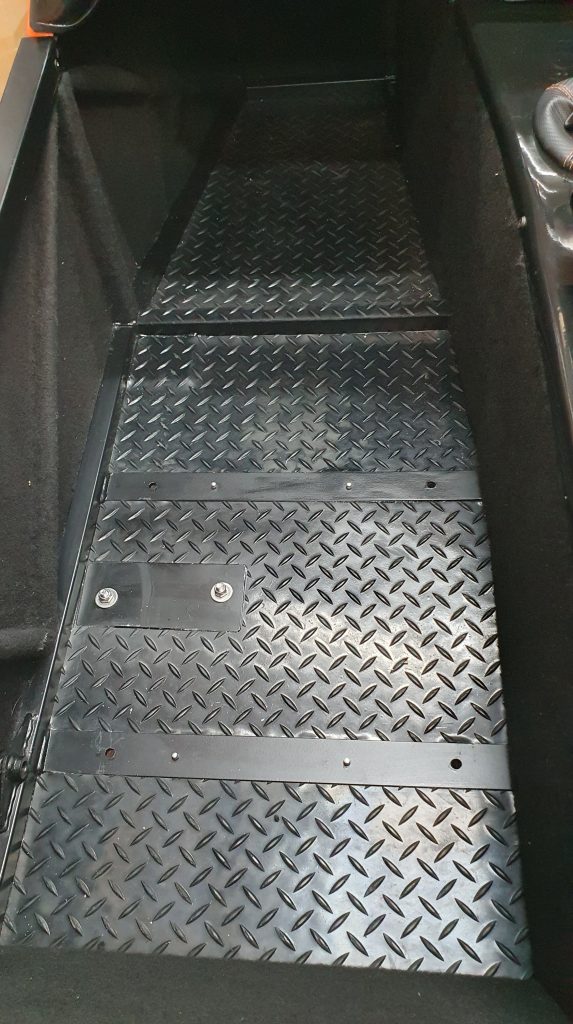
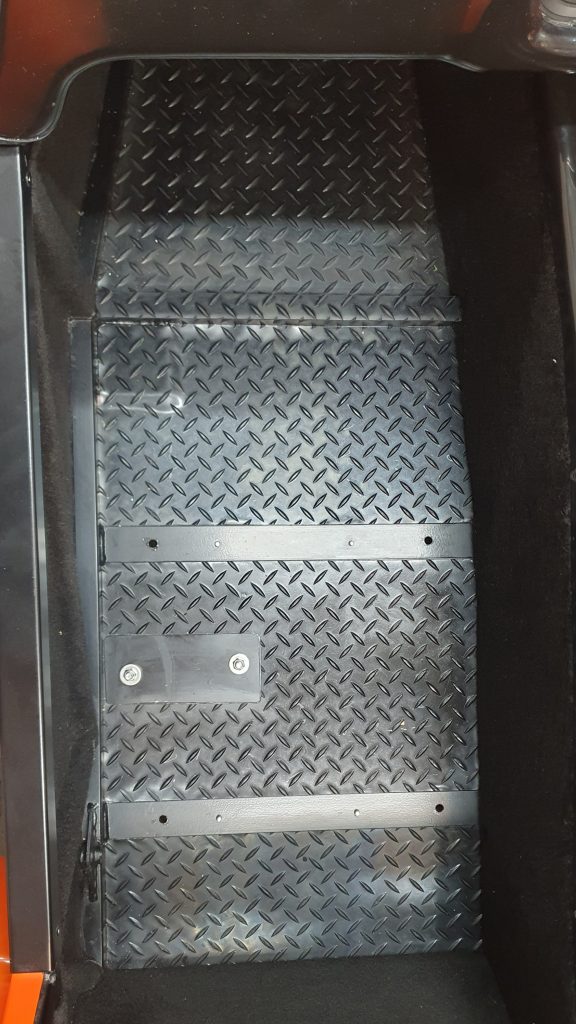
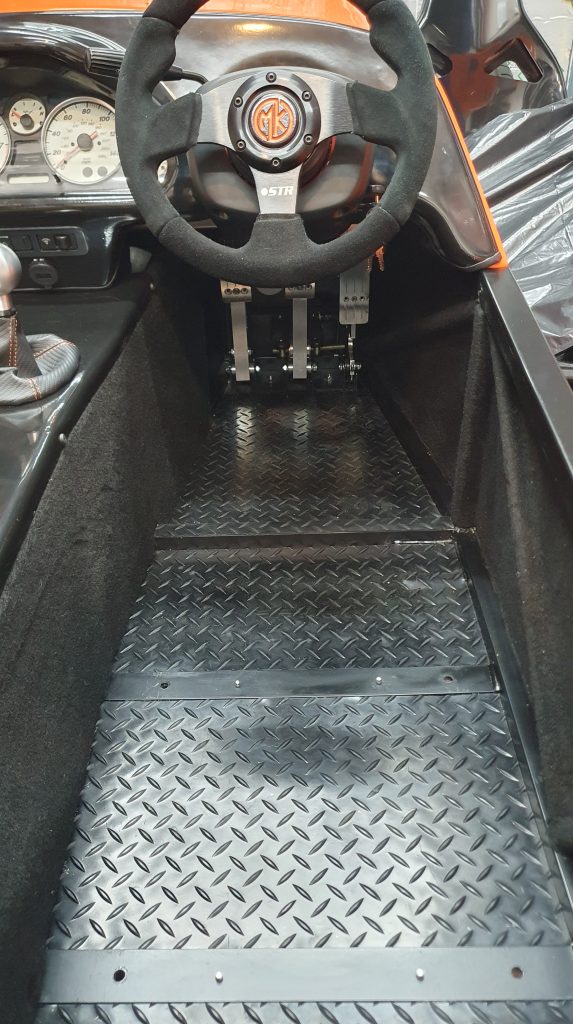
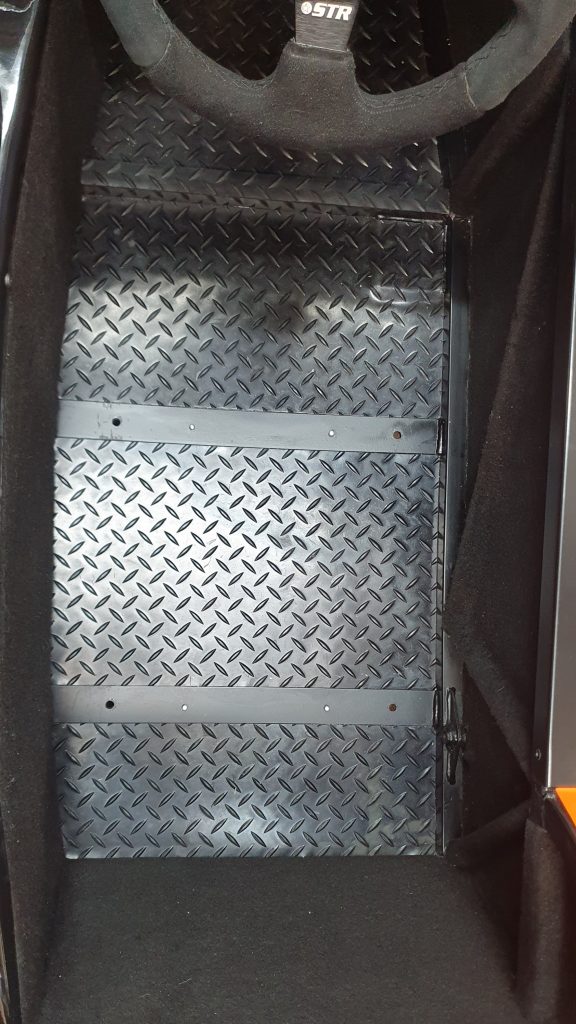
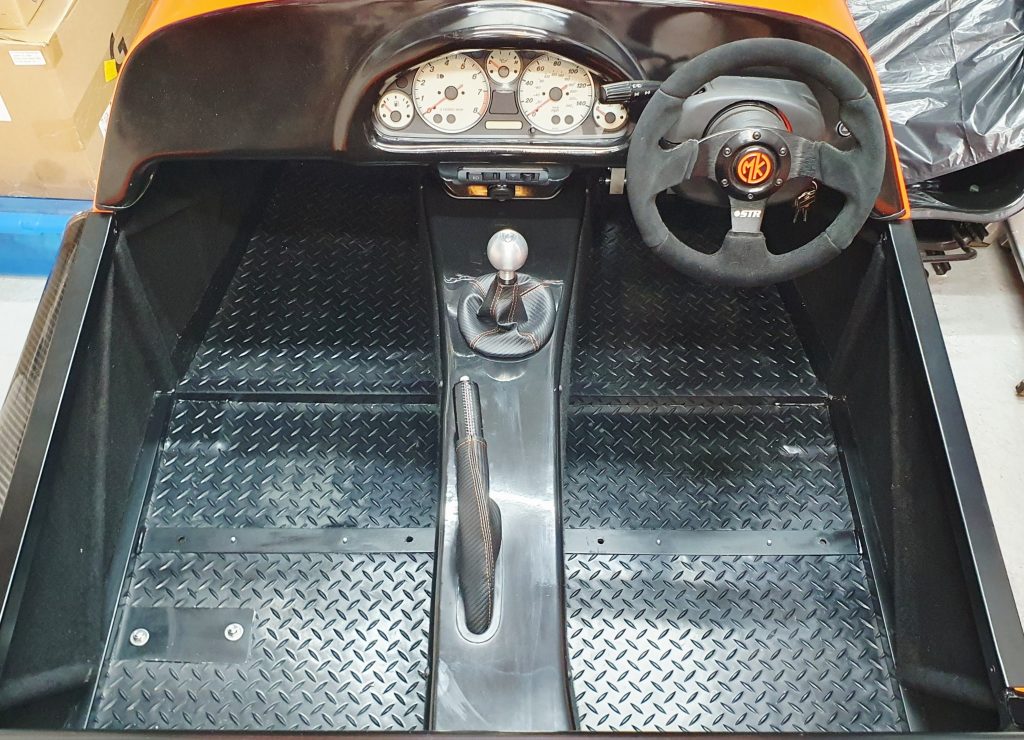
I also wanted to complete the flooring with some rubber matting to complement the carpeted sides. For this, I used some Rubber Checker matting from Halfords, which was quite cheap yet very effective. I also think it looks the part. I used cardboard templates to get the rubber panels the correct size. Then I stuck them in place with spray adhesive to stop them from moving around. This was very effective, and I think it finishes it off quite nicely.
Tunnel Top
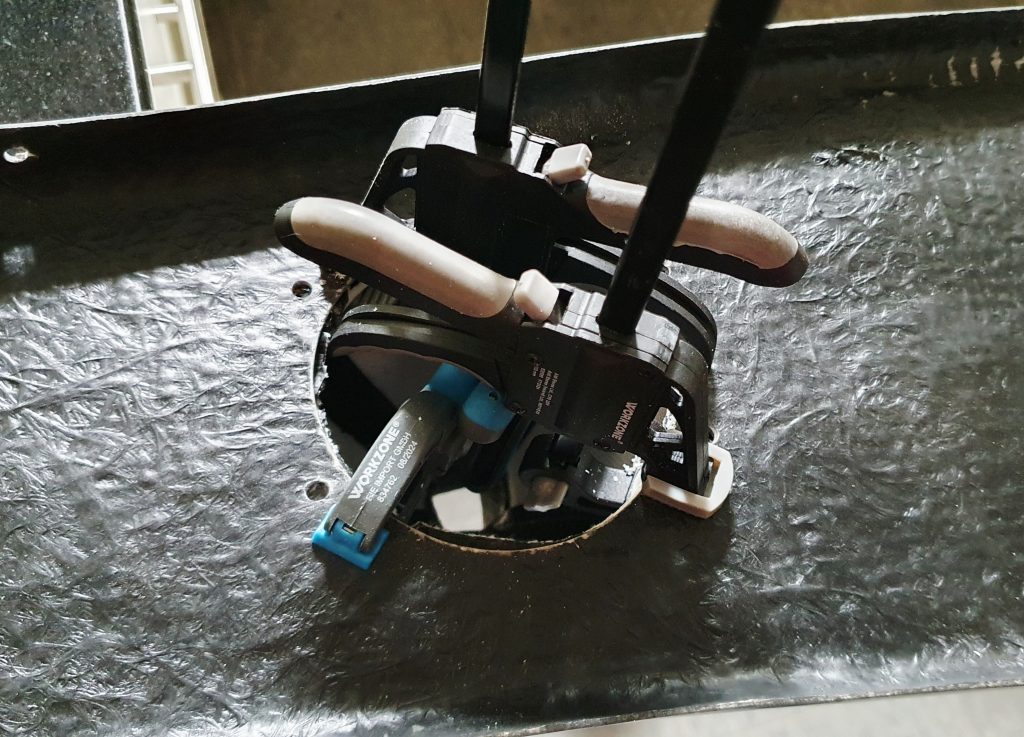
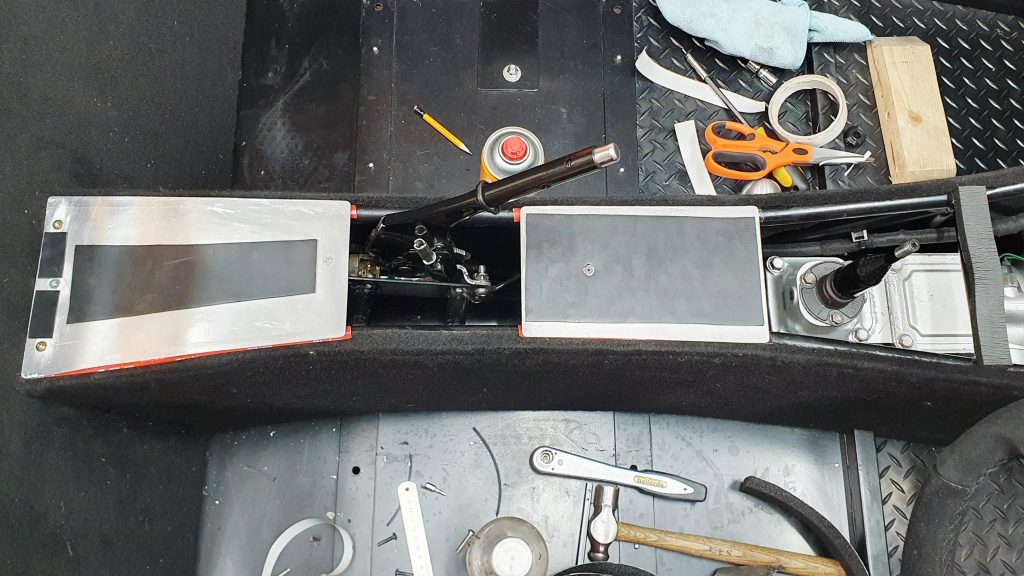
Next was the GRP tunnel top to finish it off, which needed a bit of adjusting by heating it with a hairdryer to make it fit well over the carpet. It also needed cutouts for the gear lever and handbrake. I created a cardboard template for the cutouts to mark the exact positions, then transferred them onto the tunnel top for final cutting.


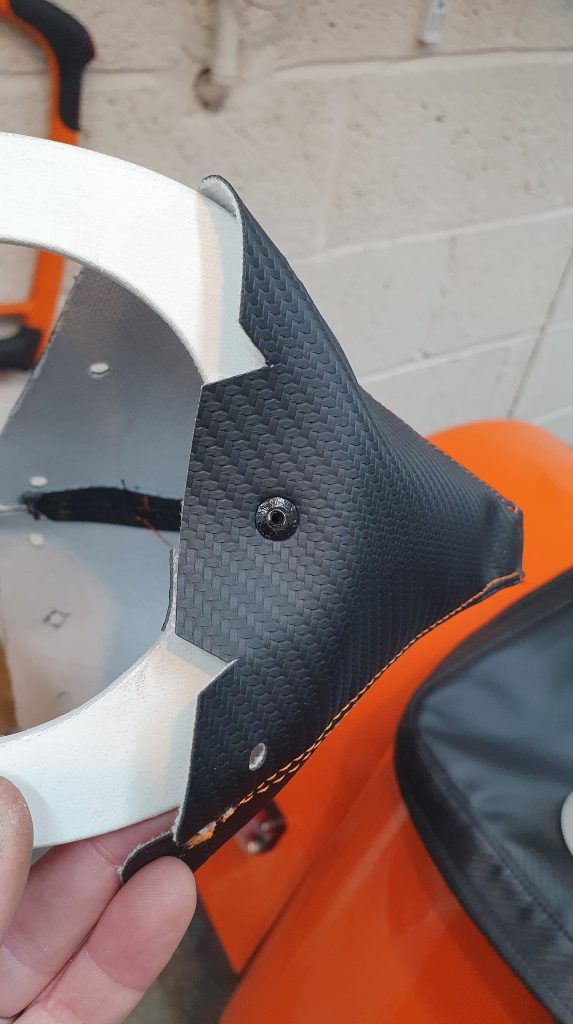
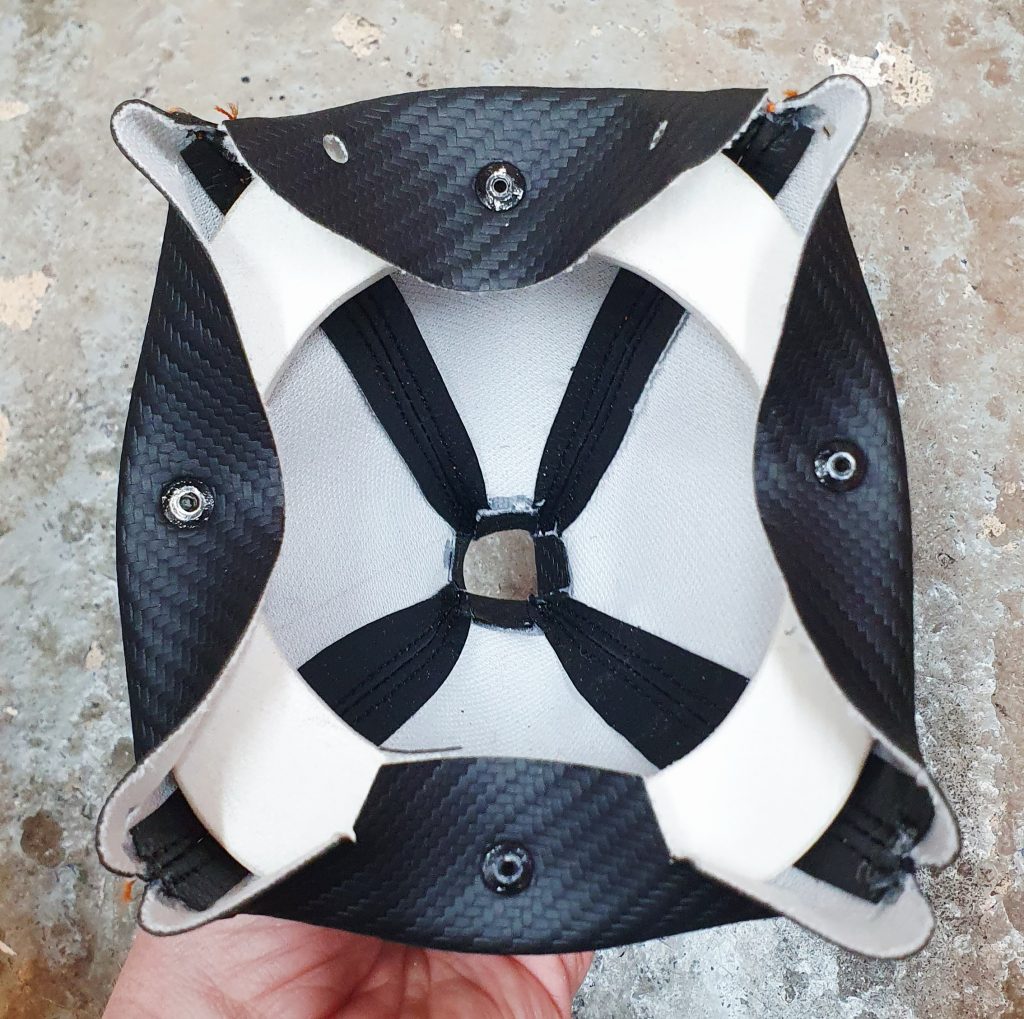
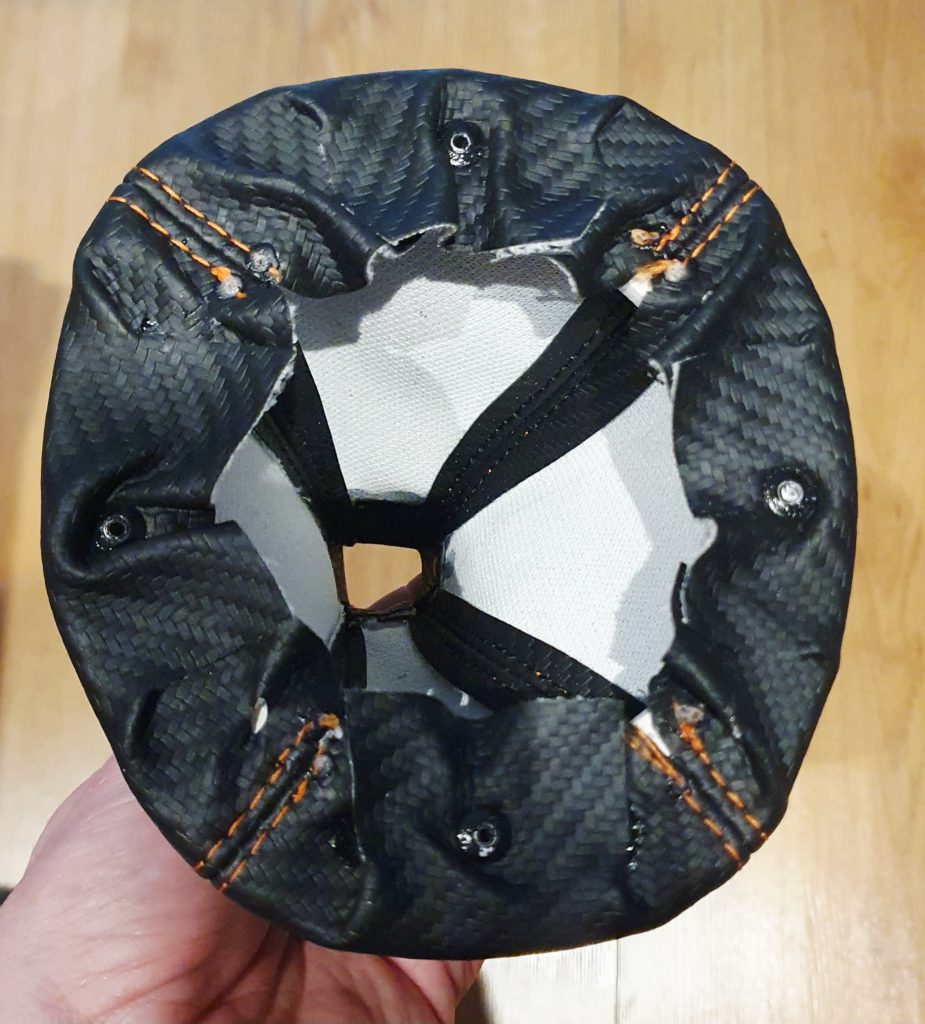
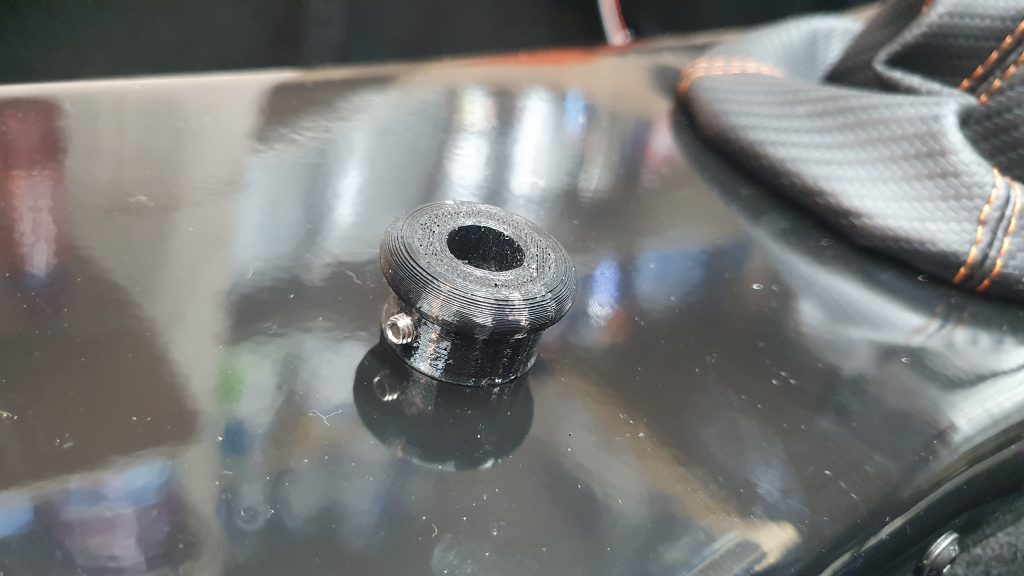
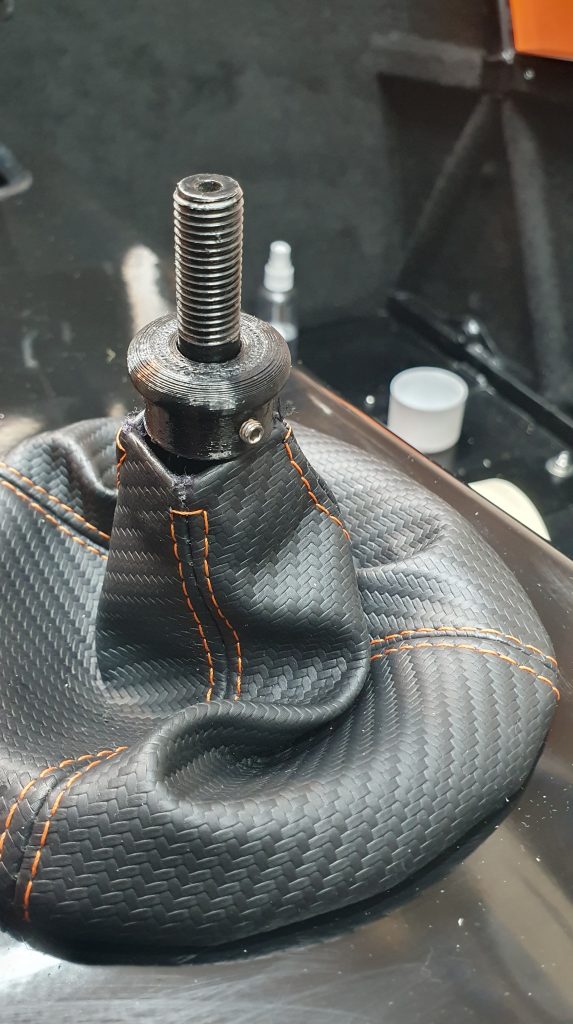
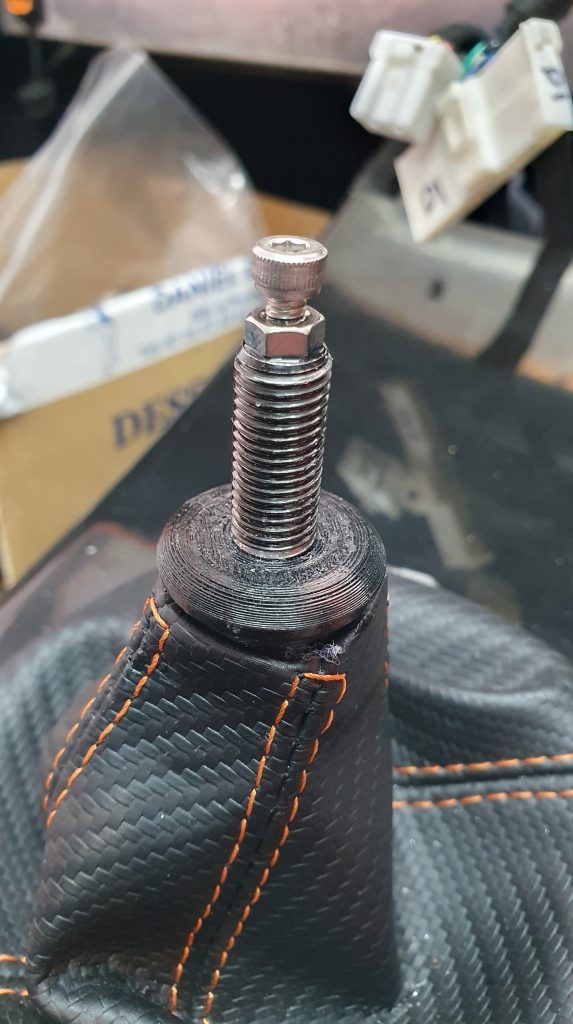
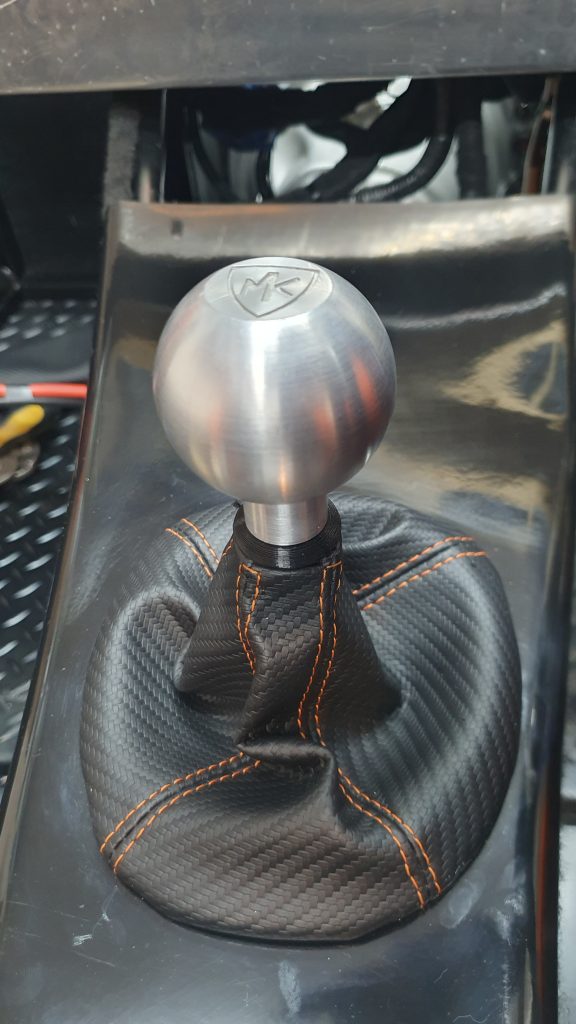
Once I was content, I then fitted rubber U-trim around the hole for the handbrake to finish it off. I had bought some custom handbrake and gear lever gaiters from eBay in carbon effect material with orange stitching. The Handbrake gaiter did not need any fixing in place, but the gear lever gaiter did. I used some hard-pressed plastic as a ring to rivet the gaiter to. Then screwed this ring to the GRP tunnel top; this created a really neat solution. I then 3D Printed a small fixing for the top to stop the gaiter moving around and to neaten it up.
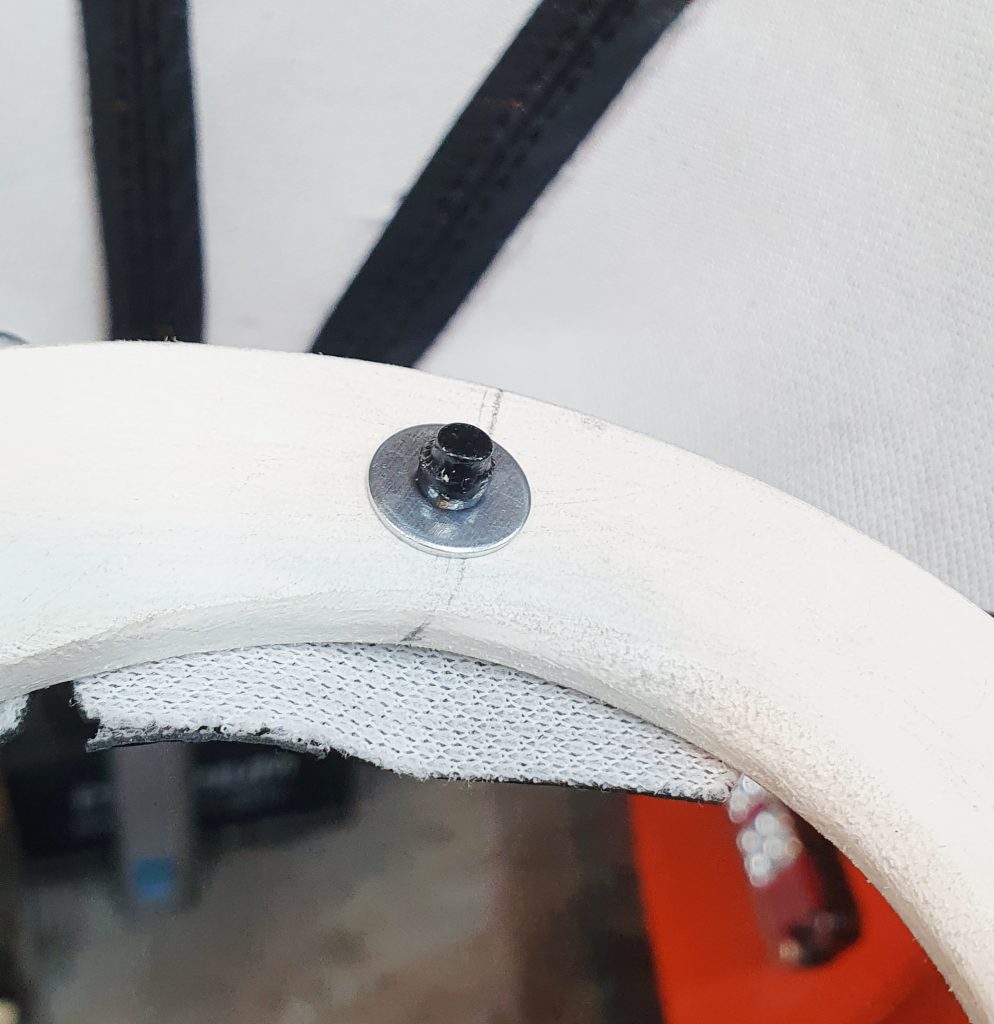
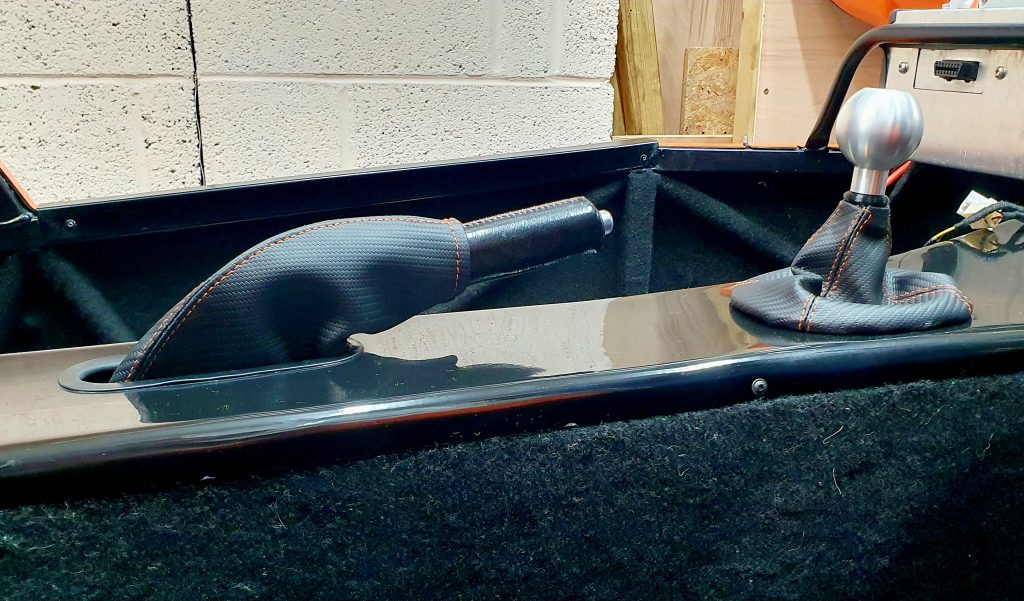
Then, for fitting the tunnel top, I decided to use 4mm countersunk screws with a small black cup. This neaten up the edges so it didn’t stick out too far. For this, I put more M4 rivnuts in the tunnel chassis, using 8x in total to hold it in place. Getting the angle right is critical on this; otherwise, the fixing doesn’t sit flat. This holds it neatly in place and allows me to remove the tunnel top easily if required.
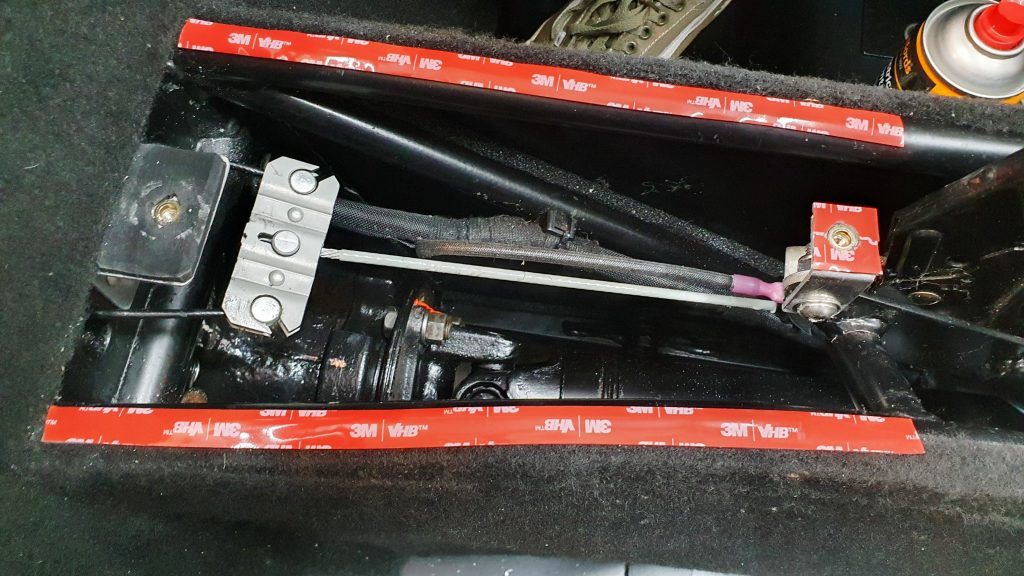
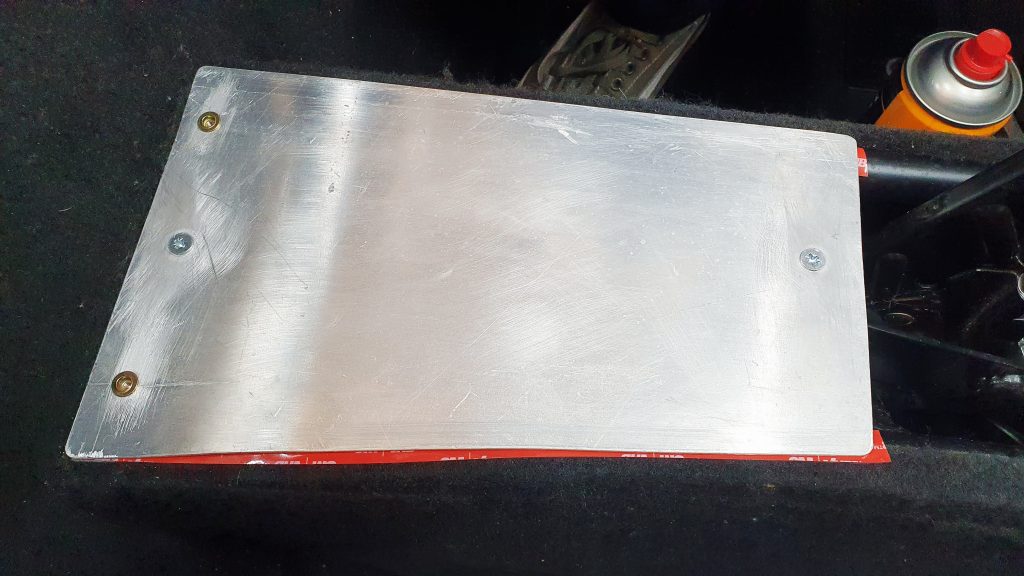
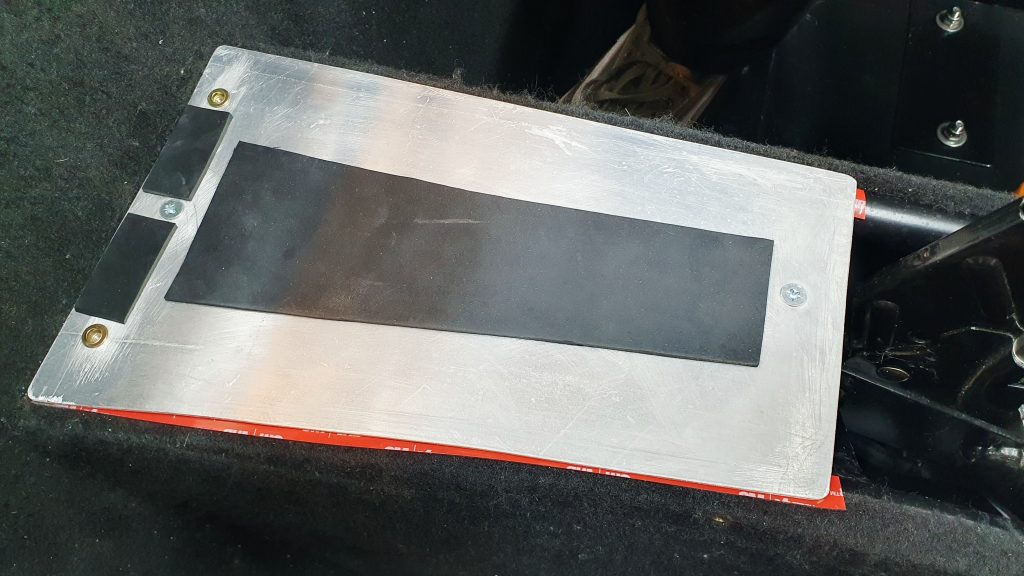
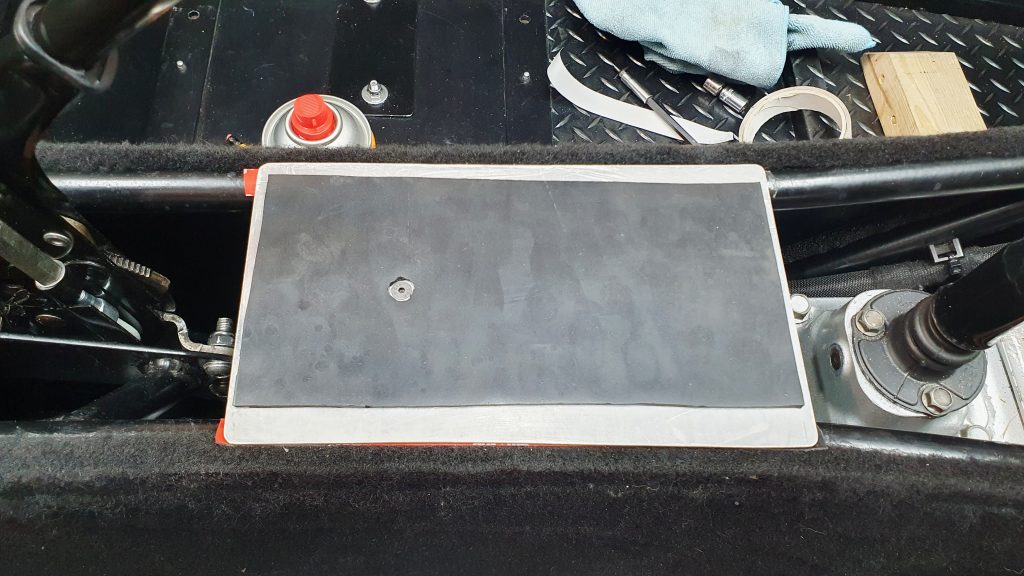
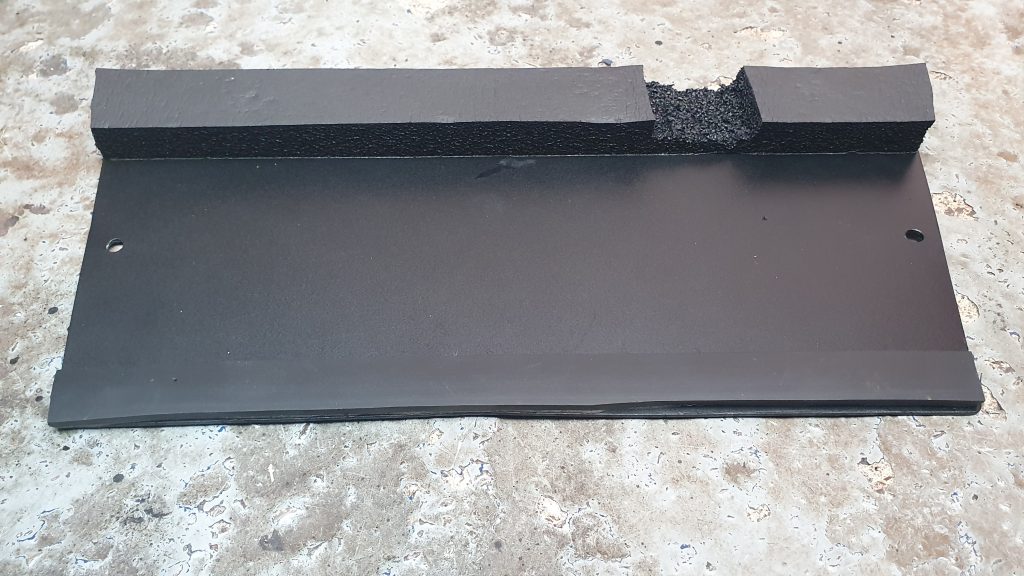
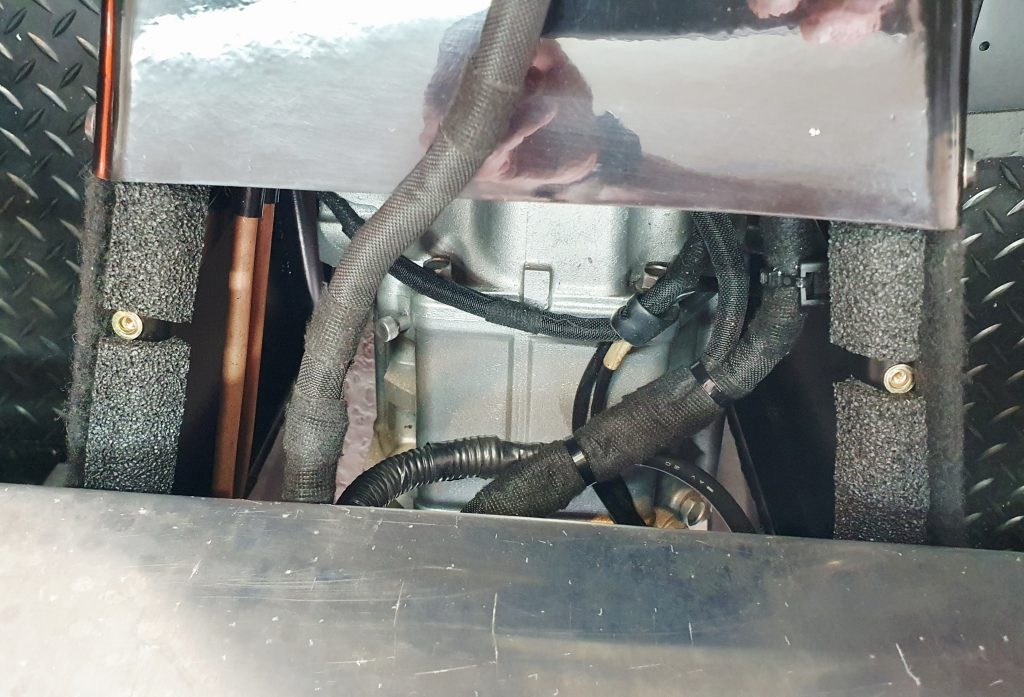
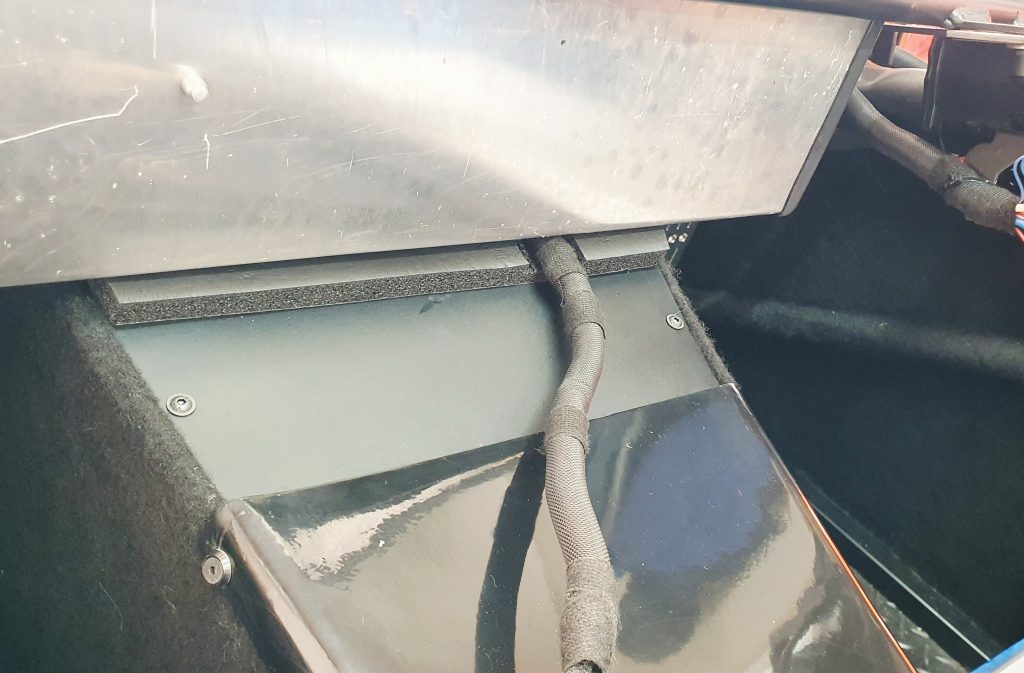
I also added a small plate just in front of the GRP tunnel top, which closed off the remaining gap. Without this, the passenger can see directly under the dashboard and see the transmission tunnel area. This might be a bit disconcerting for certain passengers!
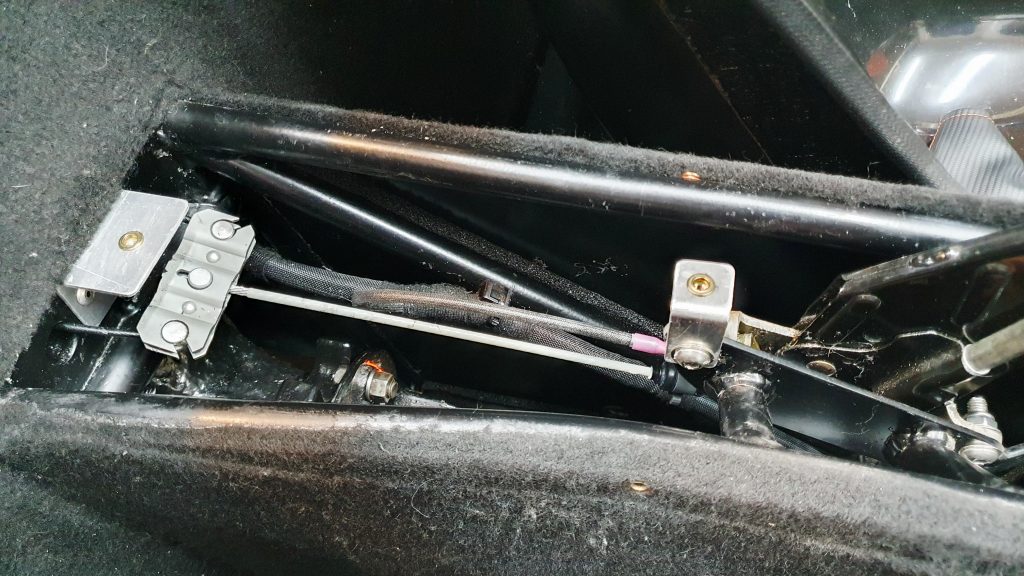
I also added a some reinforcement plates under the tunnel top so that you can lean heavily on it when getting in an out of the car. It is now a lot more solid!
MK Indy Internal Panels Complete
Finally, all of this came together to complete the fitting of the MK Indy Internal Panels. I added a thin strip of carpet over the screw heads on the tunnel top to avoid any IVA issues. All I needed to do next was fit the seatbelts and seats for the final time.
Summary of Build Costs and Hours
Here is a summary of the costs and person hours (total number of hours for every person that has helped) for the build so far. This should hopefully help others with the planning of their builds, by providing cost and time actually incurred for this build. A more detailed breakdown of all the costs and hours worked on the build to date can be viewed here.
| Person Hours Worked This Post | |
|---|---|
| Fit Internal Panels | 10 hrs |
| Fit Internal Carpet and Matting | 6 hrs |
| Car Build Costs This Post | |
|---|---|
| Black 4 Way Stretch Carpet 1m x 2m with Glue | £19 |
| Black 4 Way Stretch Carpet 2m x 2m with Glue | £30 |
| Simonez Satin Black Engine Paint | £11 |
| M4 x 20mm Black Coutersunk Allen Screws Qty 20 | £4 |
| M4 Solid Black Finishing Washers Qty 10 | £4 |
| Black Rivets 4mm x 12.5mm Qty 100 | £21 |
| MX5 Handbrake and Gear Lever Gaiters - Carbon and Orange Stitch | £38 |
| Totals | This Post | To Date | All Posts |
|---|---|---|---|
| Person Hours Worked | 16 hrs | 516 hrs | 516 hrs |
| Car Build | £127 | £14,083 | £14,083 |
| Tools / Consumables | £0 | £470 | £470 |
| Total Cost | £127 | £14,553 | £14,553 |