
Now that the wiring harness was fully installed and all the lights and electrics were working, I could finally complete the installation of the radiator and the MK Indy coolant re-route kit I had created.
Installing the Radiator
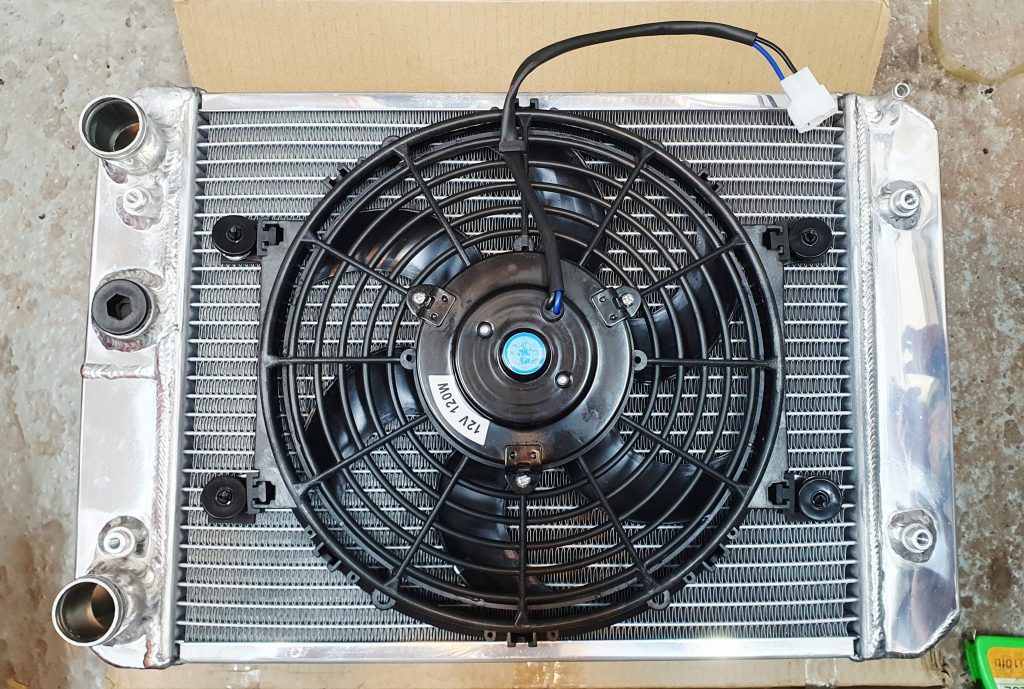
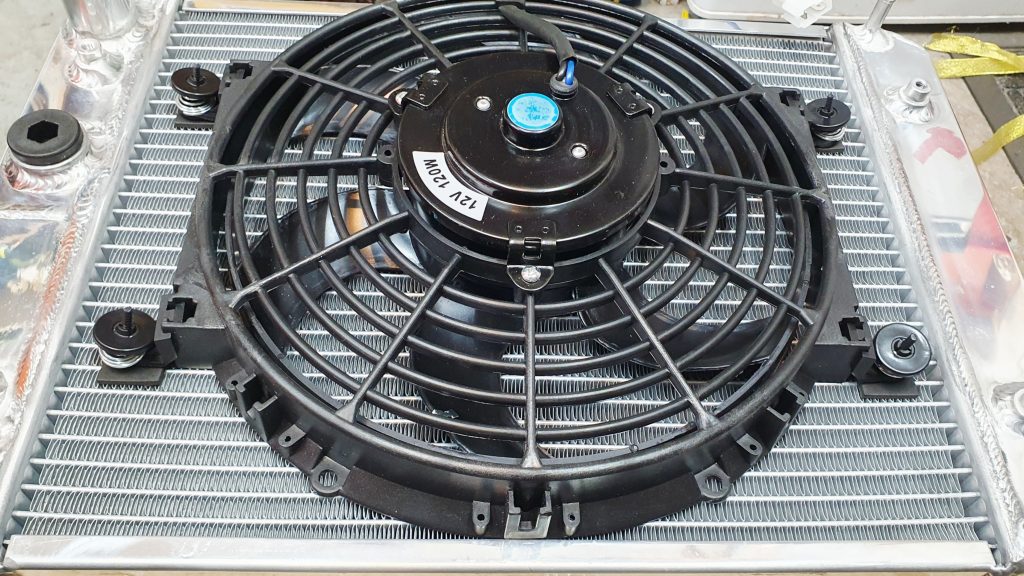
I chose the larger 55mm radiator and the 120w fan with the kit, to future proof the car for a turbo install later on. Fitting the fan to the radiator was straight forward and fitting the radiator to the chassis also seemed straight forward at first.

However, the clearance on the radiator inlet at the top was insufficient to allow suitable fitment of the hose, even with modification to the mounting hole and bending the bracket as far down as it would go.
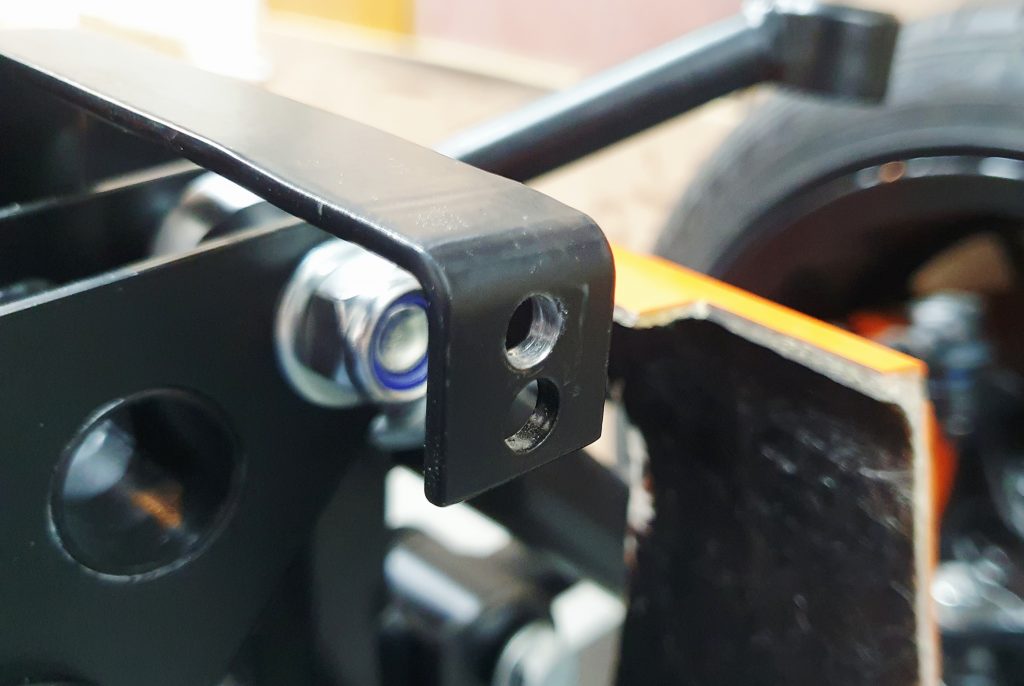
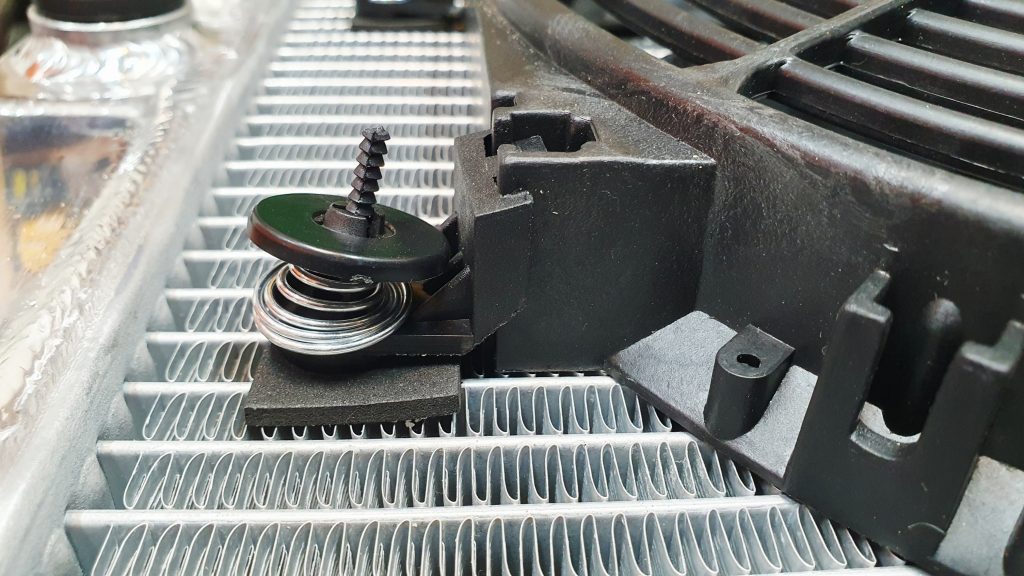
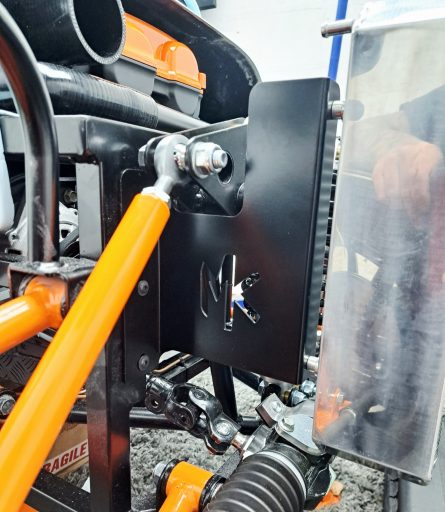
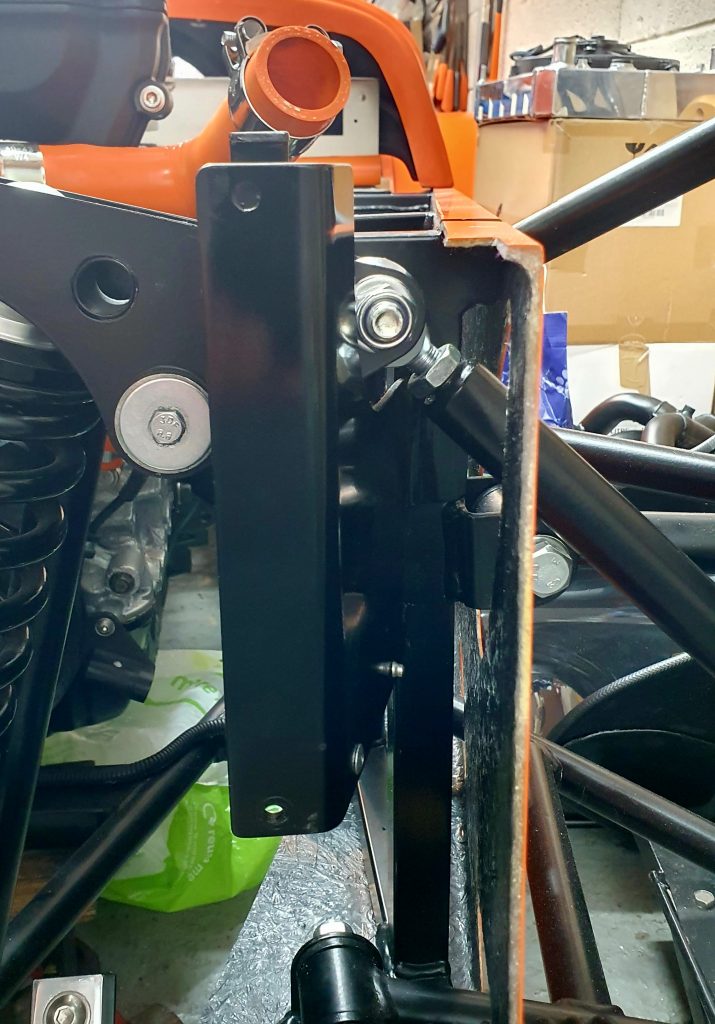
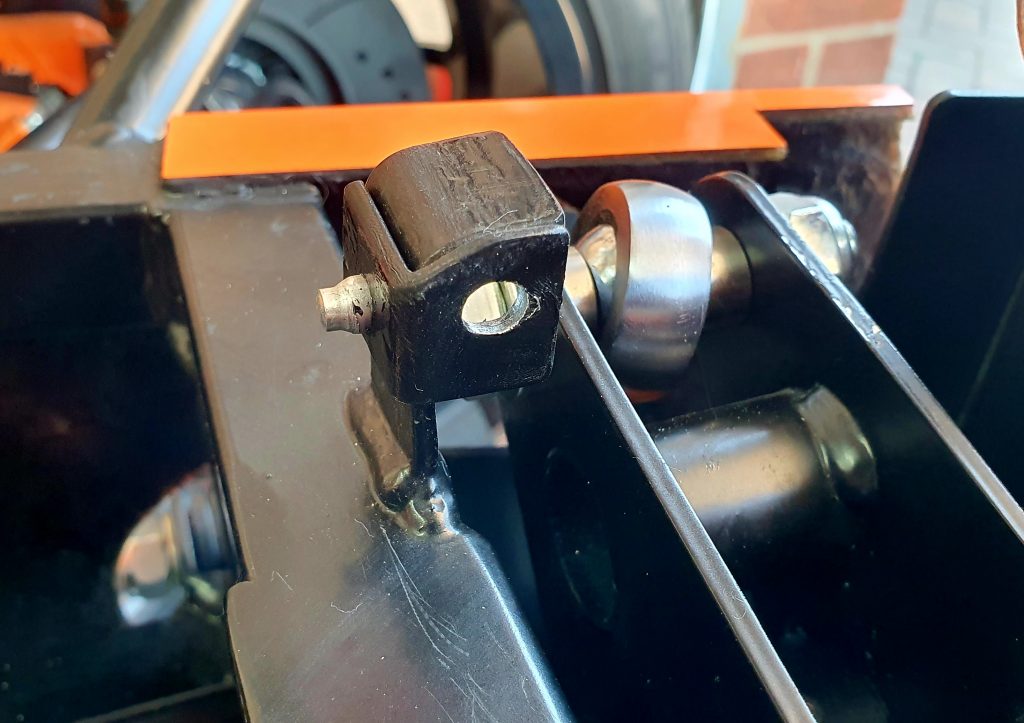
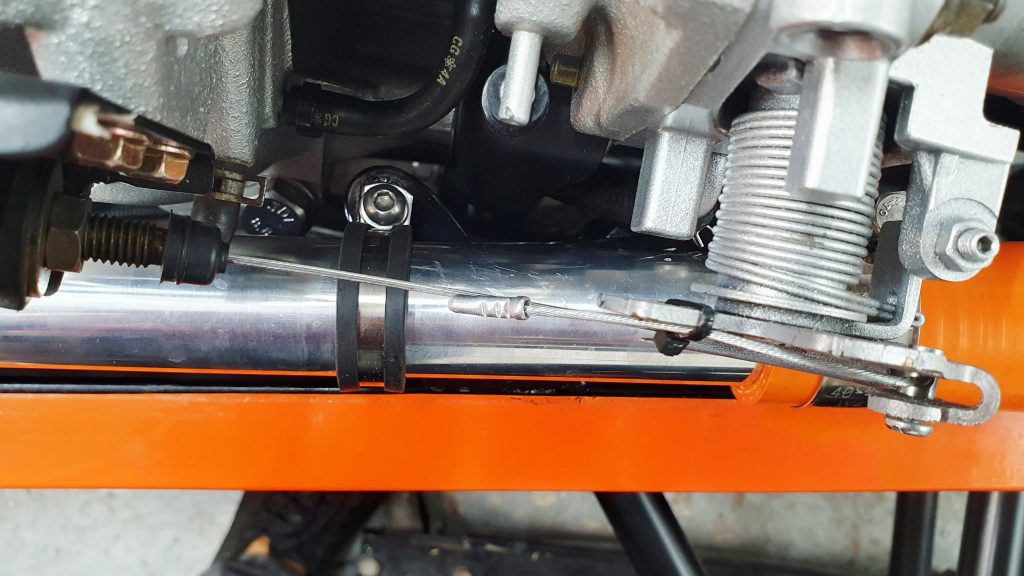
With the radiator bracket in a suitable position to allow the hose to fit on, it had hardly any clearance to the rockers compared to the other side. The righthand side standard clearance between the rocker and the radiator bracket was 17mm as shown below.
With the radiator bracket bent on the lefthand side to a suitable degree to allow the hose to fit, the clearance to the rocker was reduced to only 7mm.
I was concerned that under hard cornering the rocker would now hit the bracket. So I came up with another plan to replace the radiator bracket on this side completely.
New Radiator Bracket
To replace the radiator bracket I took inspiration from the design of the newer chassis. Below is an image of how they mount the radiator now (image courtesy of Gaz). A far better engineering solution.
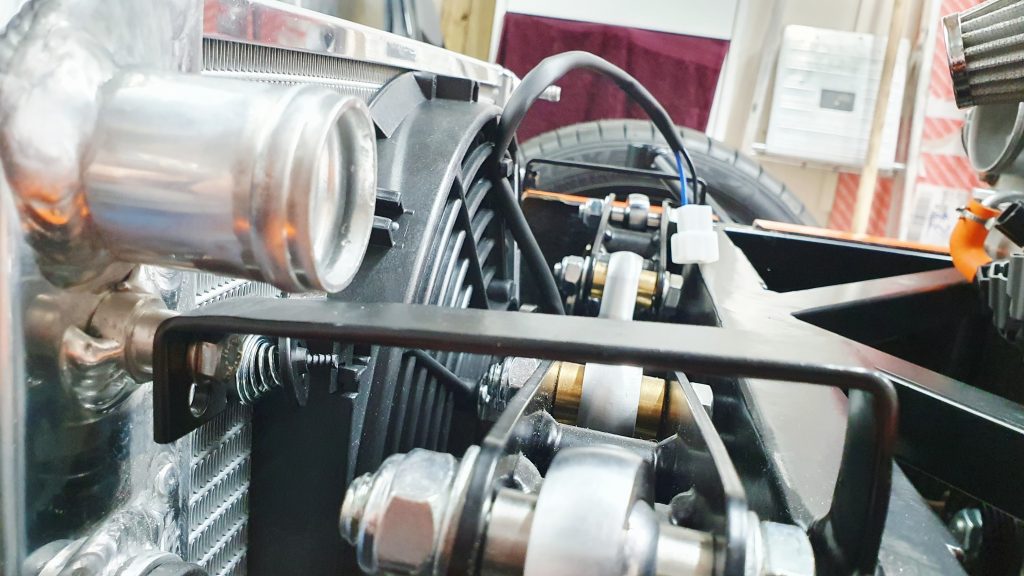
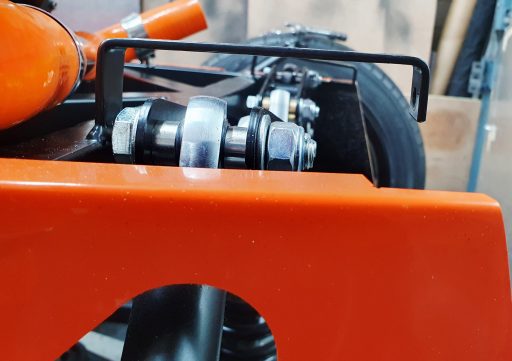
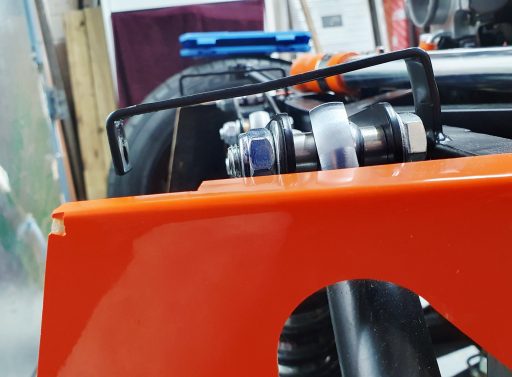
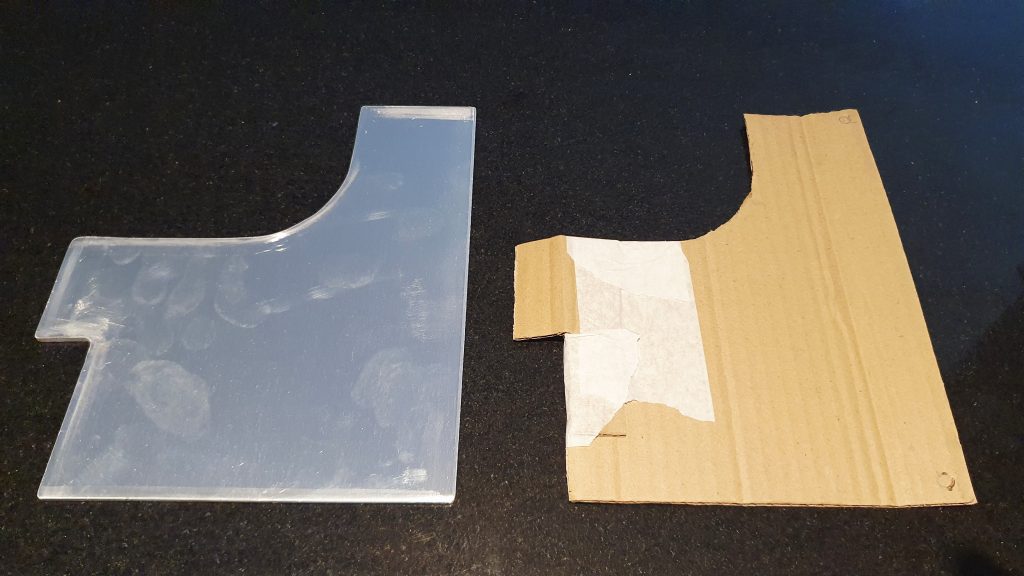
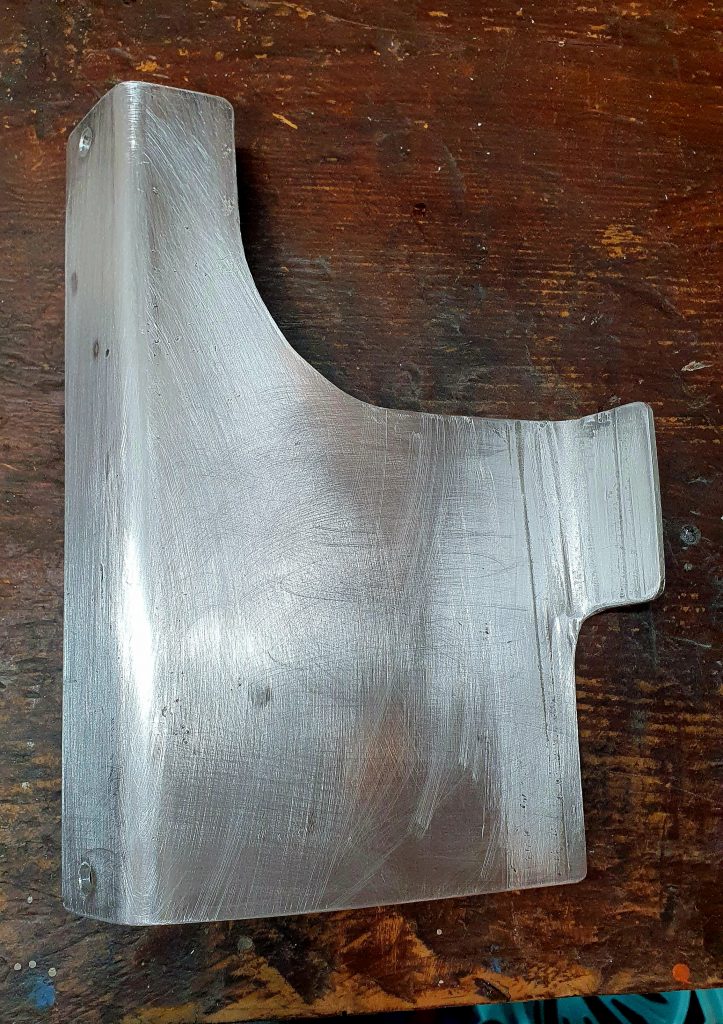
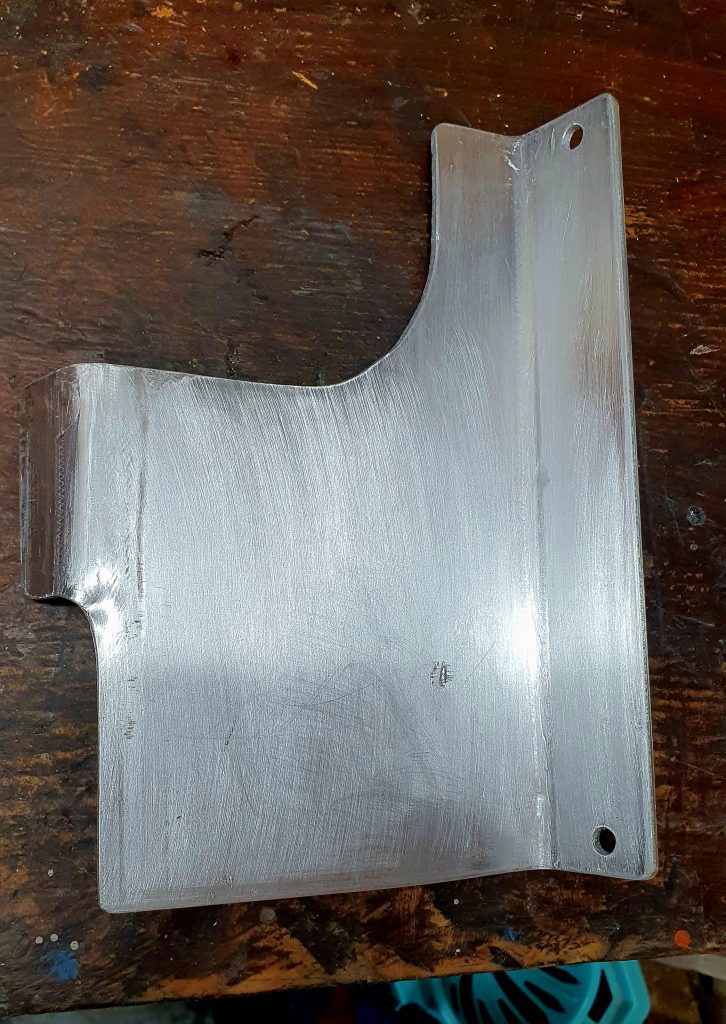
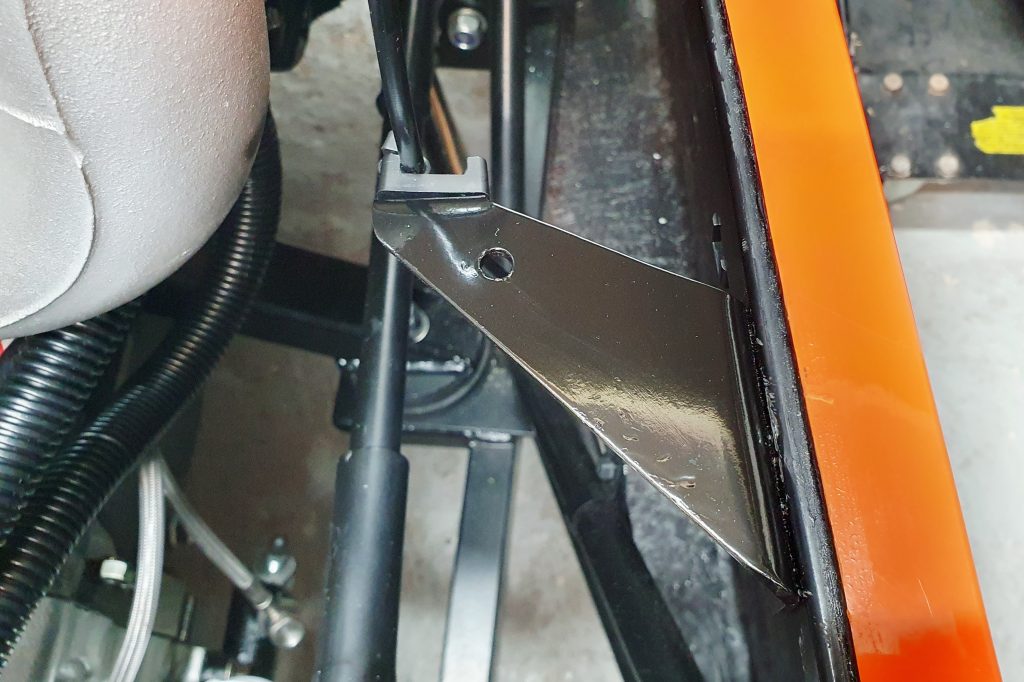
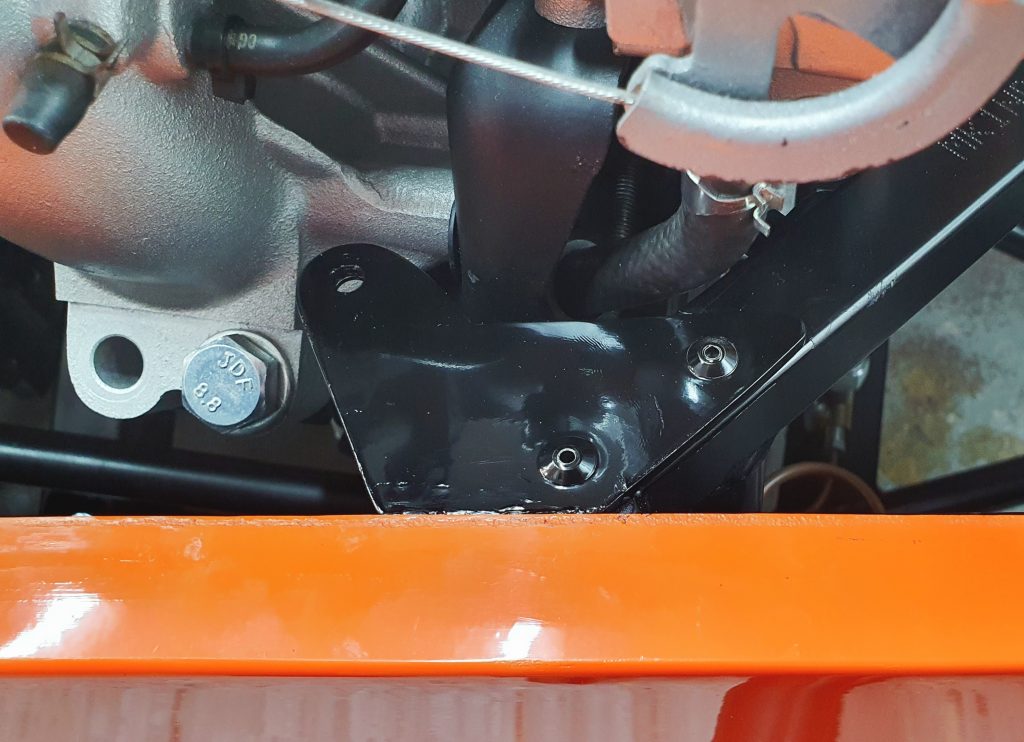
So, I recreated a similar bracket out of aluminium and mounted it from the existing chassis brackets using rivets. I then cut back the original radiator bracket but left a small tab to clamp the radiator pipe to. It worked out well in the end.
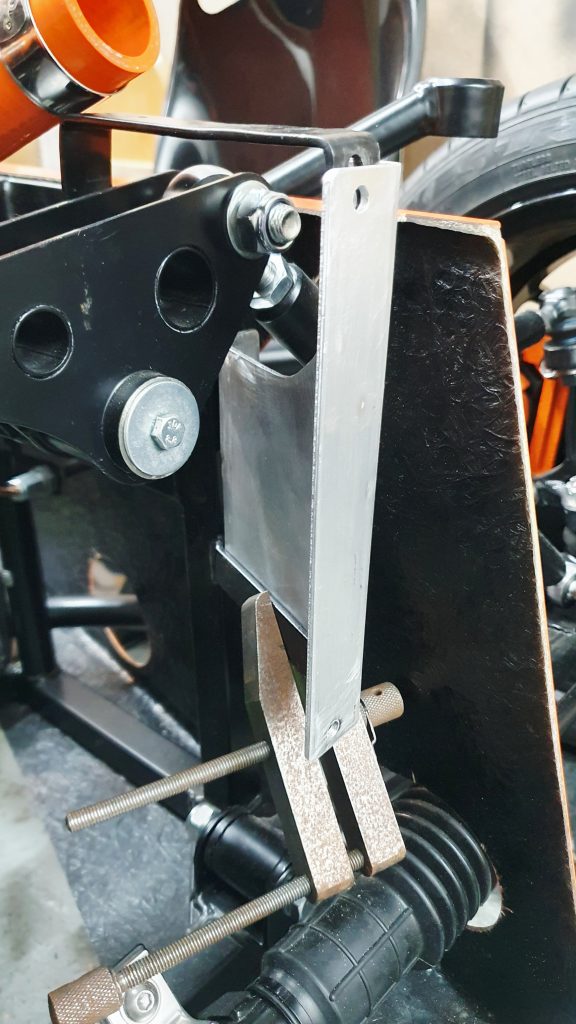
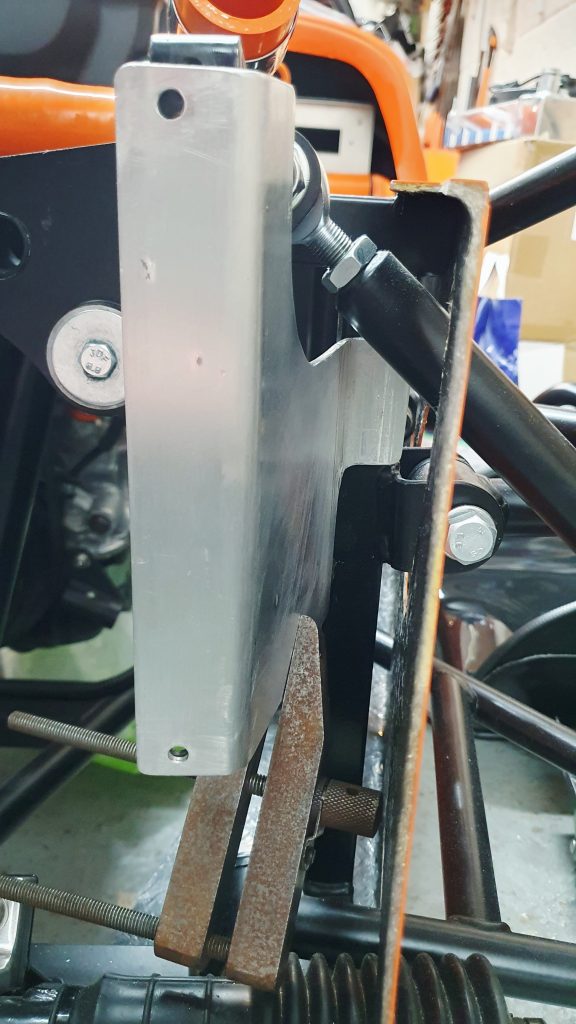
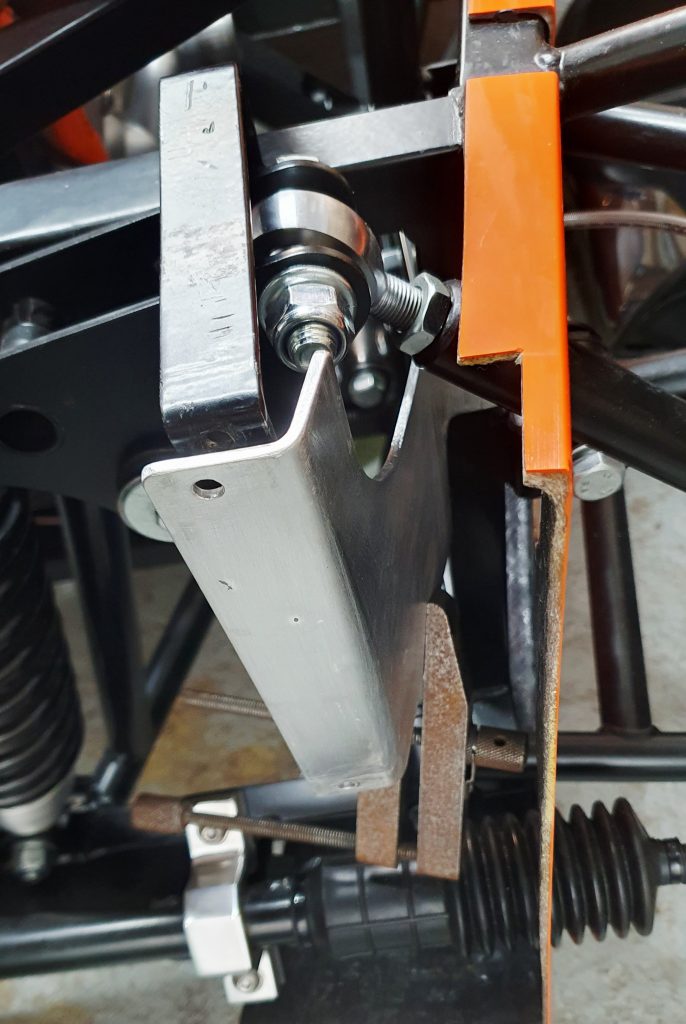
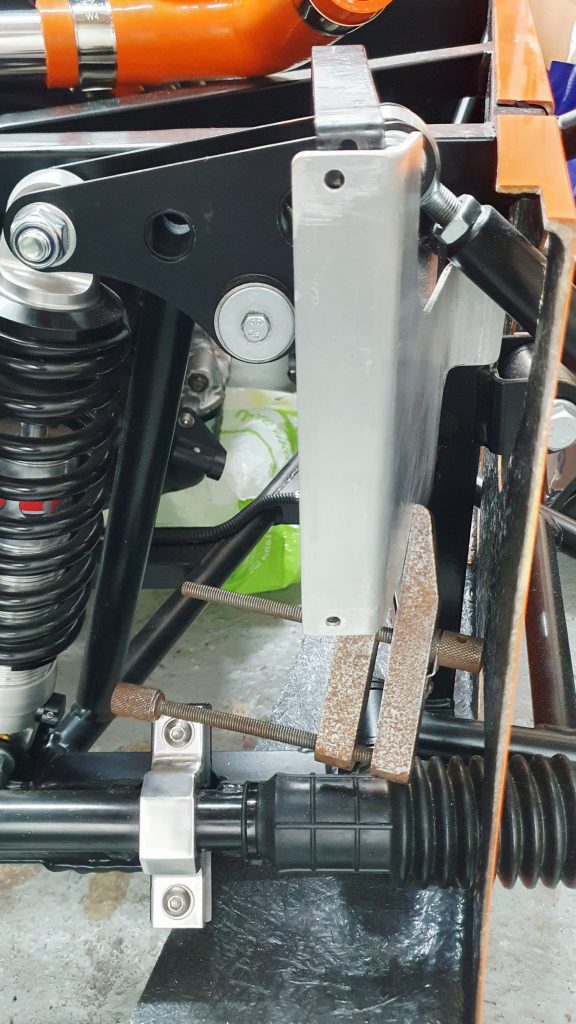
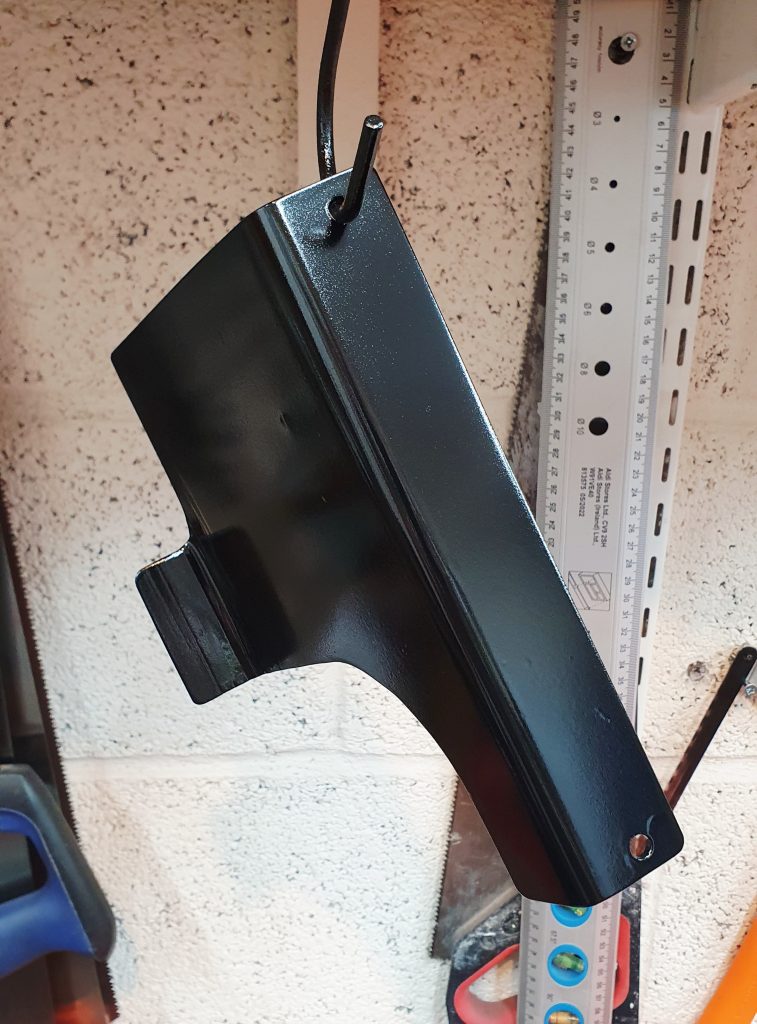
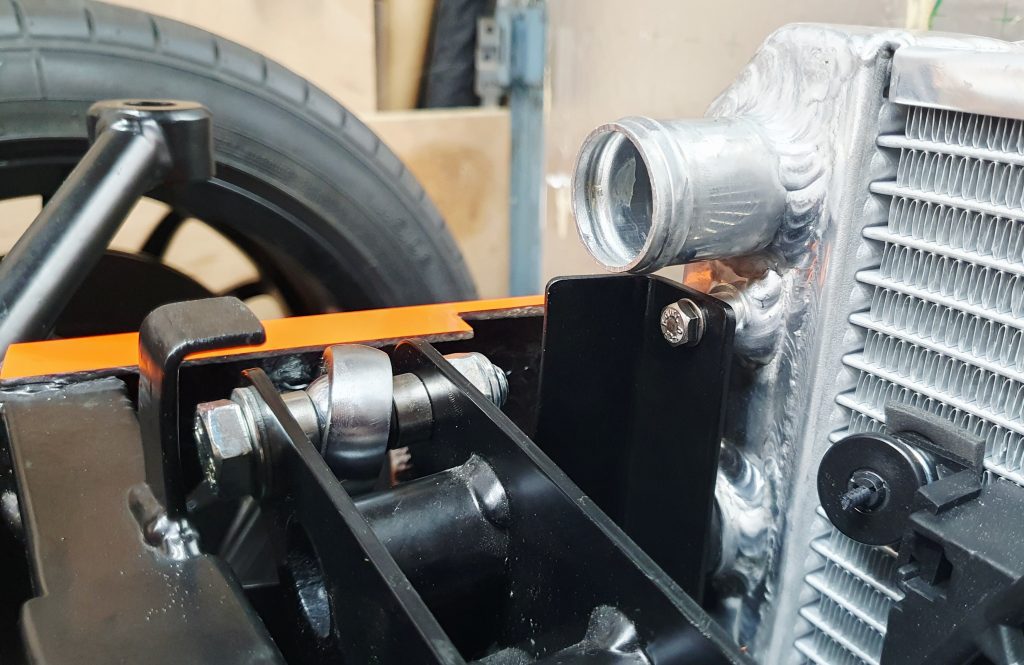
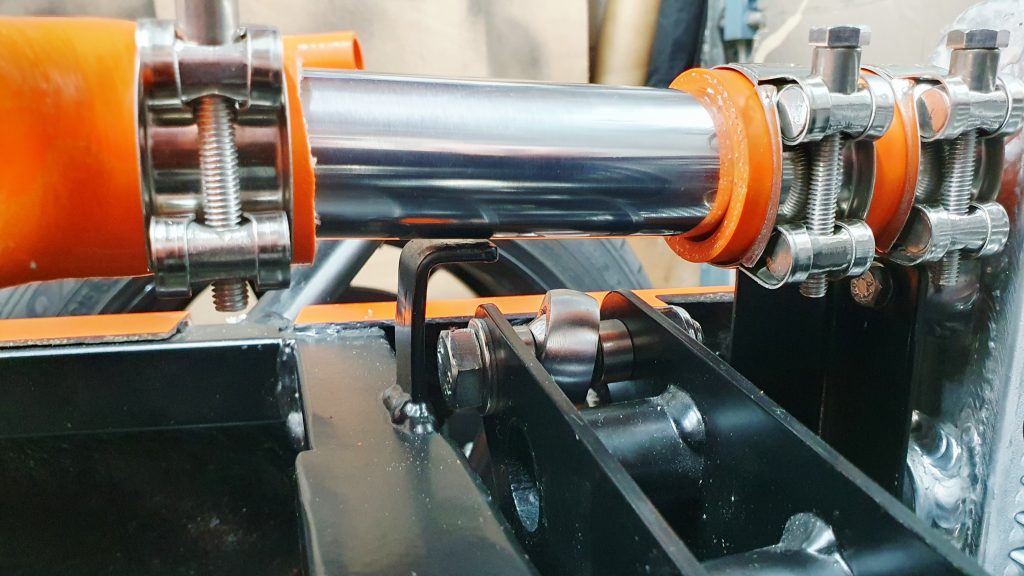
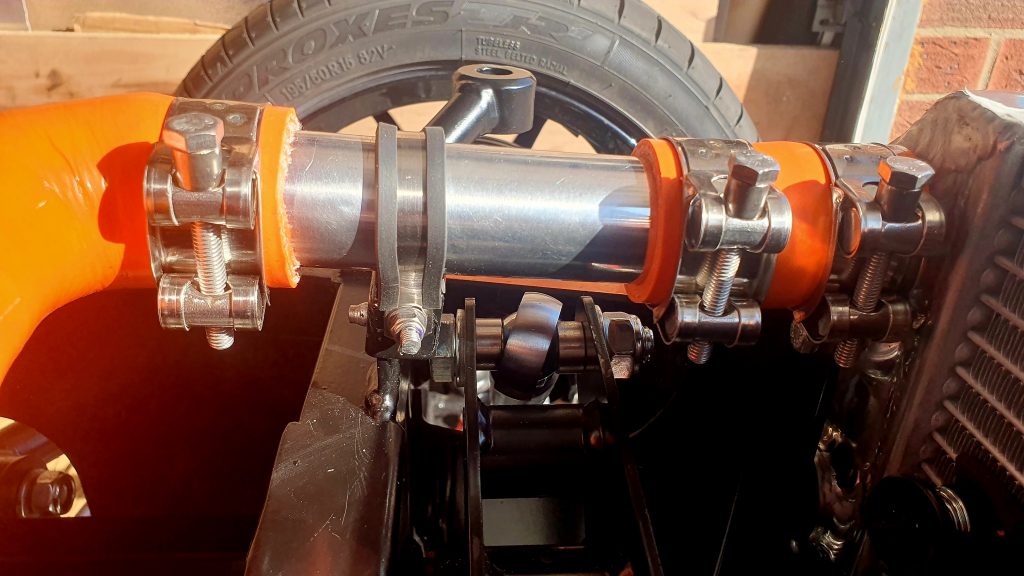
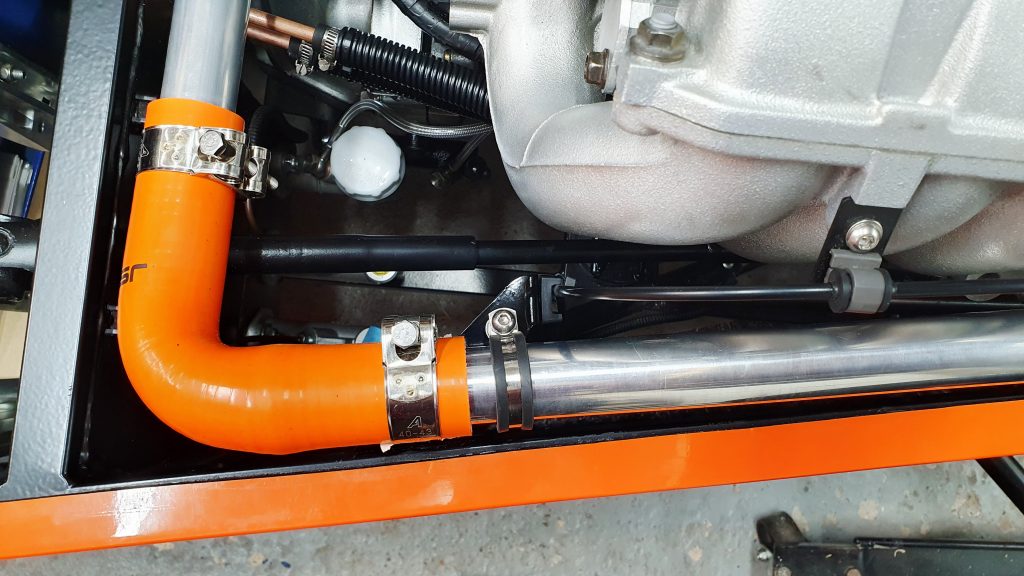
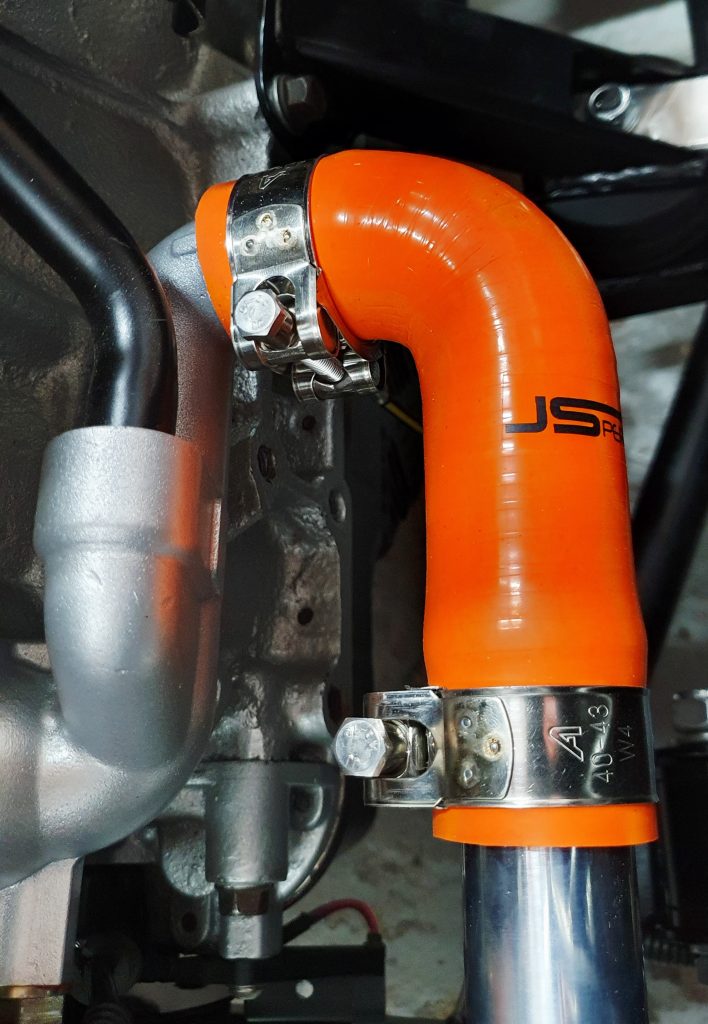
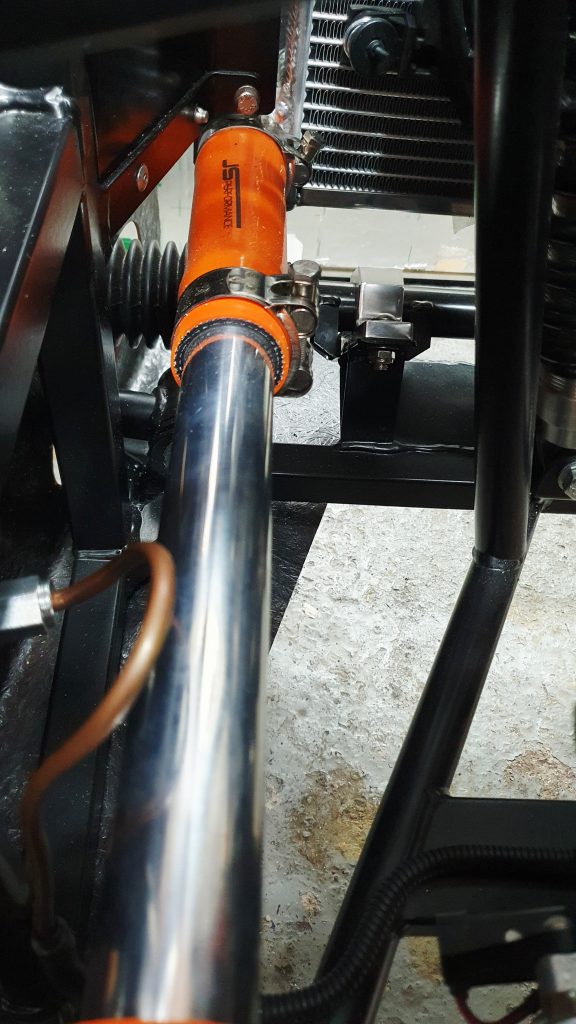
To provide a bit more clearance at the rocker point I used a short aluminium pipe and cut the angled silicone hose. Then I clamped the pipe to the remainder of the old radiator bracket. This is quite a neat solution and provides much greater clearance between the rocker and pipe, I’m happy with the result.
The only thing I would change if I did it again would be to get a radiator with the inlet on the righthand side instead of the left. This would make the coolant re-route shorter and more straight forward.
Coolant Re-route
Now to get on and finalise the remainder of the cooling system which includes a coolant re-route around the engine.
So, for those that don’t know what a coolant re-route is or why it is so important for the MX-5, the website below is a great summary and why you should do it on your MX-5 based MK Indy.
What re-route kit to use?
If you search ‘Mazda MX-5 coolant re-route kit’ you will find several websites that provide a full re-route kit for a Mazda MX-5. These are often good value for money and provide all the elements that you need. However, they are designed for the bonnet layout of the standard MX-5. So, some of the pipe lengths and bends won’t be in the right place for the MK Indy layout with radiator. So they can work if you accept they will need to be modified heavily to make it work.
Instead I decided to make my own kit from stratch. This uses some parts that came with the original kit and other parts sourced from eBay.
A few people have asked me why I chose the longer route down the inlet manifold side and not just run it down the exhaust side? The main reason is a much lower heat on the inlet side. The exhaust side will naturally get a lot hotter and the cooling system should be doing just that, cooling the engine.
If you got the radiator with the inlet on the righthand side the routing would be shorter. It was only because I already had the radiator before I worked out what I was doing with the re-route, that I had a longer routing. So more like this, which is one of the other MK owners approach:
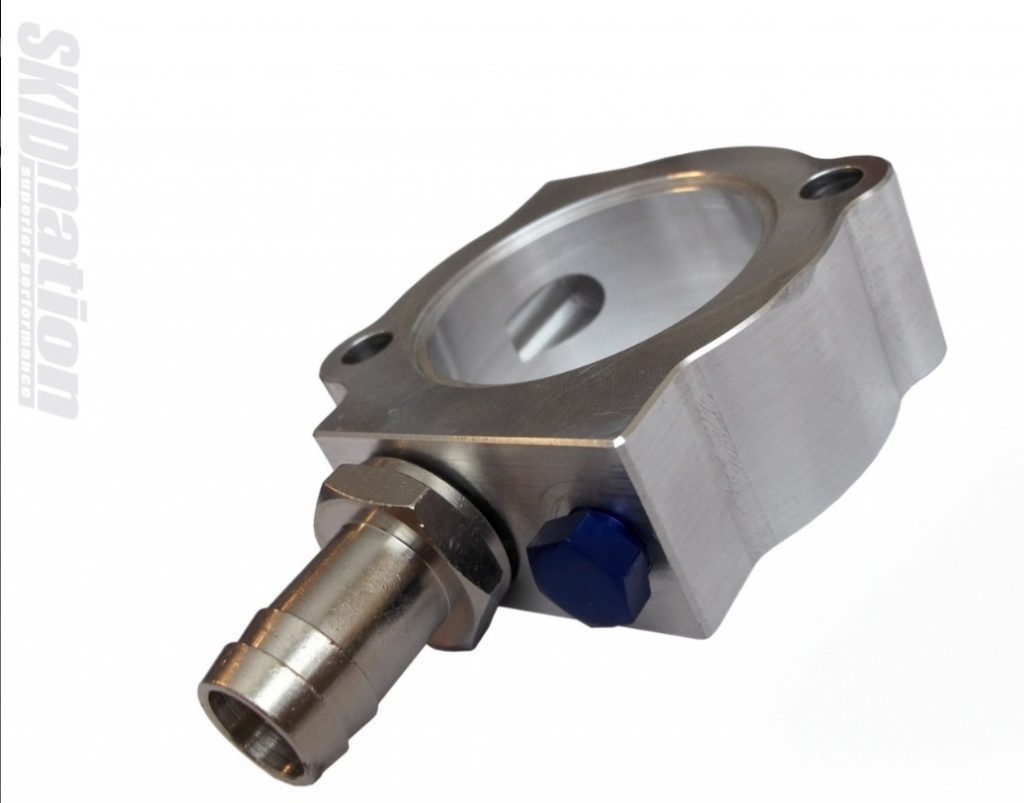
Skidnation Spacer
A key part of the kit is the Skidnation thermostat spacer which is used at the rear of the engine. This houses the thermostat and to allow the hoses to come out horizontal. You can do the reroute without it and mount the thermostat housing cover direct. But the hoses end up coming out almost vertical, which then causes issues with routing of the hoses.
Thermostat Cover
You also need a different thermostat housing cover to allow the hose to come out at the right angle. Skidnation do sell this but it is identical to the Kia Part 0K247-15172A if you can find one. I just bought it from Skidnation as they had them is stock.
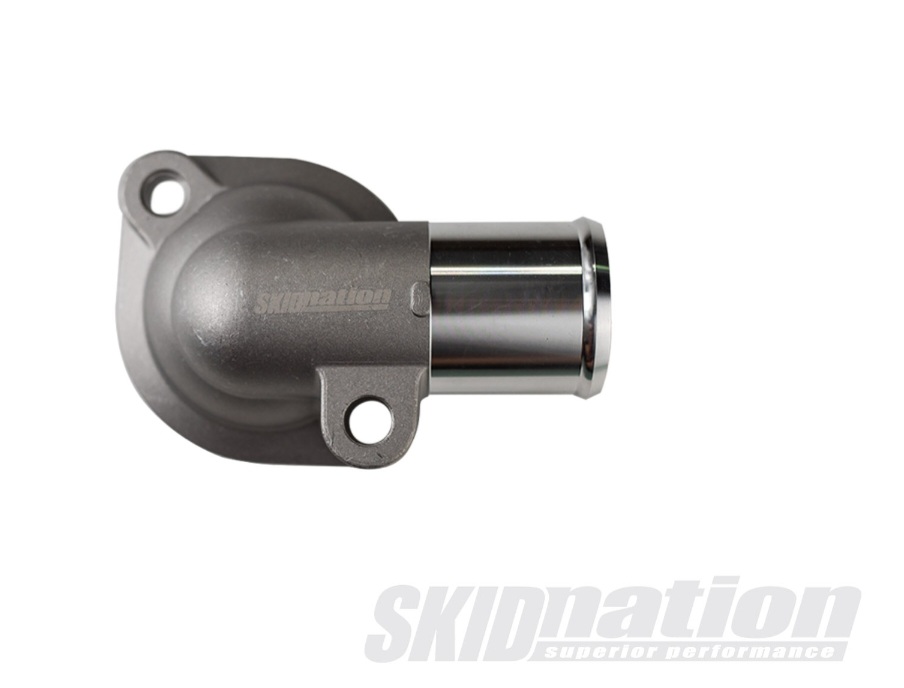
Just to note, Skidnation do not have the thermostat spacer seperately on their website for some reason, the cover is. However, if you email them direct they will sell them seperately and their shipping is quite quick from Europe.
Coolant Re-route Kit of Parts
I have created a handy kit of parts and reference guide for the kit I put together at the link below. This shows each part, a link to where I got it from and location of the part in the kit when installed.
Chassis Brackets
To fit the re-route kit I had to create a few custom brackets to mount the hose mounts to. I made these from aluminium and painted them all with my favourite Simonez Satin paint. These were the riveted to the chassis to secure them.
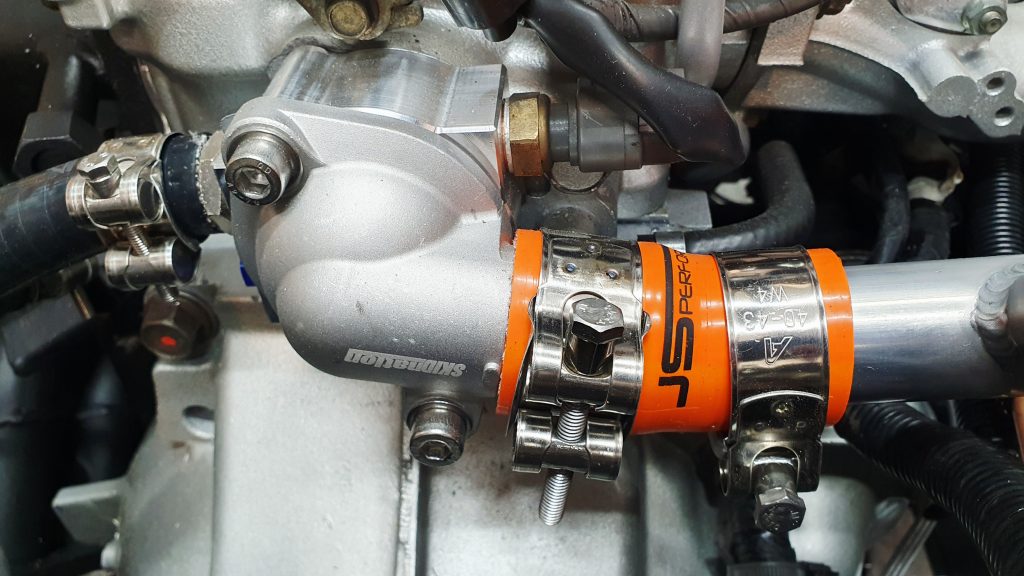
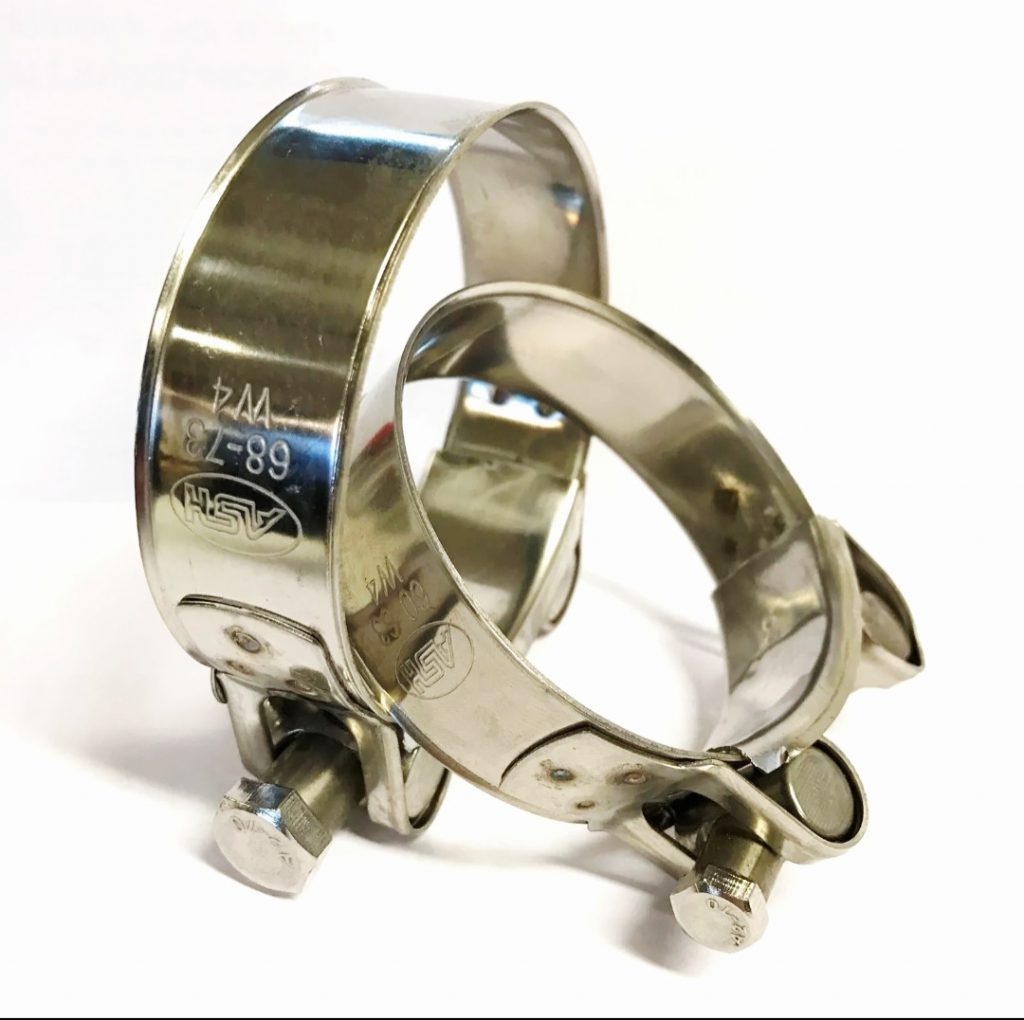
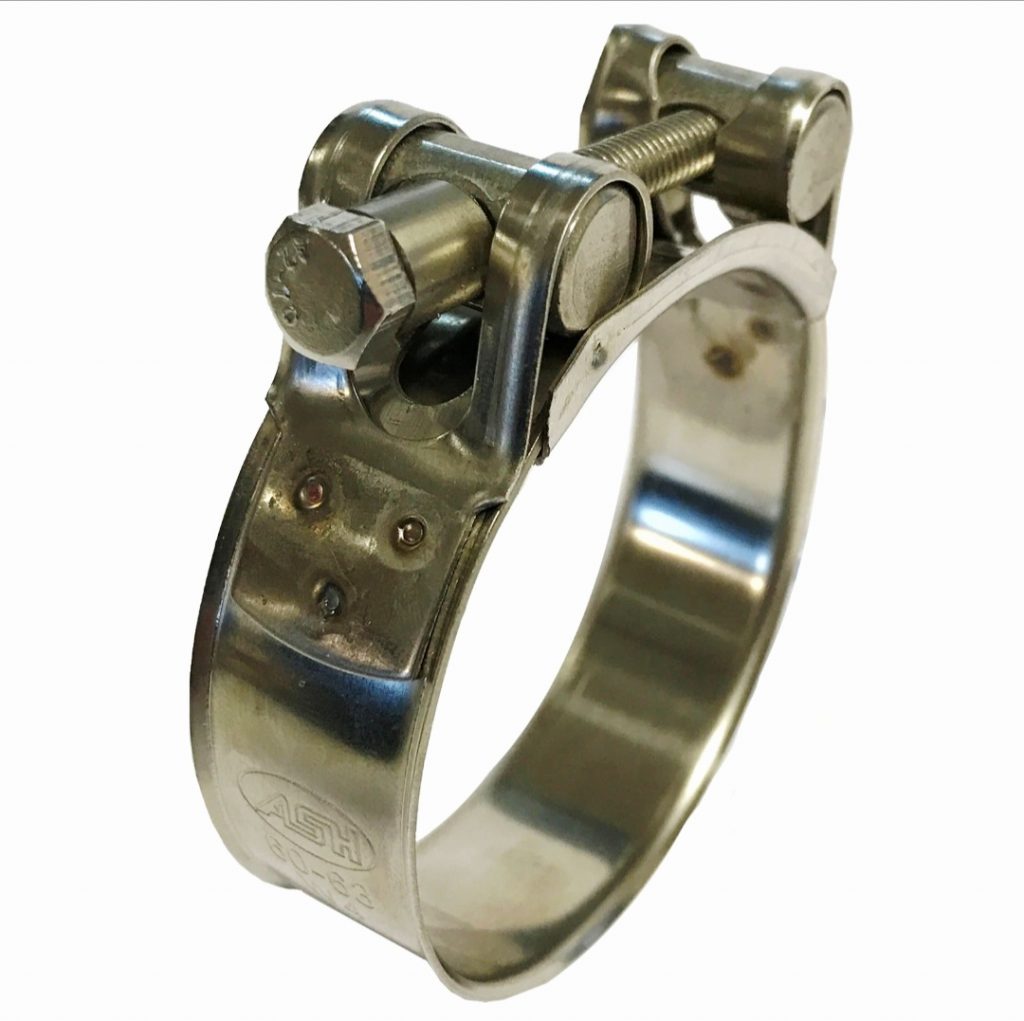
Hose Clamps
For the hose clamps I decided to go for the premium option. I used the Stainless T-Bolt clamps made by Ash. They’re more expensive than a standard jubilee clamp and about £3 each. However, they have a much wider clamp and better clamping force, so work really well.
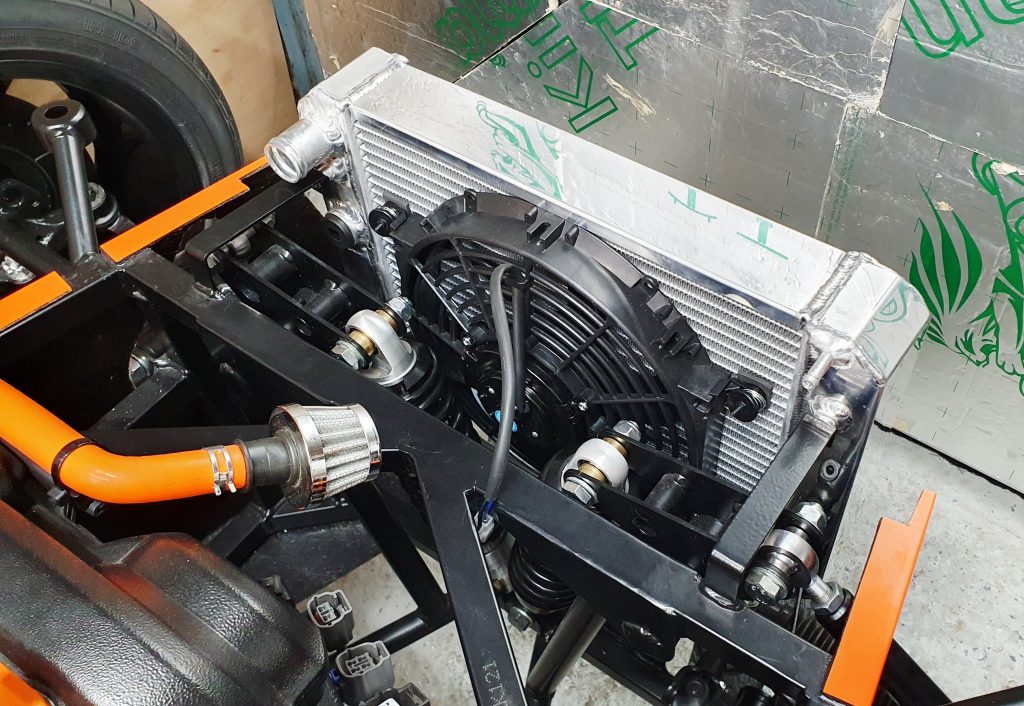
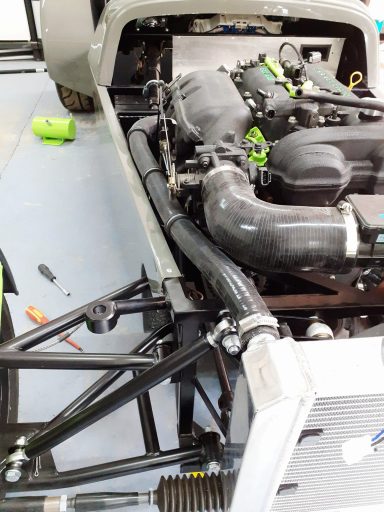
Complete Re-route System
Here is the full system installed.
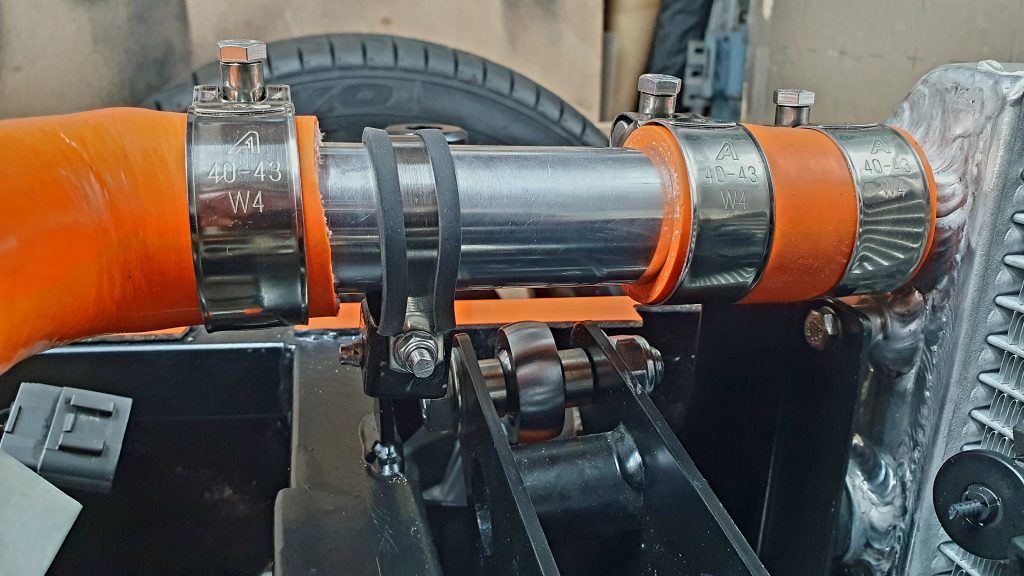
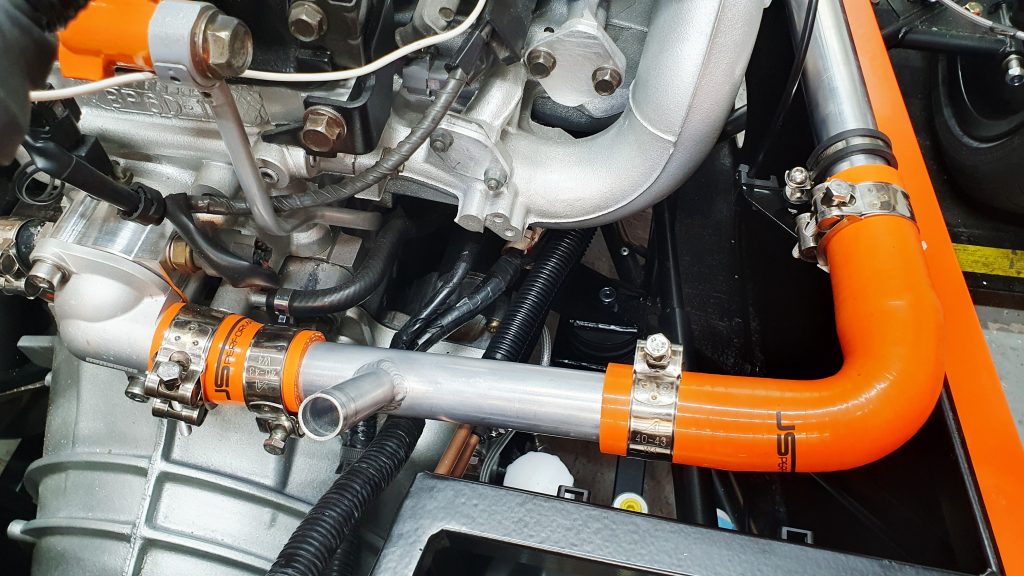
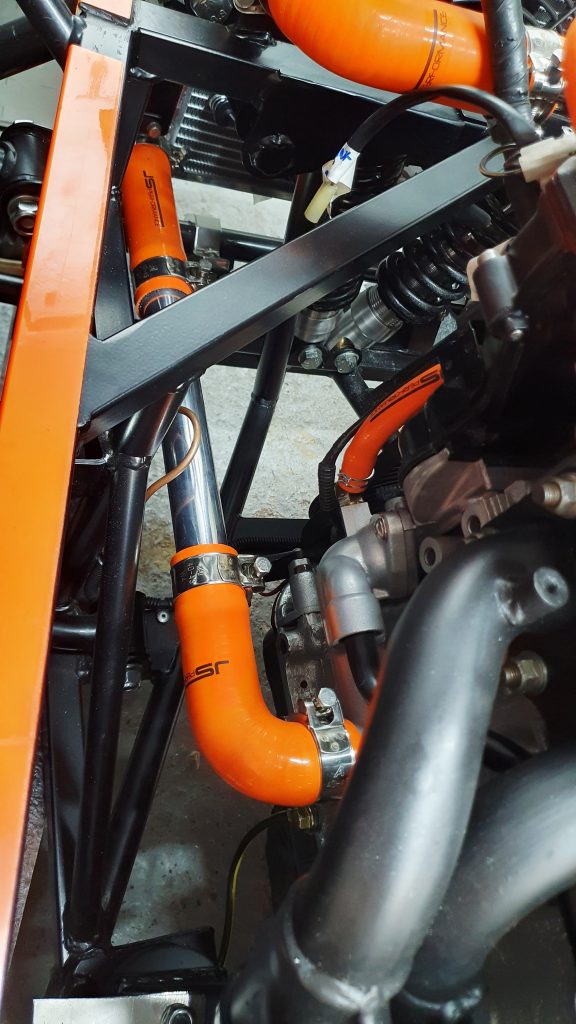
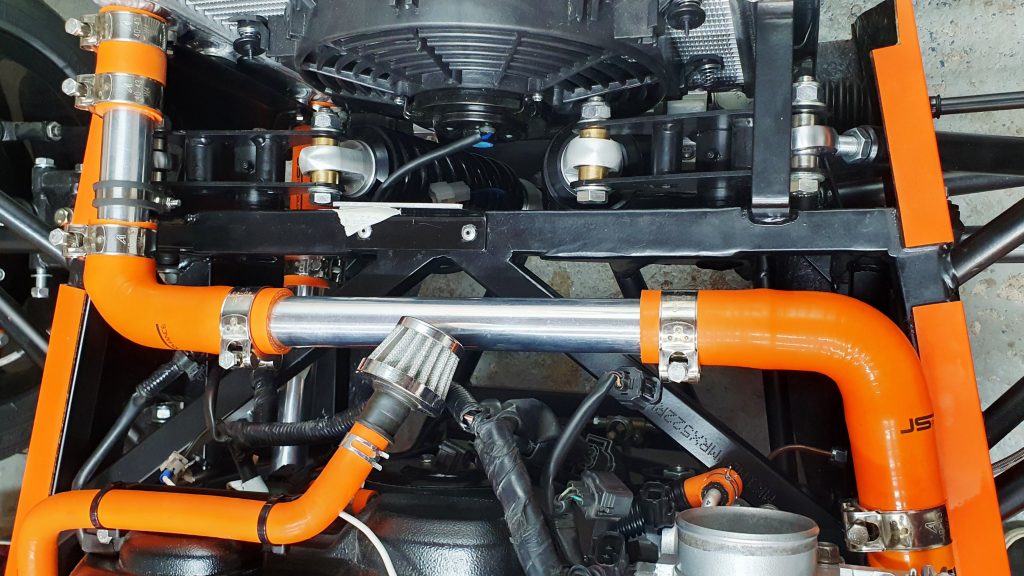

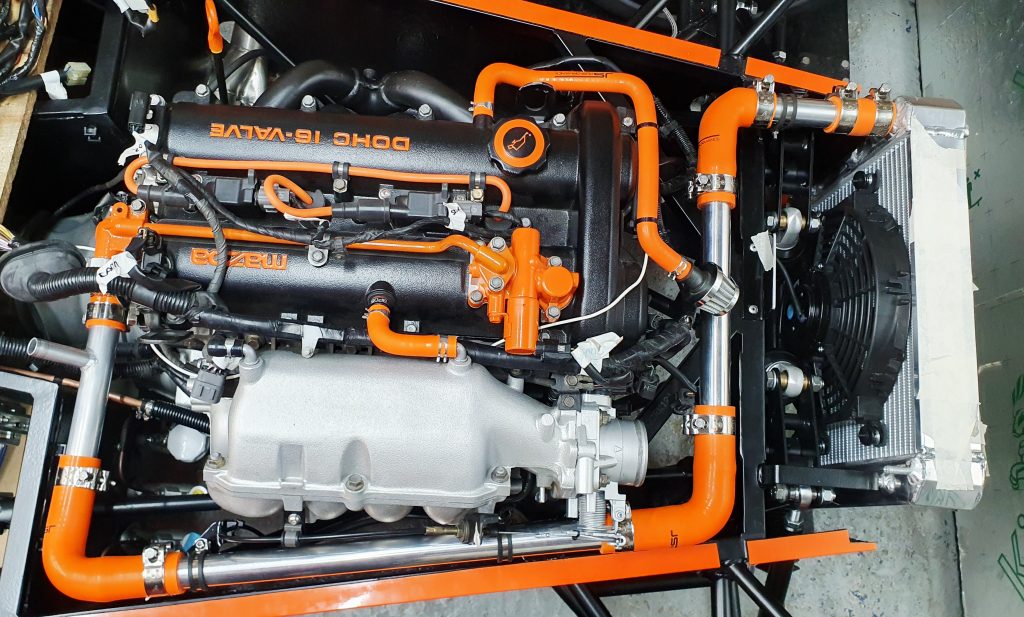
I’m very pleased with the overall installation. Now on next to fitting the coolant header and getting it filled up and tested.
Summary of Build Costs and Hours
Here is a summary of the costs and person hours (total number of hours for every person that has helped) for the build so far. This should hopefully help others with the planning of their builds, by providing cost and time actually incurred for this build. A more detailed breakdown of all the costs and hours worked on the build to date can be viewed here.
| Person Hours Worked This Post | |
|---|---|
| Make Radiator Bracket | 2 hrs |
| Make Coolant Re-route Brackets | 2 hrs |
| Fit Coolant Re-route Kit | 4 hrs |
| Car Build Costs This Post | |
|---|---|
| Coolant Re-route Kit as per the Linked PDF | £241 |
| Totals | This Post | To Date | All Posts |
|---|---|---|---|
| Person Hours Worked | 8 hrs | 500 hrs | 500 hrs |
| Car Build | £241 | £13,956 | £13,956 |
| Tools / Consumables | £0 | £470 | £470 |
| Total Cost | £241 | £14,426 | £14,426 |
