
Welcome to Day 5 of Stripping my Mazda MX-5. This post is an overview of what we did and the approach we took with stripping the vehicle. This is not a step-by-step guide on how to go about it. There are already plenty of good resources which provide this detail as I covered in a previous post.
What I do cover here is some of the things to watch out for and areas where the approach we took deviated from the YouTube videos and why. Hopefully, this is a more custom guide for MK Indy RX-5 builders. So here goes.
Work Completed on Day 5
Today was continuing in from Day 4 where we started to separate the roller skate and sub-frames. Today we continue to further strip down the sub-frames to remove the differential, driveshafts, and wheel-ends. Here is the order in that we approached Day 5:
Hub Nuts
This was the point that we realised we made a mistake… We should have undone the hub nuts before we took the braking system apart and stripped the car down. Do this on Day 1 before you get too far. Without these undone, you won’t be able to separate the hubs from the uprights when it comes to refurbishing them later on.
So before we went any further we made up a brace out of a 1m piece of 25mm steel box section I had. We drilled 2x holes in one end of the box section, the same size and pitch as 2 of the wheel studs. Then placed the box section onto the studs and held in place with the wheel nuts. We rested the other end of the box section in the floor so this stopped the wheel hub from rotating as we undid the hub nut. All 4x hub nuts came undone easily using this method. Don’t forget to un-tab each nut first.
Coilovers
We next tackled removing the HSD Coilovers. A nice aftermarket addition I was keen to preserve as they are still worth quite a bit 2nd hand.
They were in theory quite a straightforward unbolt top and bottom. 3 out of the 4 Coilovers were removed with minimal issue. One of them however the bottom bolt refused to budge. The nut came off without issues but the bolt was rigid through the bottom Bush of the coilover.
A lot of penetrating oil and a lot of hitting hard with gradually larger hammers didn’t help at all. So I decided the best way was to cut the bolt out of the wishbone by cutting through the wishbone mount itself. This essentially ruined the wishbone. The wishbones and sub-frames were worth next to nothing compared to the coilovers.
The coilover was now removed from the sub-frame, but I still had a very stuck bolt in the bottom mount of the coilover. Luckily you can unscrew the bottom cup of the coilover to leave just the bottom mount.
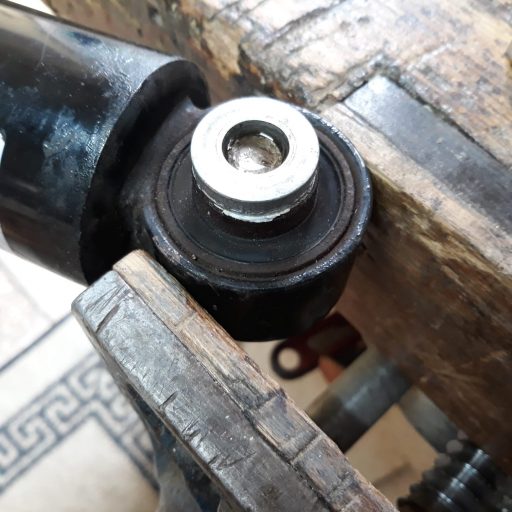
My Dad offered to take the coilover home and work on getting the bolt out in his garage where he has a lathe and a decent pillar drill. What a star! After a good soaking with penetrating oil, Dad managed to start drilling the bolt out by making a jig to centre the hole in the bolt (he used to be a toolmaker). He gradually increased the size of the drill 1mm at a time until he only had about 1mm wall thickness left. Then knocked most of the rest out. He used a Dremel to get out the remaining fragments and then ran a reamer through it to clean it back to a good finish. Job done! Thanks Dad!
The coilovers will be ready for sale after a clean-up and respray of the coils.
Brakes
Next up was to remove the brake calipers and disks from the hub. This was straightforward and simple un-bolting of the caliper carrier bracket from the upright. I labeled up each caliper and disk so I know which ones were paired, just in case I want to reuse them. The disks and pads are virtually brand new.
Hubs and uprights
With the brakes removed we turned our attention to removing the uprights from the wishbones. Again this was pretty straightforward with simply un-bolting them. The front ones came out with no problems. The rear ones were slightly different due to the drive shafts connecting to the differential.
I braced my feet against the sub-frame whilst gripping the hub to get these out and gave a sharp tug to overcome the seal to the differential. Both sides popped out with no issue at all. Jus t remember to catch any drips of the differential oil as it absolutely stinks!
Differential
So with the front sub-frame now completely dismantled, we next moved onto removing the differential from the rear sub-frame. This is where we hit our next problem. The aluminum ladder that braces the gearbox to the differential has 2 massive bolts going through it straight through the differential to secure it in place. One bolt came out relatively easily, the other wouldn’t budge.
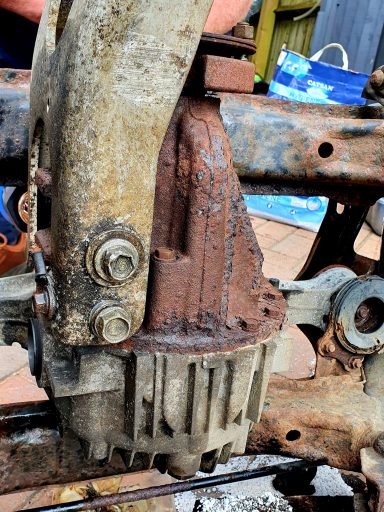
A lot of penetrating oil, heating it up, several bangs with a large hammer, and several attempts with a 6-point socket and a large wrecking bar only led to the bolt slightly rounding. So out came the socket set I hadn’t used yet, an extractor set designed to cut into Rounded bolts. With the first attempt with not that much pressure compared to before the socket shattered! Back to Amazon then with that set!
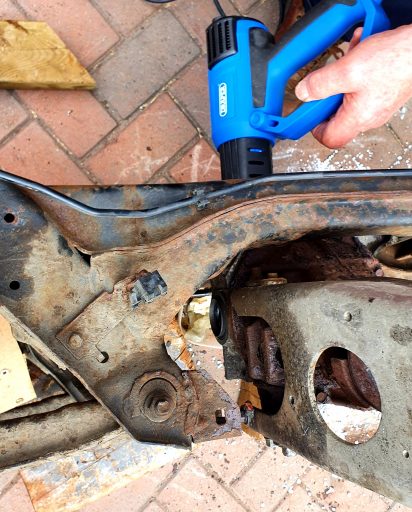
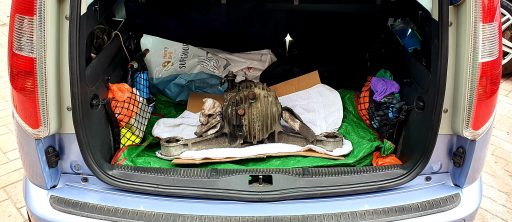
We were now running out of options, the bolt wasn’t bushing one bit so we went bold and Dad offered to take the diff back home and get it out in a slower time. To make it easier to transport we cut through the aluminum ladder to leave just the part that was fixed. We don’t need the ladder anyway, so just one less thing we can sell.
Warning! Just remember once you have the drive shafts out you have 2x rather large holes in the sides of the diff that oil can come out. So either bung them well or drain as much out as you can first. In our haste, we forgot this small point and at one moment I turned the diff on its side to get a better purchase on the stubborn bolt which led to diff oil all over the drive. As mentioned before this oil absolutely stinks and is a pain to clear up. Some cat litter came to the rescue to soak most up. Lesson learned…
Once we had the aluminum ladder cut off we were then able to get the diff out of the sub-frame by undoing the standard bolts. It is pretty heavy once out so really a 2x person job to lift. Into the back of Dad’s car it went. He now had an LSD in the back of his car!
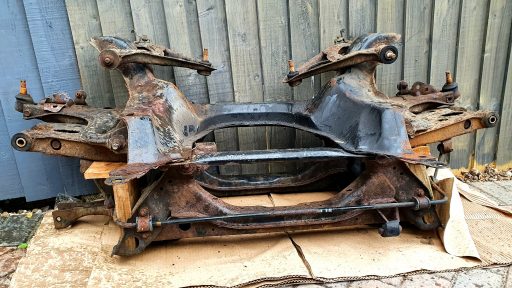
Bare Sub-frames
So all that was now left after stripping my Mazda MX-5 was the bare sub-frames which were in a pretty sorry state with a lot of surface rust. Now my original intent was to sell them, but in this state, they are not worth much at all. Plus I had cut apart one of the wishbones to get the coilover out. They also took up a lot of space so I decided it was best to scrap them. A few days later a scrap metal collector took them away for me to clear the drive.
Selling the Catalytic Converter
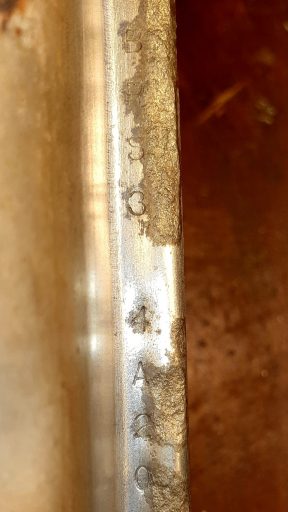
So with the car successfully stripped I decided it would be good to start selling some of the high-value items. The Catalytic Converter was first on the list as it was bulky, took up space, and should be worth a reasonable amount. The only problem was finding the ID number which would dictate the value. An OEM Cat generally has a greater quantity of precious metal (palladium/ rhodium/ platinum) in it, therefore worth more. I was pretty convinced it was the original Cat but I couldn’t find any sign of the ID number. It is normally stamped into the metal casing but there was nothing other than spots of rust that I could see.

I started looking more carefully and saw a very slight edge of what looked like a stamped letter. I got a wire brush and carefully brushed at the rust which was on the top. The more I brushed the more that was revealed and before I knew it the full ID number had been revealed. I rubbed a thick marker pen over the top and wiped off the excess which helped to accentuate the letters. It was still quite hard to read but at the right angle in the right light, it could be read. I managed to get a good photo of it also. The ID number was BPS3 4A20.
I then did some Internet research and found a website called Eco Trade Group where you can search for Cat by ID. The first 4 letters/ digits are the most important. If you sign up for a free account it will give you a price of what it is worth. They also have an App for both Android and iOS. This said my Cat was worth £504, what a result! Now how to actually sell it…
So whilst the Eco Trade Group will give a good indication of the value, they don’t really have a footprint in the UK so there are no agents you can sell it to without spending a ridiculous amount on shipping it to Malaysia.
So I started more research and came across https://www.scrappie.co.uk/ where you can put the details of your Cat and your location and get local scrap merchants to give you a quote. This was a very simple to use and free service and I got a quote from one local scrap dealer within minutes.
I ended up accepting the offer from J.B Pearce Scrap Metal Dealers in Bristol who offered me £580 which was even more than the estimate from Eco Trade Group. I took it down to them a couple of days later and the money was transferred to my account within a few hours. A great result considering the whole car only cost me £700! Getting 83% of the outlay for the car back with selling one item!
End of Day 5 Summary
So that is it for Day 5 of stripping my Mazda MX-5. We managed to achieve a complete strip-down of the vehicle in 5 days. All the parts required for the RX-5 build are now in the garage ready for refurbishment. A great achievement and beyond my original expectations! By selling just the Catalytic Converter, I’ve got most of the money back I paid for the car in the first place. A very good week overall.

Thank You!
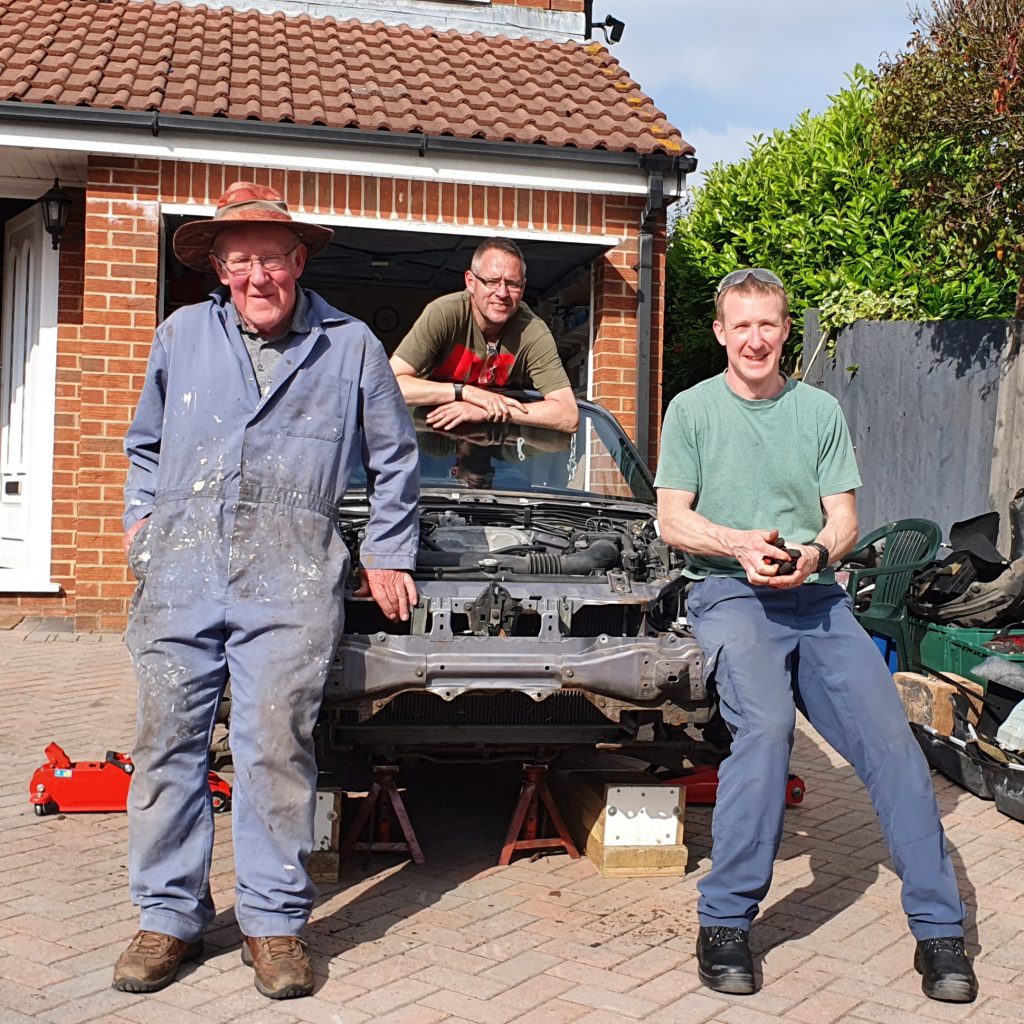
I would love to say a massive thank you to my Dad Les and Dave for their unwavering help and support throughout the week and helping me exceed my own expectations for what we would get done.
Without their input, we wouldn’t have got anywhere near this level of strip down complete. My Dad’s brilliant engineering skills got us out of trouble several times. My garage, drive, and back garden would have been a complete mess by the end of the week had it not been for Dave keeping us all in order each day.
I have some really good memories to look back on the week we had. What a great start to my kit car dream. Thank you both so much!
Summary of Build Costs and Hours
Here is a summary of the costs and person hours (total number of hours for every person that has helped) for the build so far. This should hopefully help others with the planning of their builds, by providing cost and time actually incurred for this build. A more detailed breakdown of all the costs and hours worked on the build to date can be viewed here.
| Person Hours Worked This Post | |
|---|---|
| Donor Strip Day 5 (3 people) - Sub-frame teardown, Tidy up | 28 hrs |
| Car Build Costs This Post | |
|---|---|
| Sell Donor Vehicle Part: Catalytic Converter | £-580 |
| Totals | This Post | To Date | All Posts |
|---|---|---|---|
| Person Hours Worked | 28 hrs | 154 hrs | 363 hrs |
| Car Build | £-580 | £225 | £12,342 |
| Tools / Consumables | £0 | £237 | £459 |
| Total Cost | £-580 | £462 | £12,801 |