
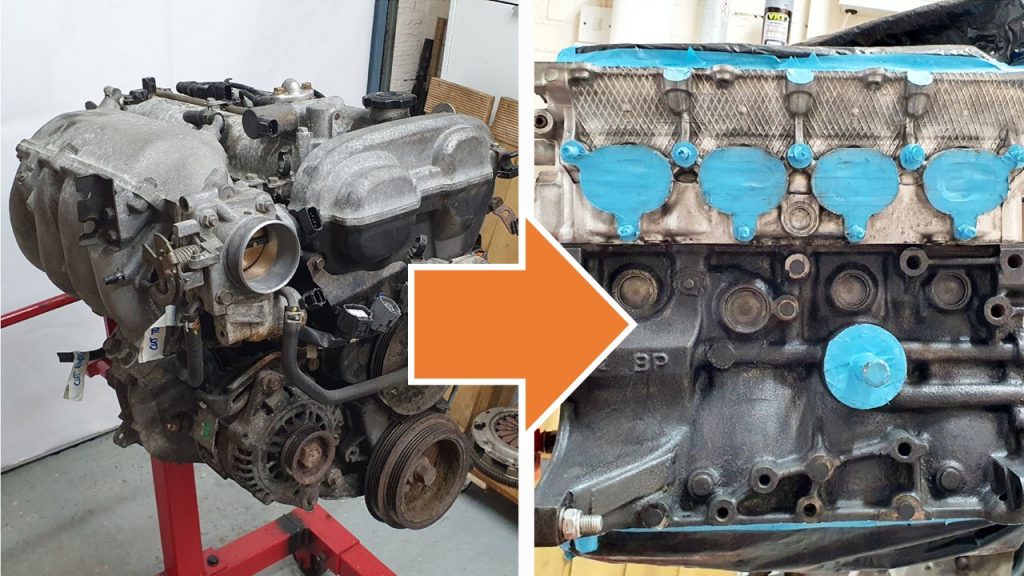
So I have stripped the donor vehicle for parts and now it is time to clean the Mazda MX-5 engine and gearbox and prepare them ready for paint. I’m finally getting round to catching up with my blog after a long gap in posting. Sorry for the delay since my last post, I have been focused on getting everything ready before the kit arrives.
Tools Used
So apart from standard workshop tools to take things apart, I also used the following tools and products to clean the engine and gearbox:
- Brass coated wire brushes for a power drill.
- Dremel wire brushes.
- Gunk 957 Engine Degreaser.
- Gunk Foam Engine Degreaser.
- HOLTS Brake Cleaner.
- Steel wire brushes.
- Hammerite Kurust.
- 3M Blue Masking Tape.
- Methylated Spirit.
- Spray bottle with water for washing off.
- EPDM Tapered Plug Kit.
- Elbow grease…
Approach
The approach I took was quite straightforward.
- Disassemble the engine, back to the bare block.
- Cover all of the holes in the block and top and bottom to stop dirt ingress and contamination.
- Apply Gunk Degreaser and wash off.
- Use the electric drill with various wire brush attachments to remove all the loose rust and dirt.
- Repeat #3 and #4 until happy with the surface.
- Apply Kurust to the iron block to covert any remanence of rust into a paintable surface.
- Mask up all of the parts that you do not want to paint.
- Final degrease with Brake Cleaner before paint.
Disassembly of Engine
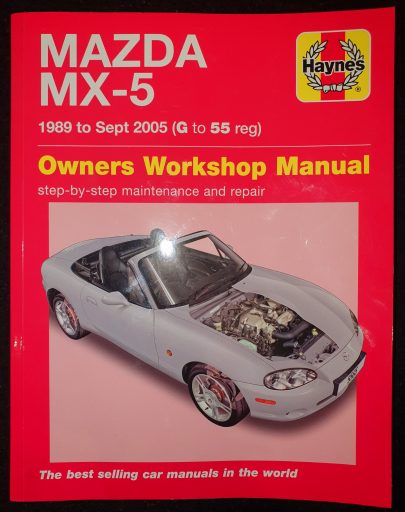
The disassembly of the engine was pretty straightforward forward and I used a combination of common sense and the odd reference to the Mazda MX-5 Haynes Manual for help.
Each time I took a part off I would put the fixings and any gaskets or seals into a zip lock bag and label it. This was so I could easily identify the fixings when it came to reassembly. As I took things off I made a list of all the things I wanted/ needed to replace. In very little time the block was stripped back as far as I needed.
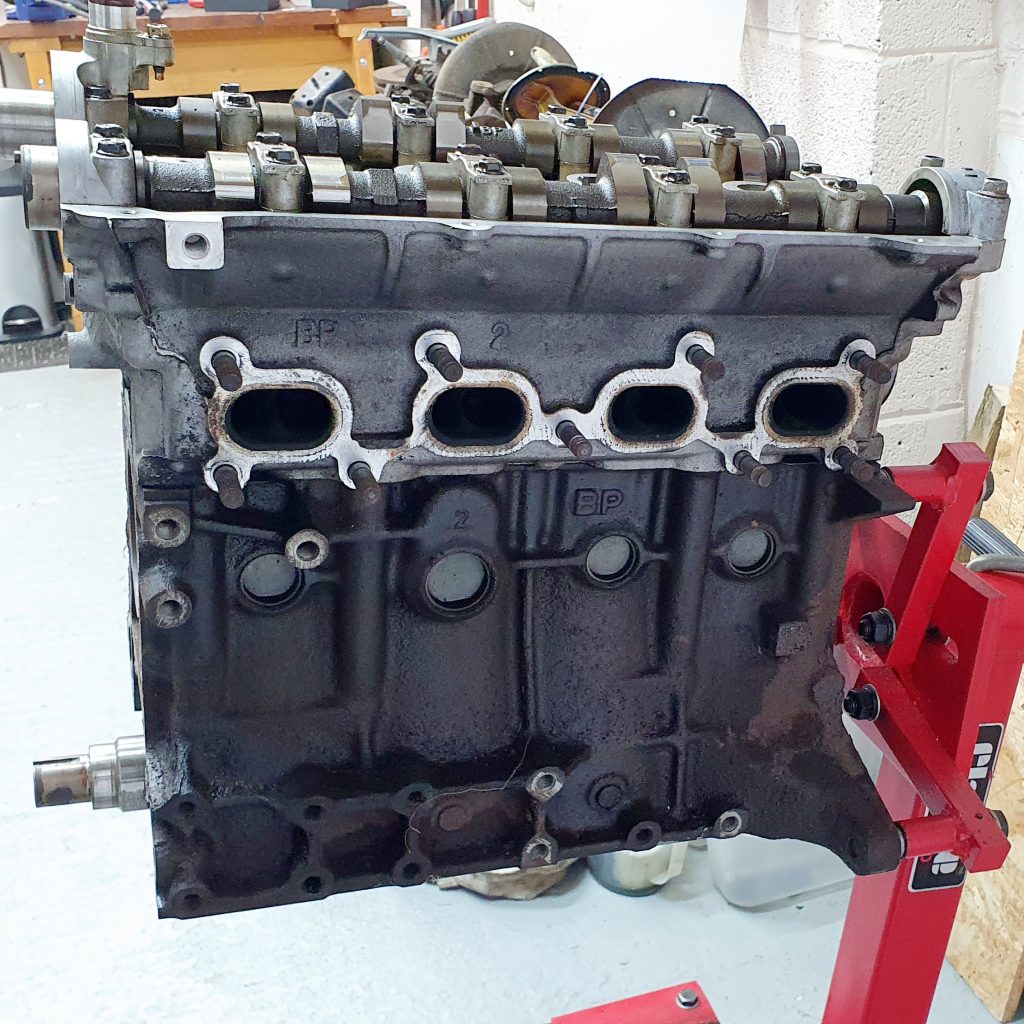
So I disassembled the engine back to the block, but I decided not to take the head off. The head gasket looked fine with no sign of any leaks. The engine was running really well before we took the car apart with no smoke or any issue. So dismantling the engine any further would be at this stage the law of diminishing returns. No real benefit to stripping the engine down further than this. So I set about cleaning and preparing the engine for paint.
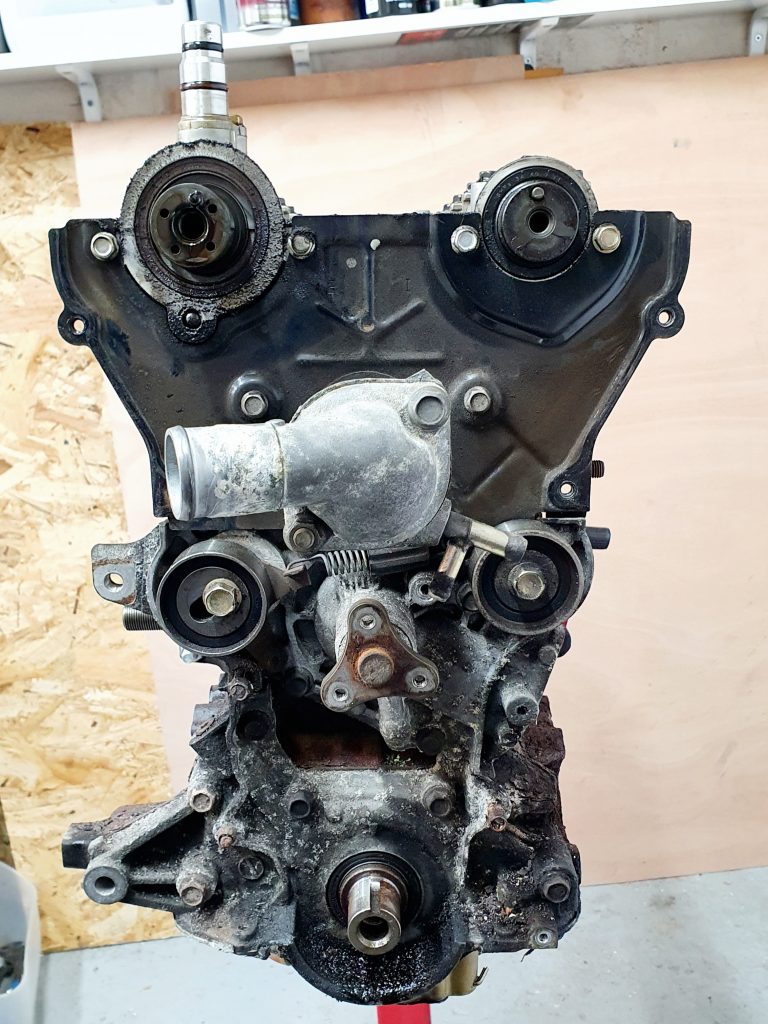
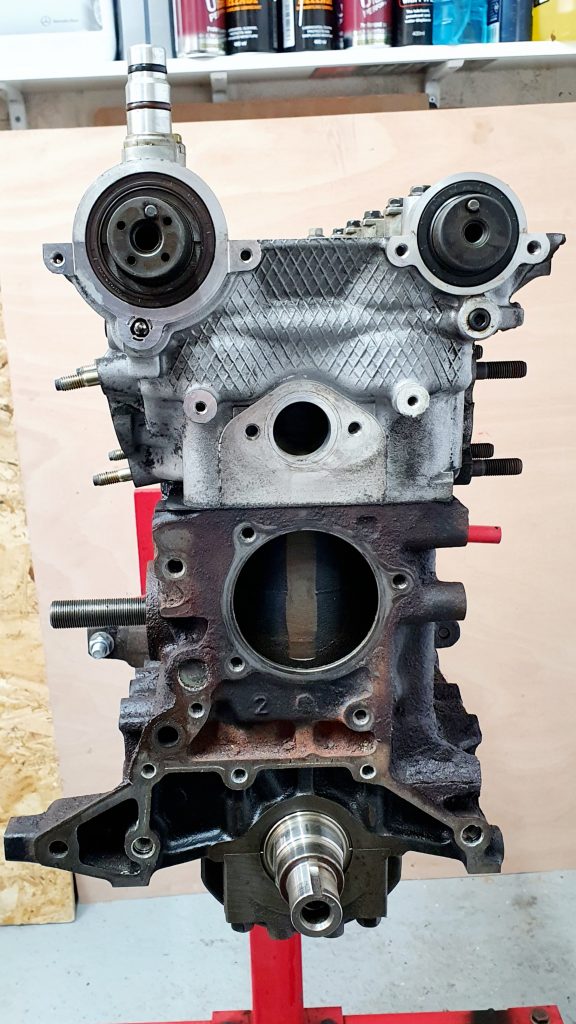
Disassembly Photos
Here are some photos showing the gradual strip-down of the engine back to the block.


Cleaning of the Engine
With the engine dismantled back to the bare block and head, I set about cleaning the engine. First I taped up all of the ports and holes in the engine block to stop contaminants from entering the engine during the cleaning process.
Masking Off
I used good quality 3M blue masking tape for this purpose. This is brilliant stuff as it has a really good level of tackiness but can still be removed easily. I simply made sure that all of the surfaces I was sticking the tape to had been degreased with methylated spirits before masking off.
Degreasing & Cleaning
Once the block was all masked up I first applied Gunk Degreaser all over the block and left it for an hour or so before washing it off with a spray bottle full of water. I then used a combination of various brass-tipped steel wire brushes on my cordless drill to loosen up any surface rust that remained in the block. My mate Dave did a large amount of hard graft and elbow grease at this point to get the block back to almost bare metal. What a legend, it looked brilliant once he was done, cheers Dave!
Then I did another application of Gunk Degreaser and tackled some of the harder-to-reach areas with a Dremel with a wire brush attachment to finish off.
Now a word to note with Dremel wire brush attachments – they don’t last long – so you have to be careful. I found speed played a big factor, keeping the speed to less than half speed extended the life considerably. If I ran it at max speed (which cleans really well) they last about a minute before all the bristles had disappeared. This seems to be a common issue even if you use the official Dremel brushes. I took the approach of buying many cheap brushes and keeping the speed down, which seemed to work well.
Engine Cleaning Photos
Here are some photos of the cleaning and masking process ready for paint.


Final Masking Off
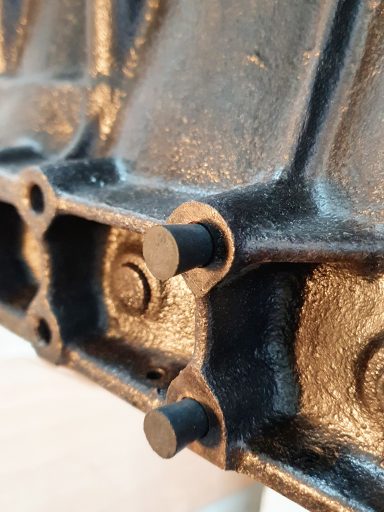
Now the block was clean I set about doing the final masking off ready for paint. Some of the masking tape was a bit grim and damaged from the cleaning so I replaced it with fresh tape. I also made sure I covered all threads and anything I didn’t want to paint. I also used some EPDM tapered plugs which are designed for powder coating or similar. These were great at filling any threaded holes which I didn’t want to get paint in. The engine was finally ready for paint!
Video of the Preparation
Summary of Build Costs and Hours
Here is a summary of the costs and person hours (total number of hours for every person that has helped) for the build so far. This should hopefully help others with the planning of their builds, by providing cost and time actually incurred for this build. A more detailed breakdown of all the costs and hours worked on the build to date can be viewed here.
| Person Hours Worked This Post | |
|---|---|
| Dismantling of Engine | 10 hrs |
| Cleaning and Masking of Engine | 18 hrs |
| Prep of Engine Parts for Paint | 8 hrs |
| Tool Costs This Post | |
|---|---|
| Gunk Foam Degreaser | £14 |
| EPDM tapered plug kit | £15 |
| Blue 3M masking Tape (3x rolls) | £11 |
| Gunk 733 Engine Degreaser | £8 |
| Brake Cleaner (2x cans) | £7 |
| Wire Brush Wheel Set for Drill | £9 |
| Dremel brushes | £13 |
| Totals | This Post | To Date | All Posts |
|---|---|---|---|
| Person Hours Worked | 35 hrs | 196 hrs | 363 hrs |
| Car Build | £0 | £1,299 | £12,342 |
| Tools / Consumables | £77 | £314 | £459 |
| Total Cost | £77 | £1,613 | £12,801 |